A few years ago, I came across a pin on pinterest for a baby quilt used from a bridesmaid dress. Since then, I’ve made several of these blankets for customers and they’ve become one of my favorite projects to sew. The idea of making a quilt scares a lot of people, and I’m hoping this step by step tutorial eases your fears. If you can sew a straight line, then you can take on this project. I suggest investing in a cutting mat, a rotary cutter, straight edge, and a quilting ruler.
For the quilts I make, I usually pick out 4 fabrics that coordinate with the dress. My blankets measure anywhere from 36″ to 42″ square when completed, and if this is the size you desire, 1/4 of a yard is all you’ll need of each. 
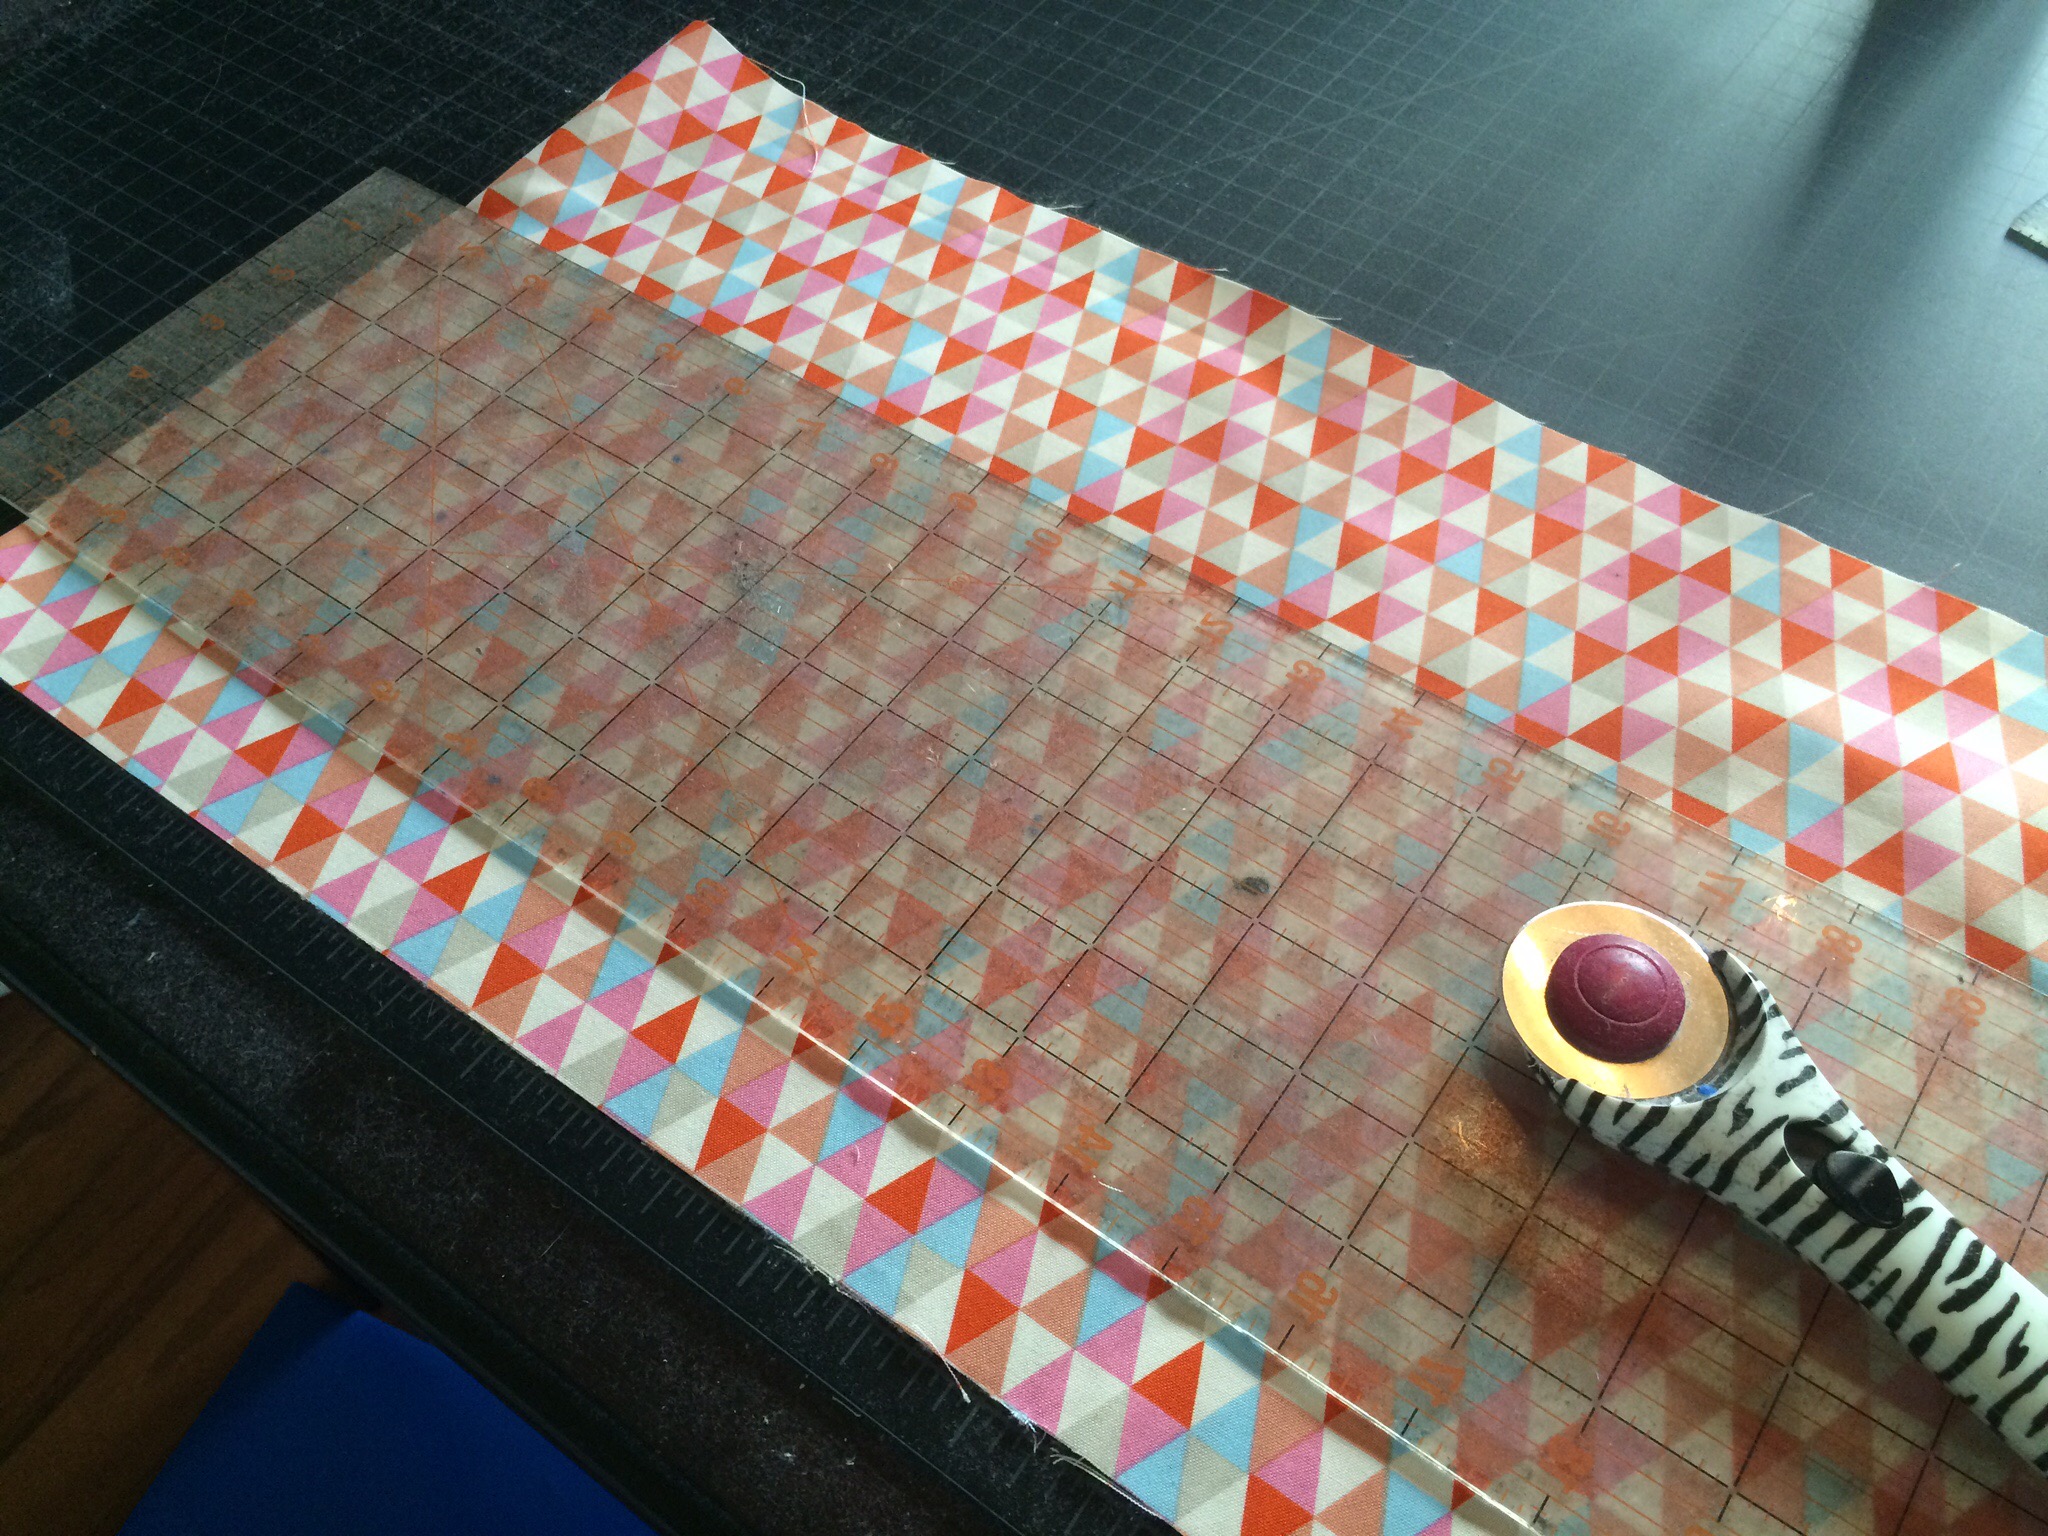
When you get your fabrics, iron and then cut to your desired size. For this quilt, I used a 6″ quilting ruler (which is actually 6.5″ square). To make my life easier, I cut my fabric in a 6.5″ strip, then used the quilting ruler to cut 5 equal sized squares. 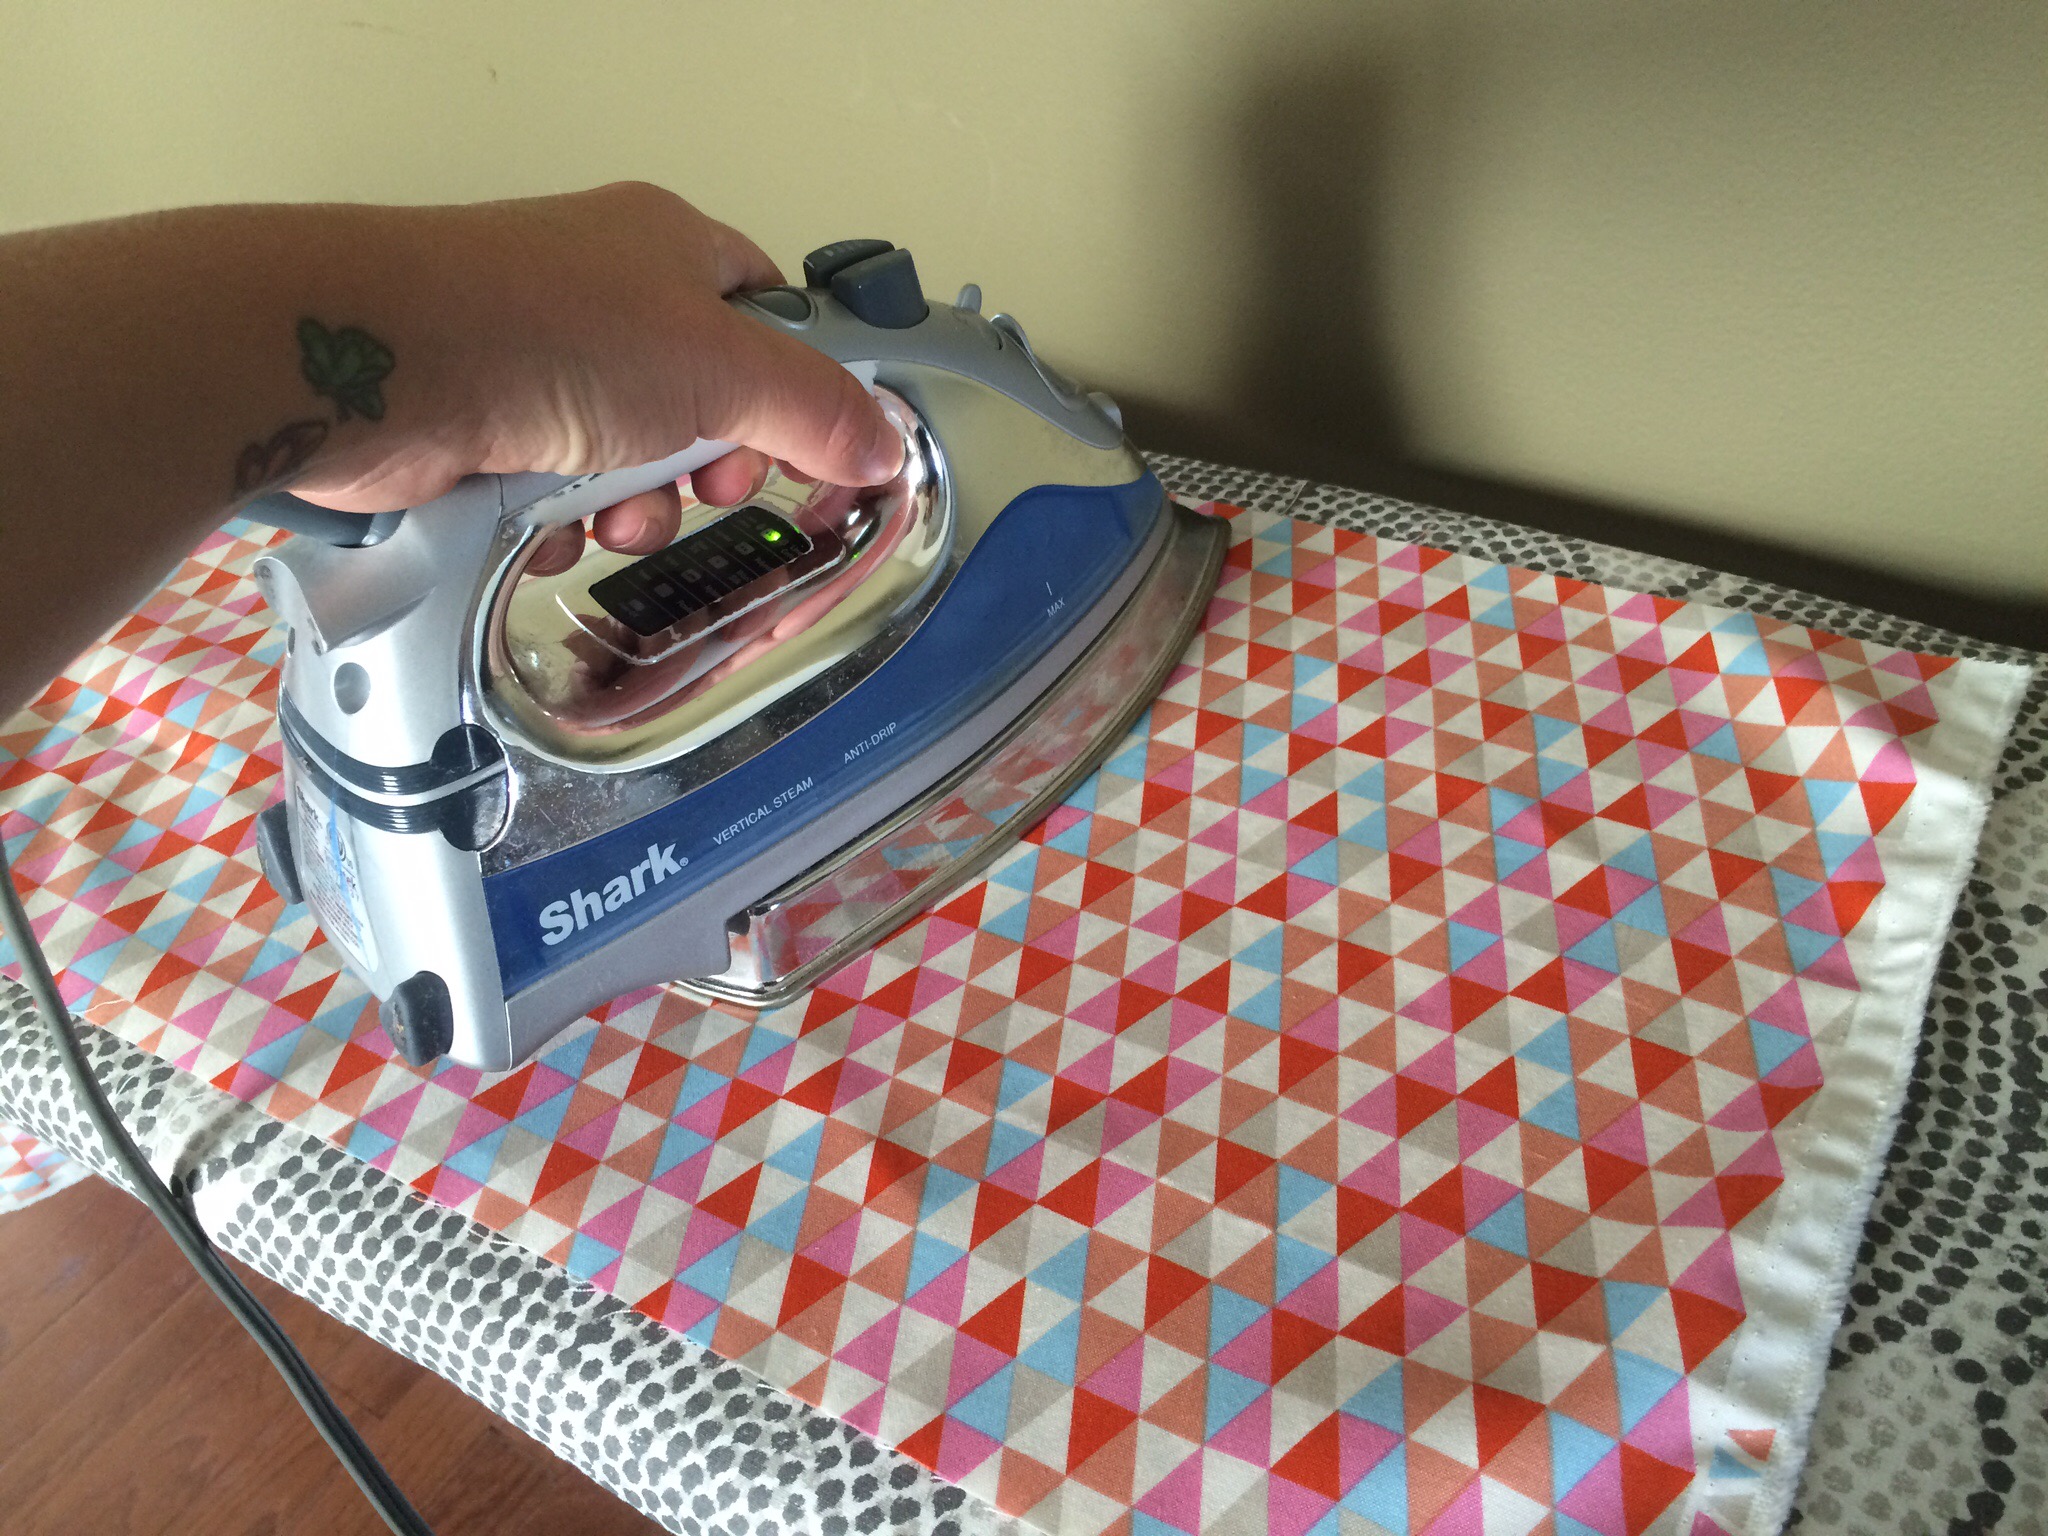
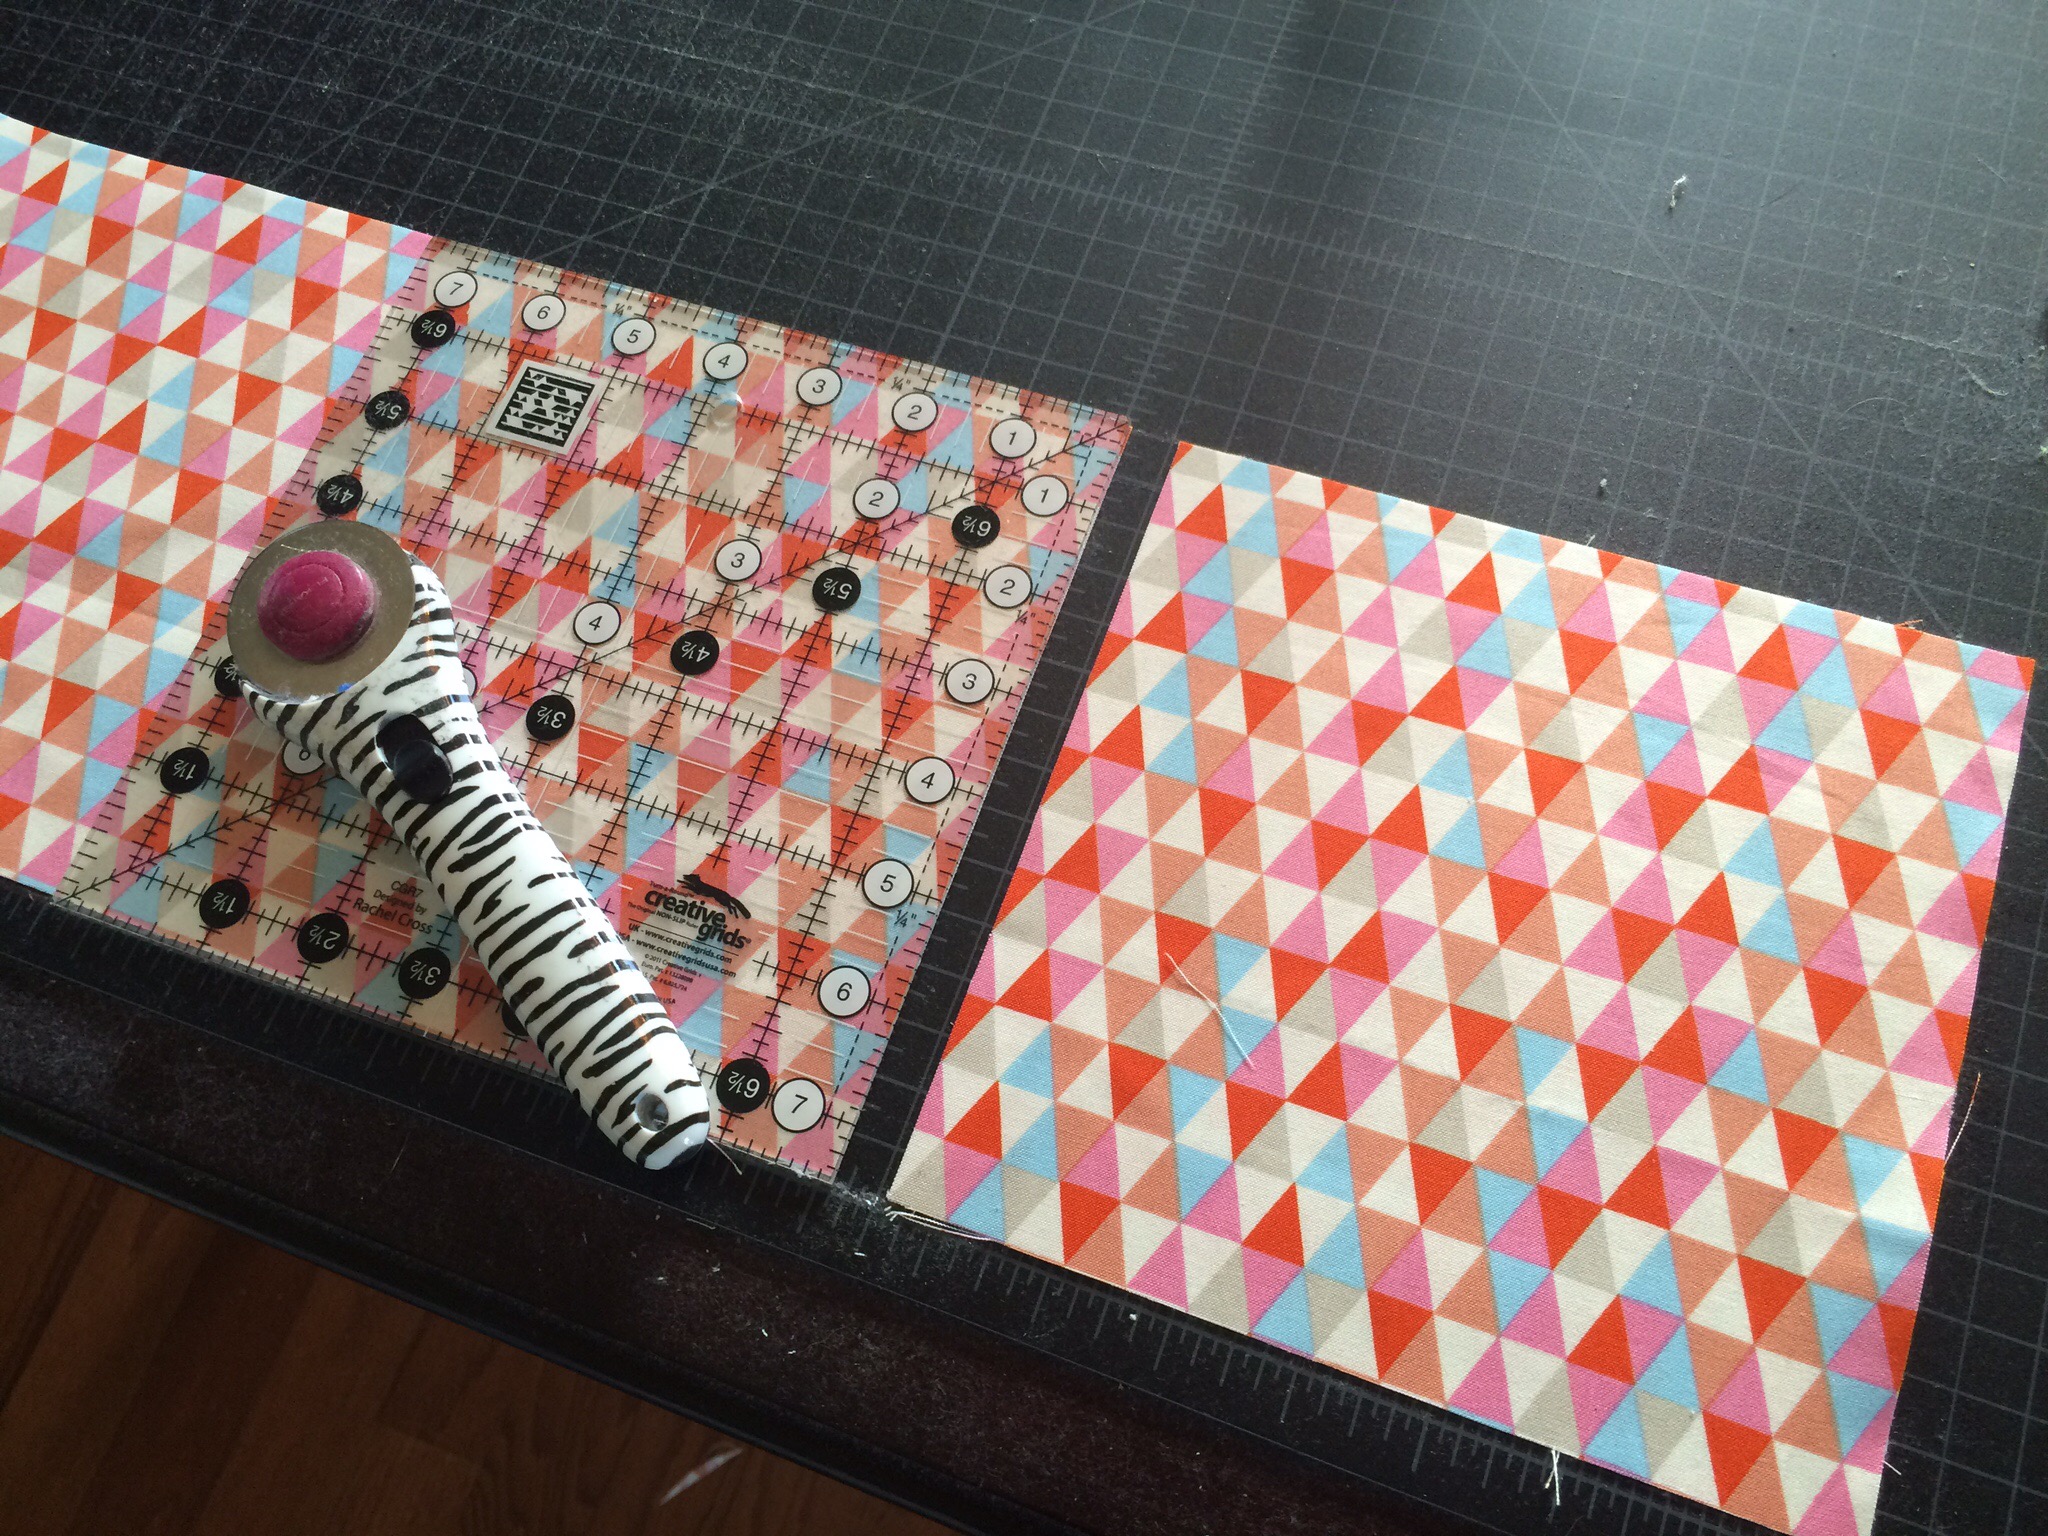
Repeat this with the remaining three fabrics.
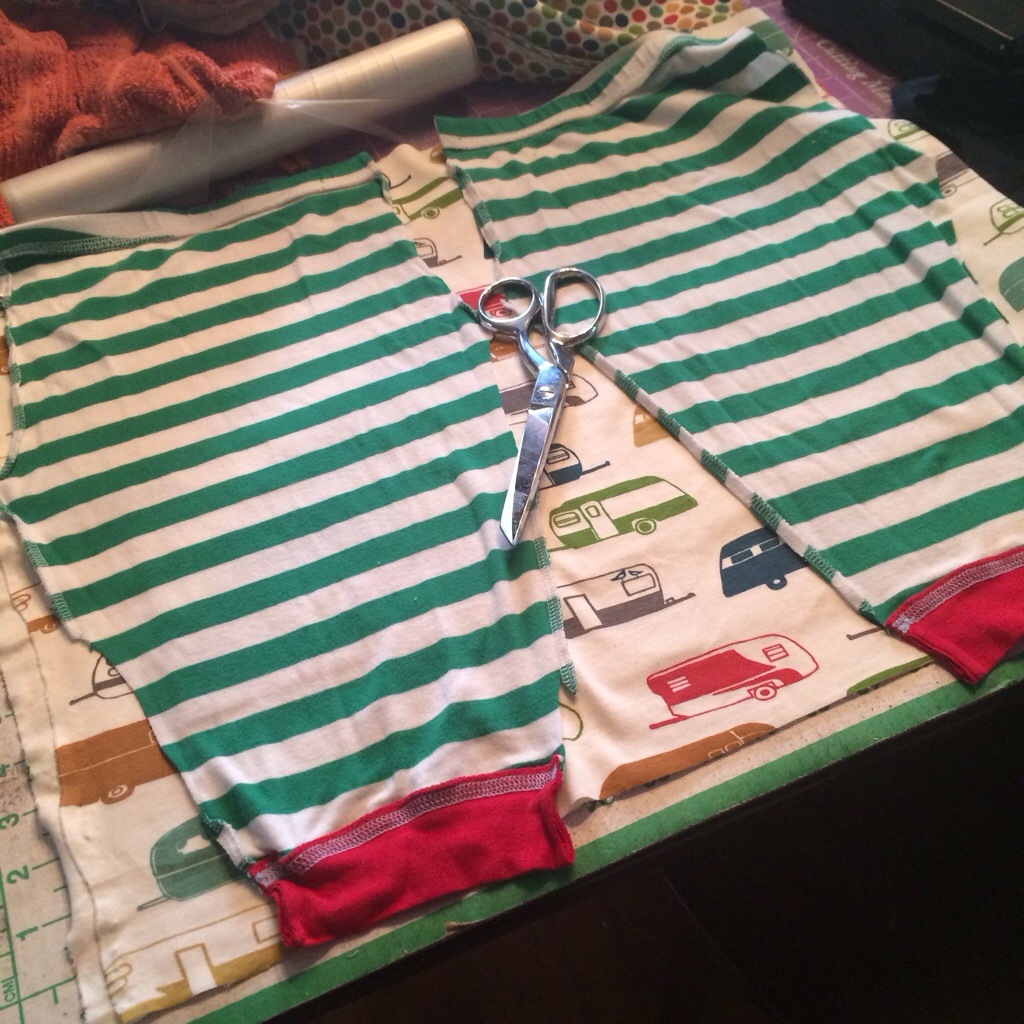
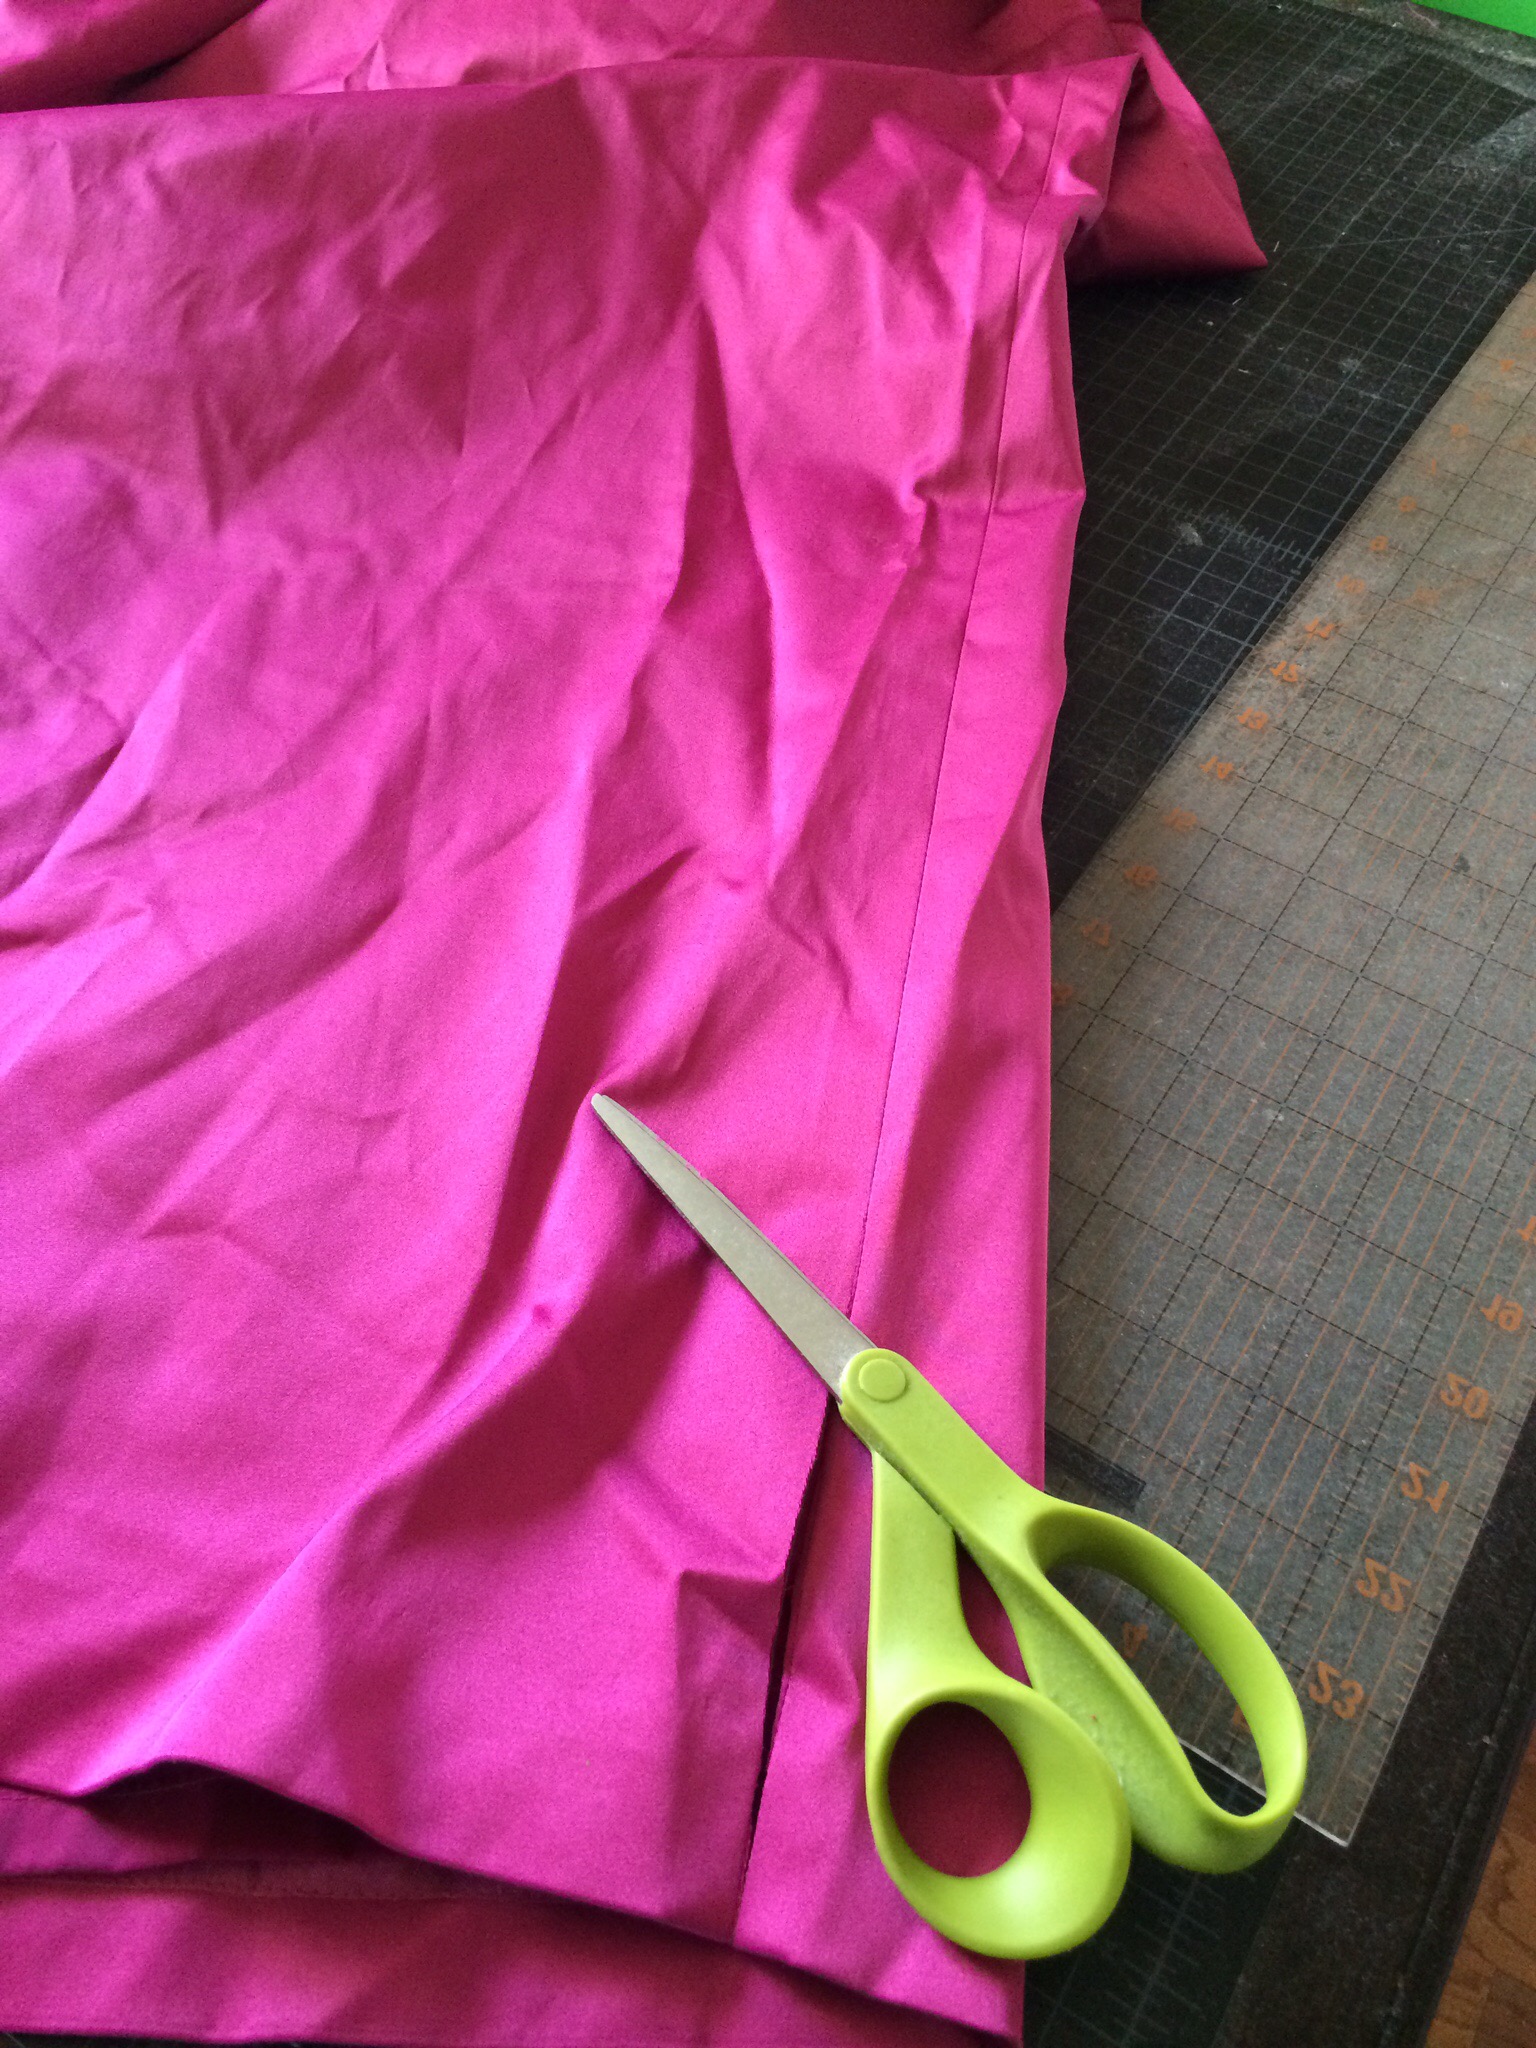
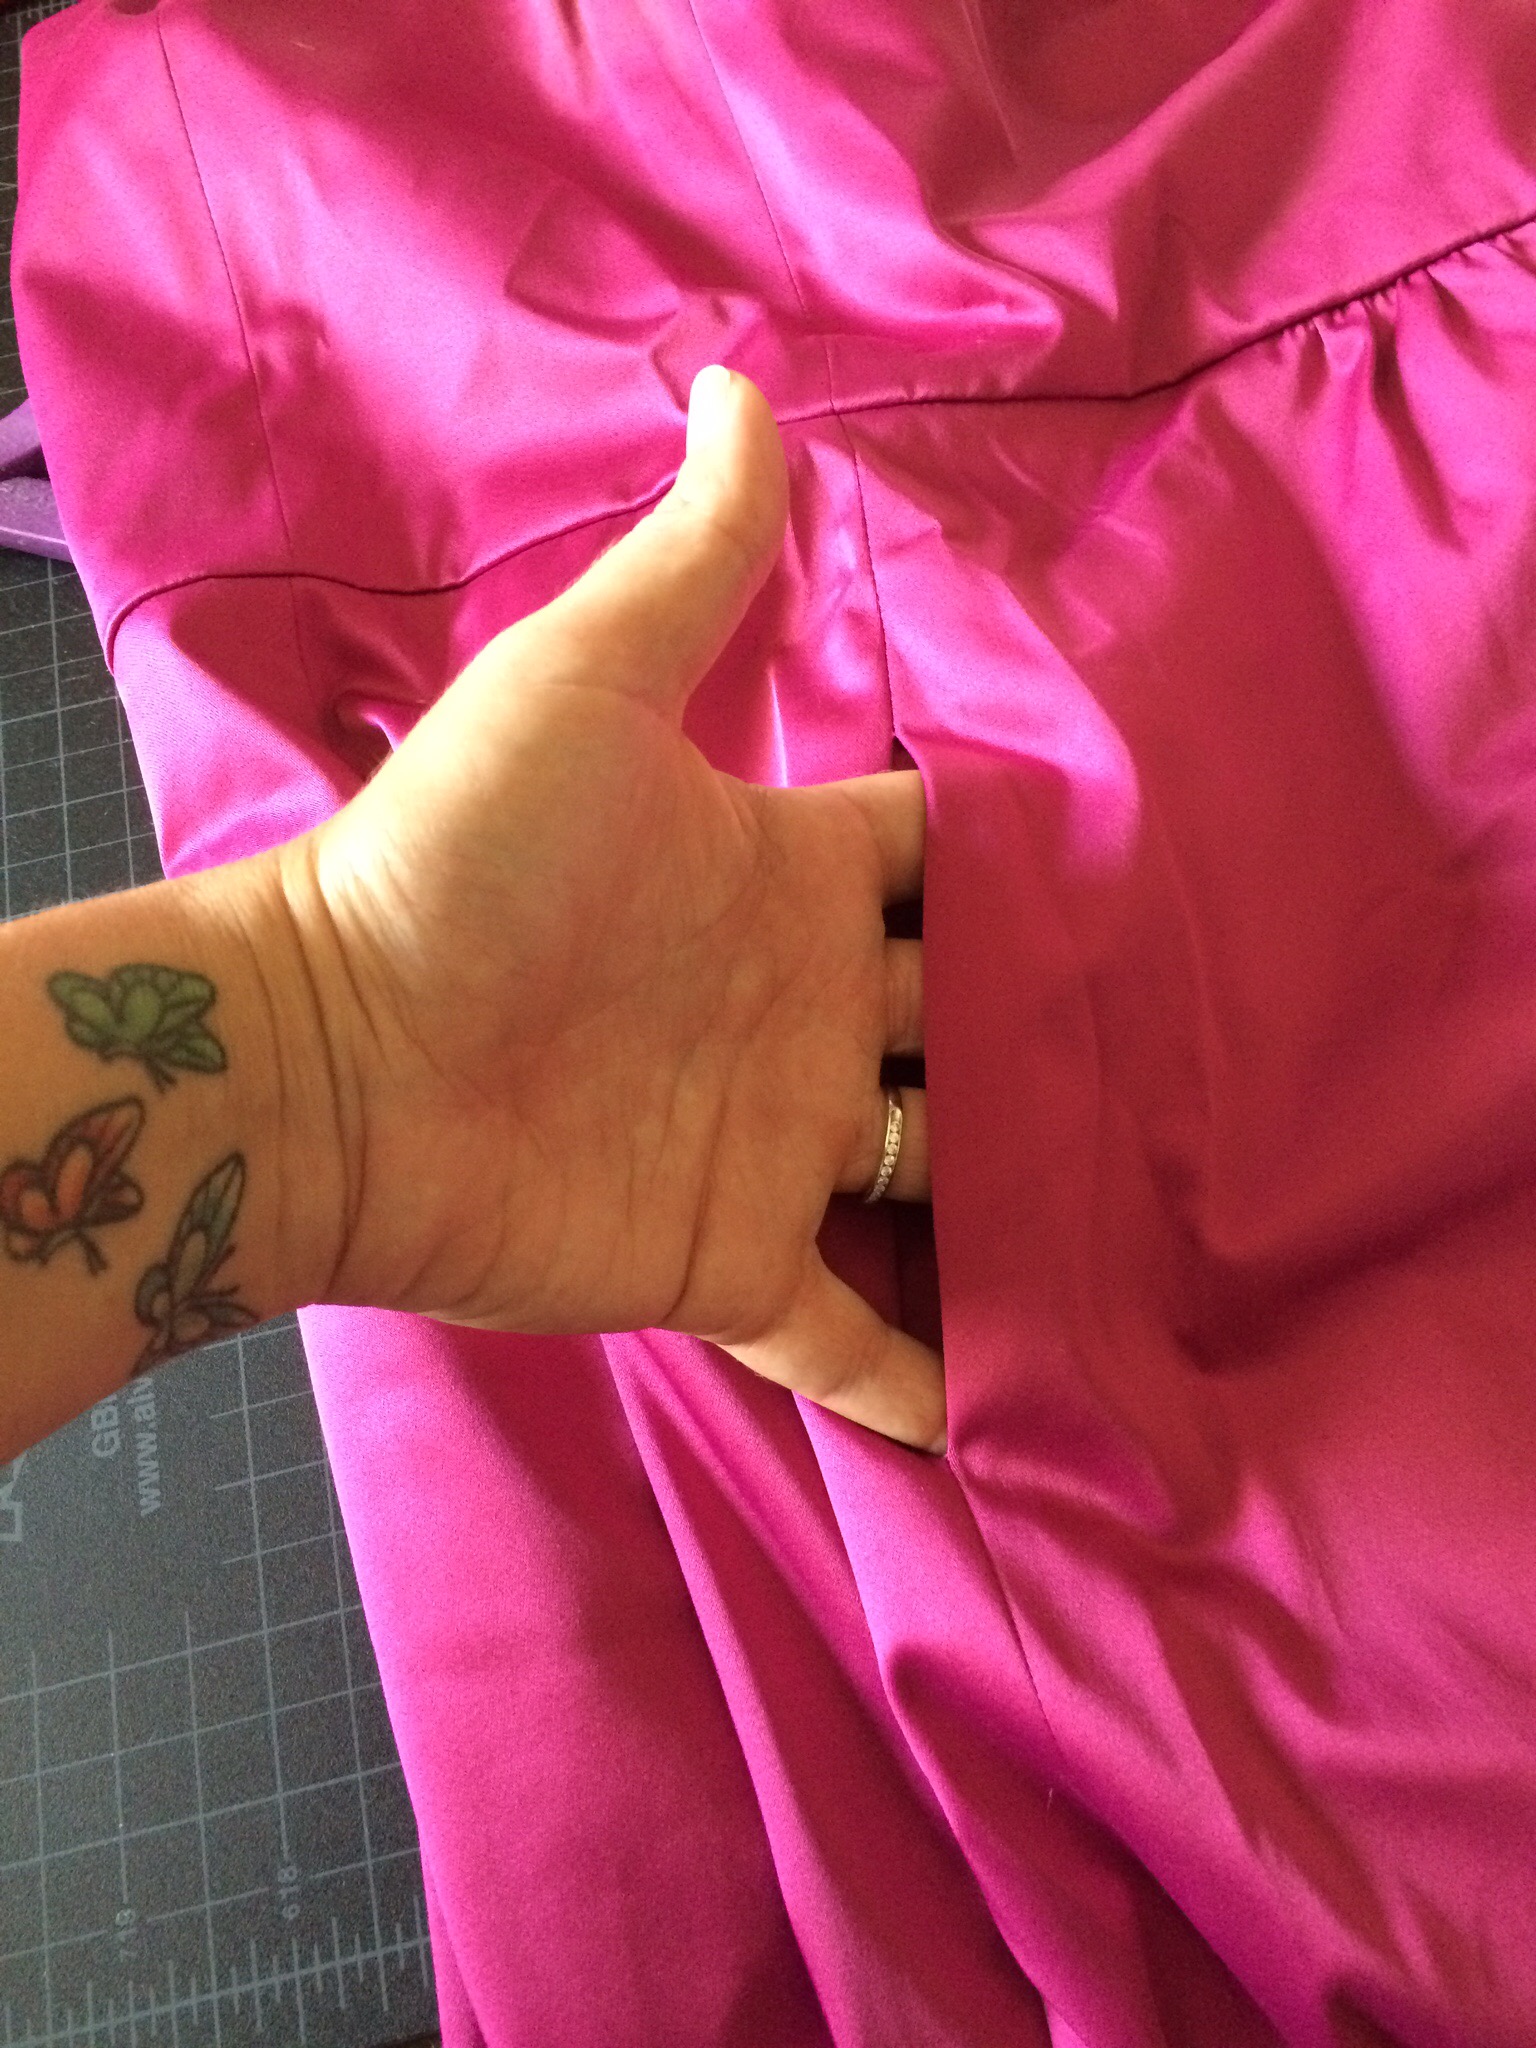
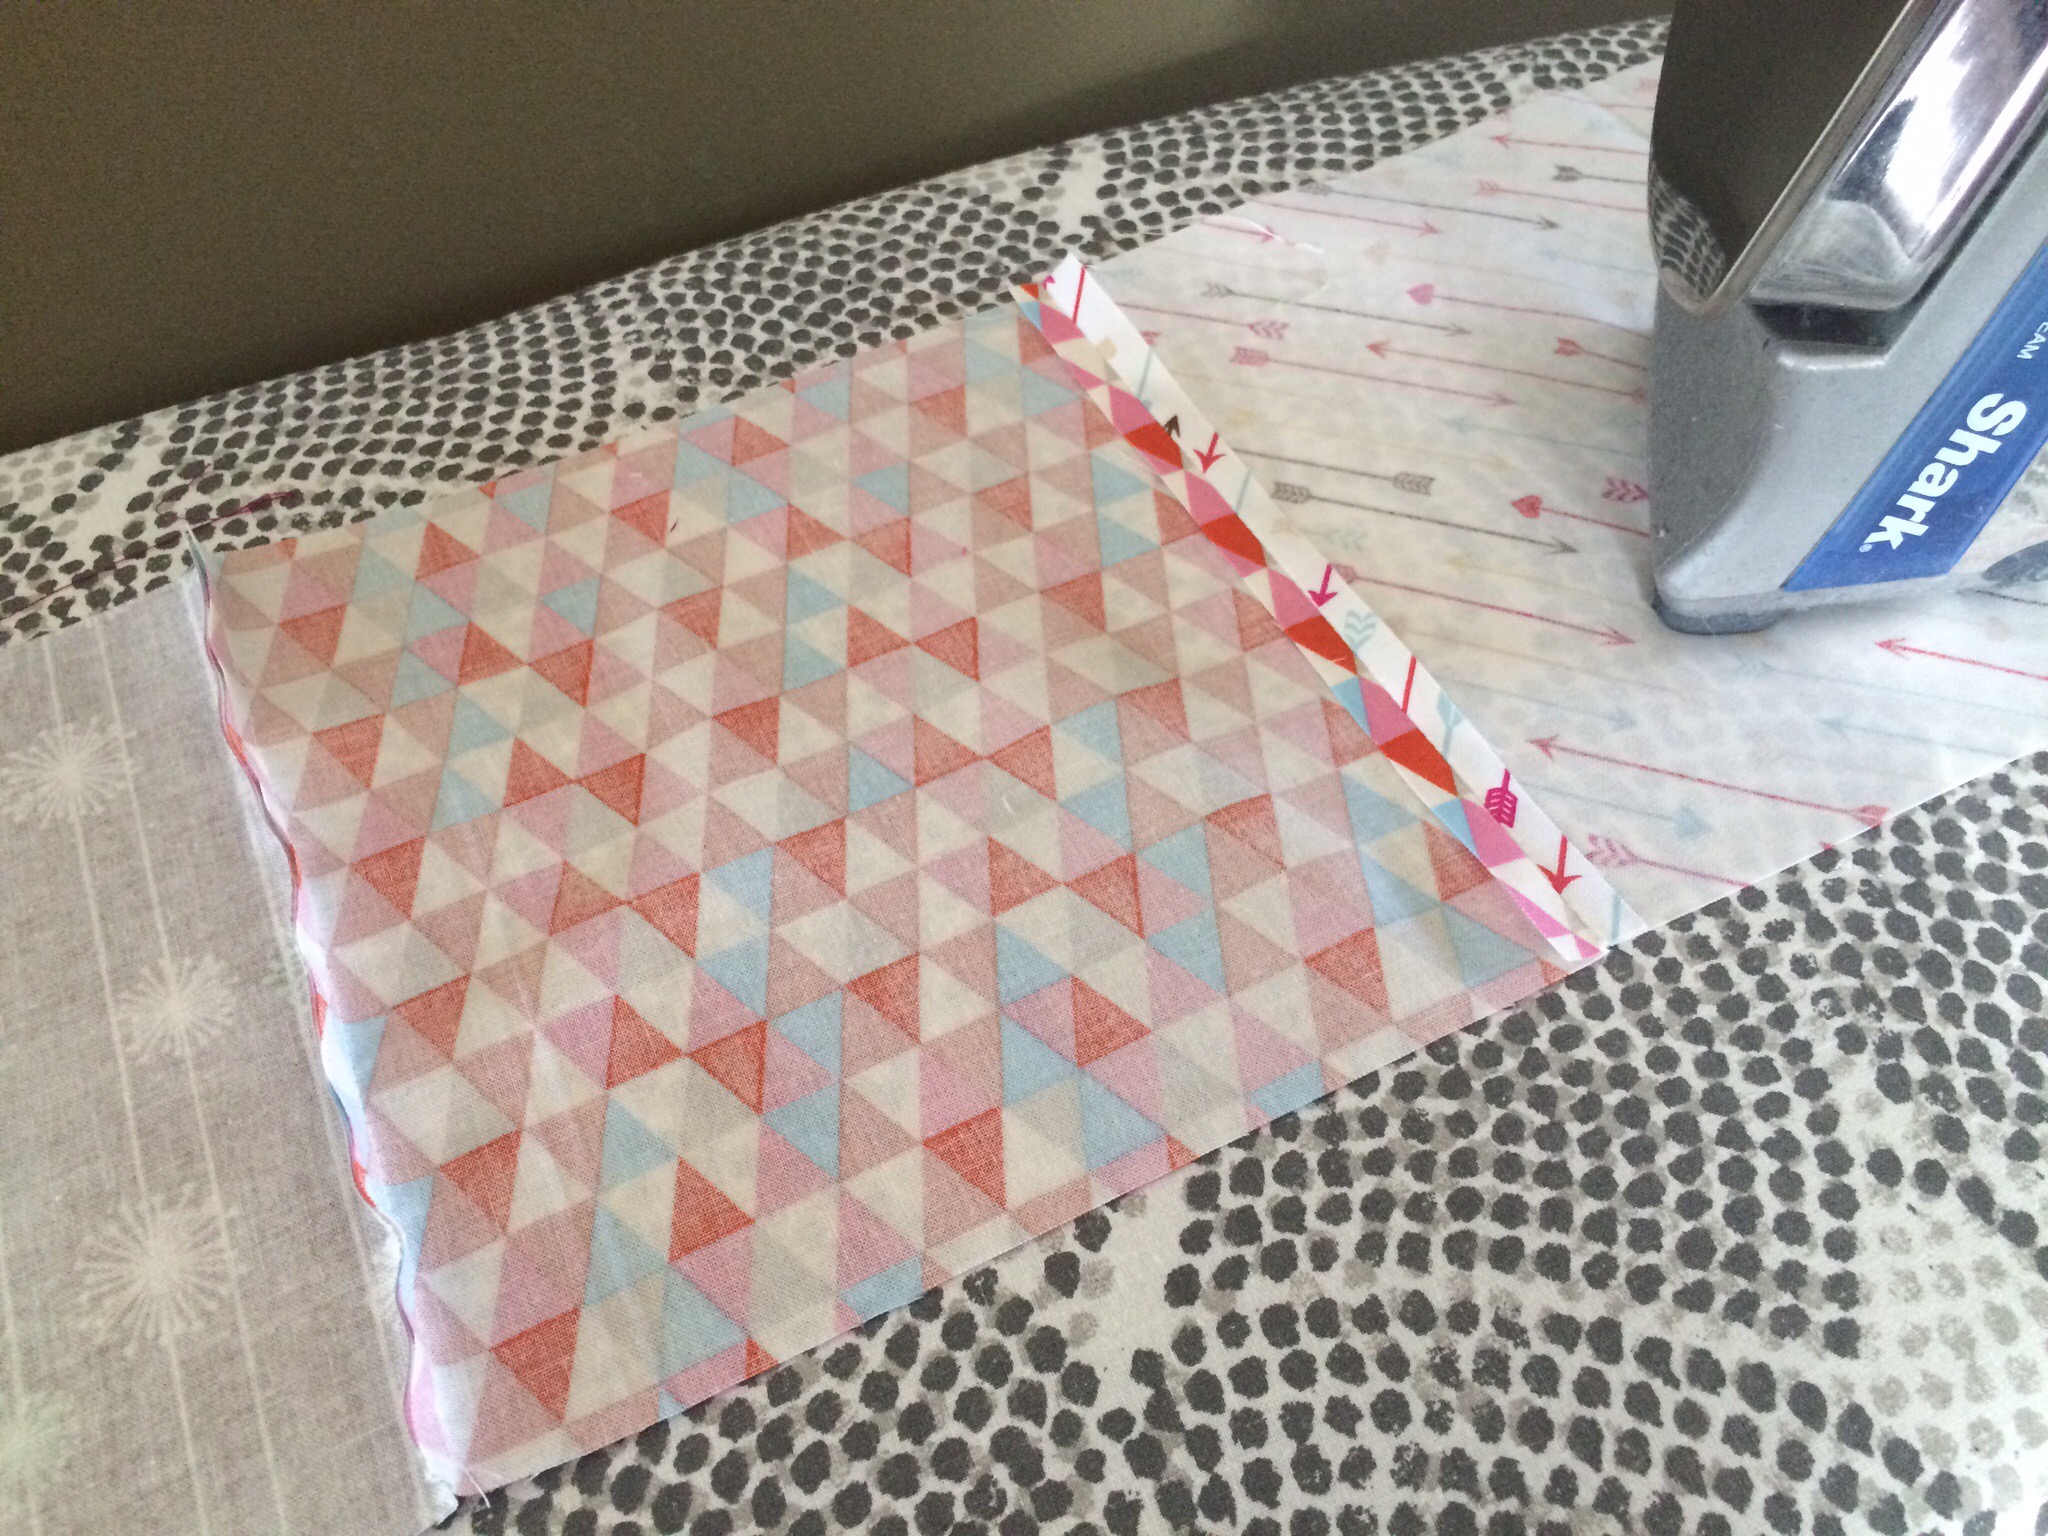
When it comes to cutting the dress, don’t be afraid. Cut along the seams to give yourself large panels to work with. Do just like you did before and cut a 6.5″ strip and then use the quilting ruler to cut squares.

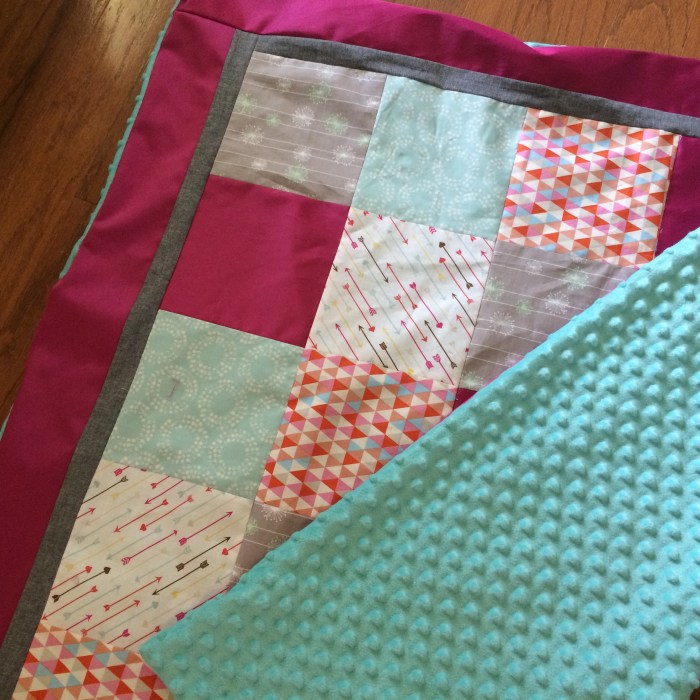
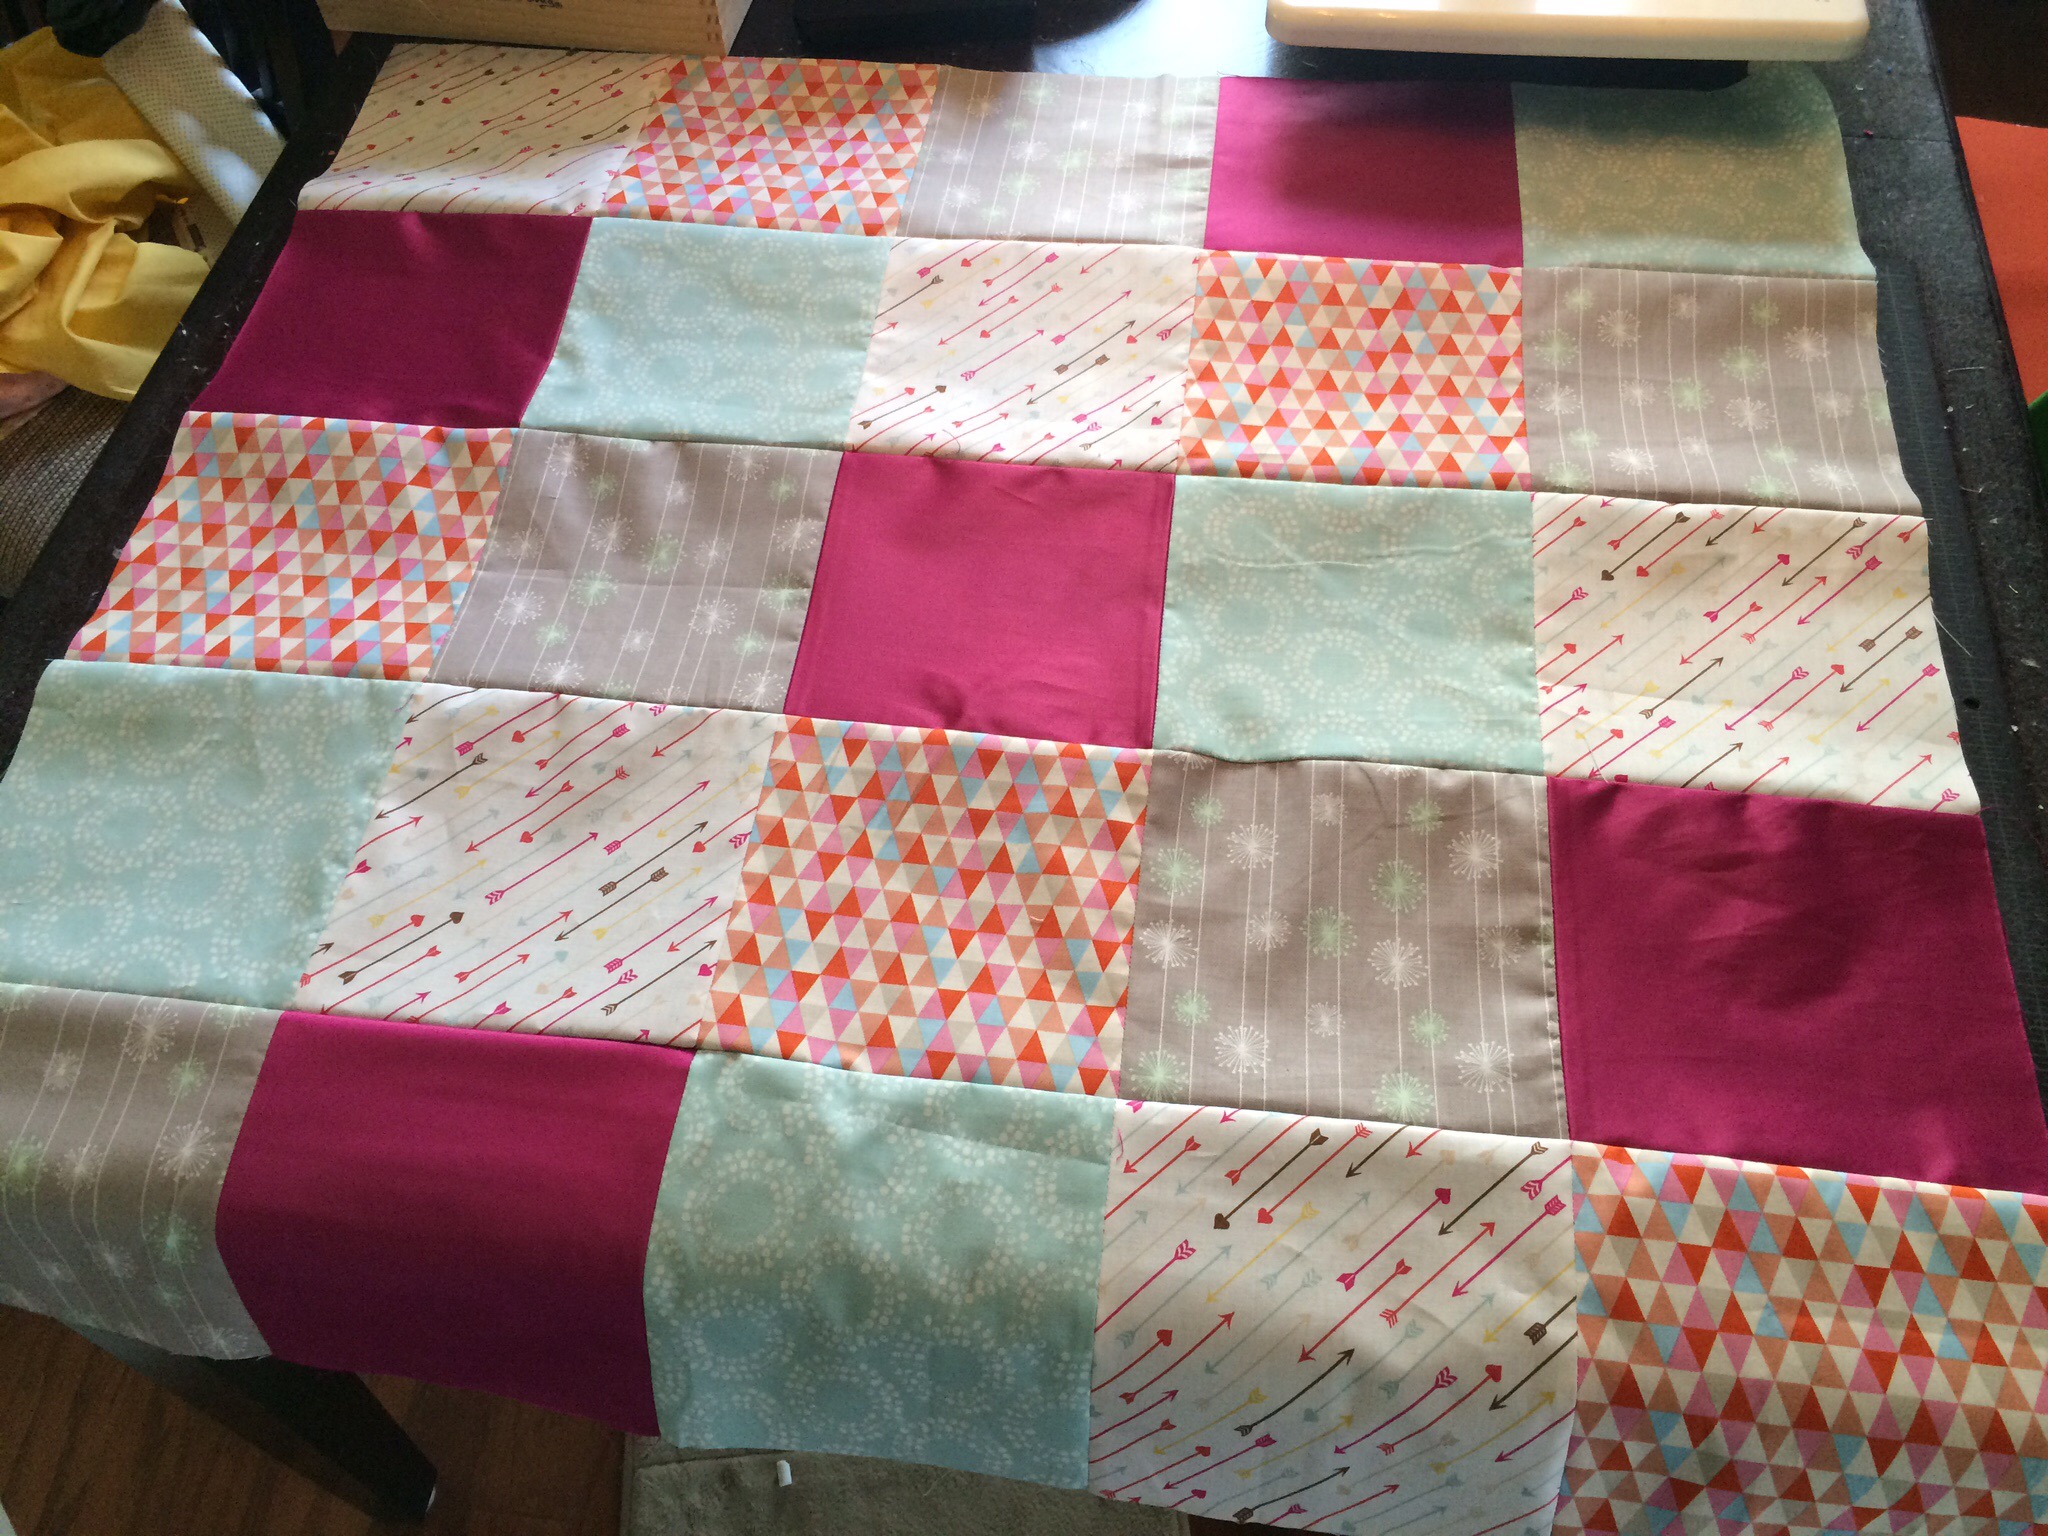
Once all of your squares are cut, lay them out in a design or pattern you think looks best. I always like the dress to be the middle square, and then I spread them out- always making sure each of the 5 patterns are represented in each row and column.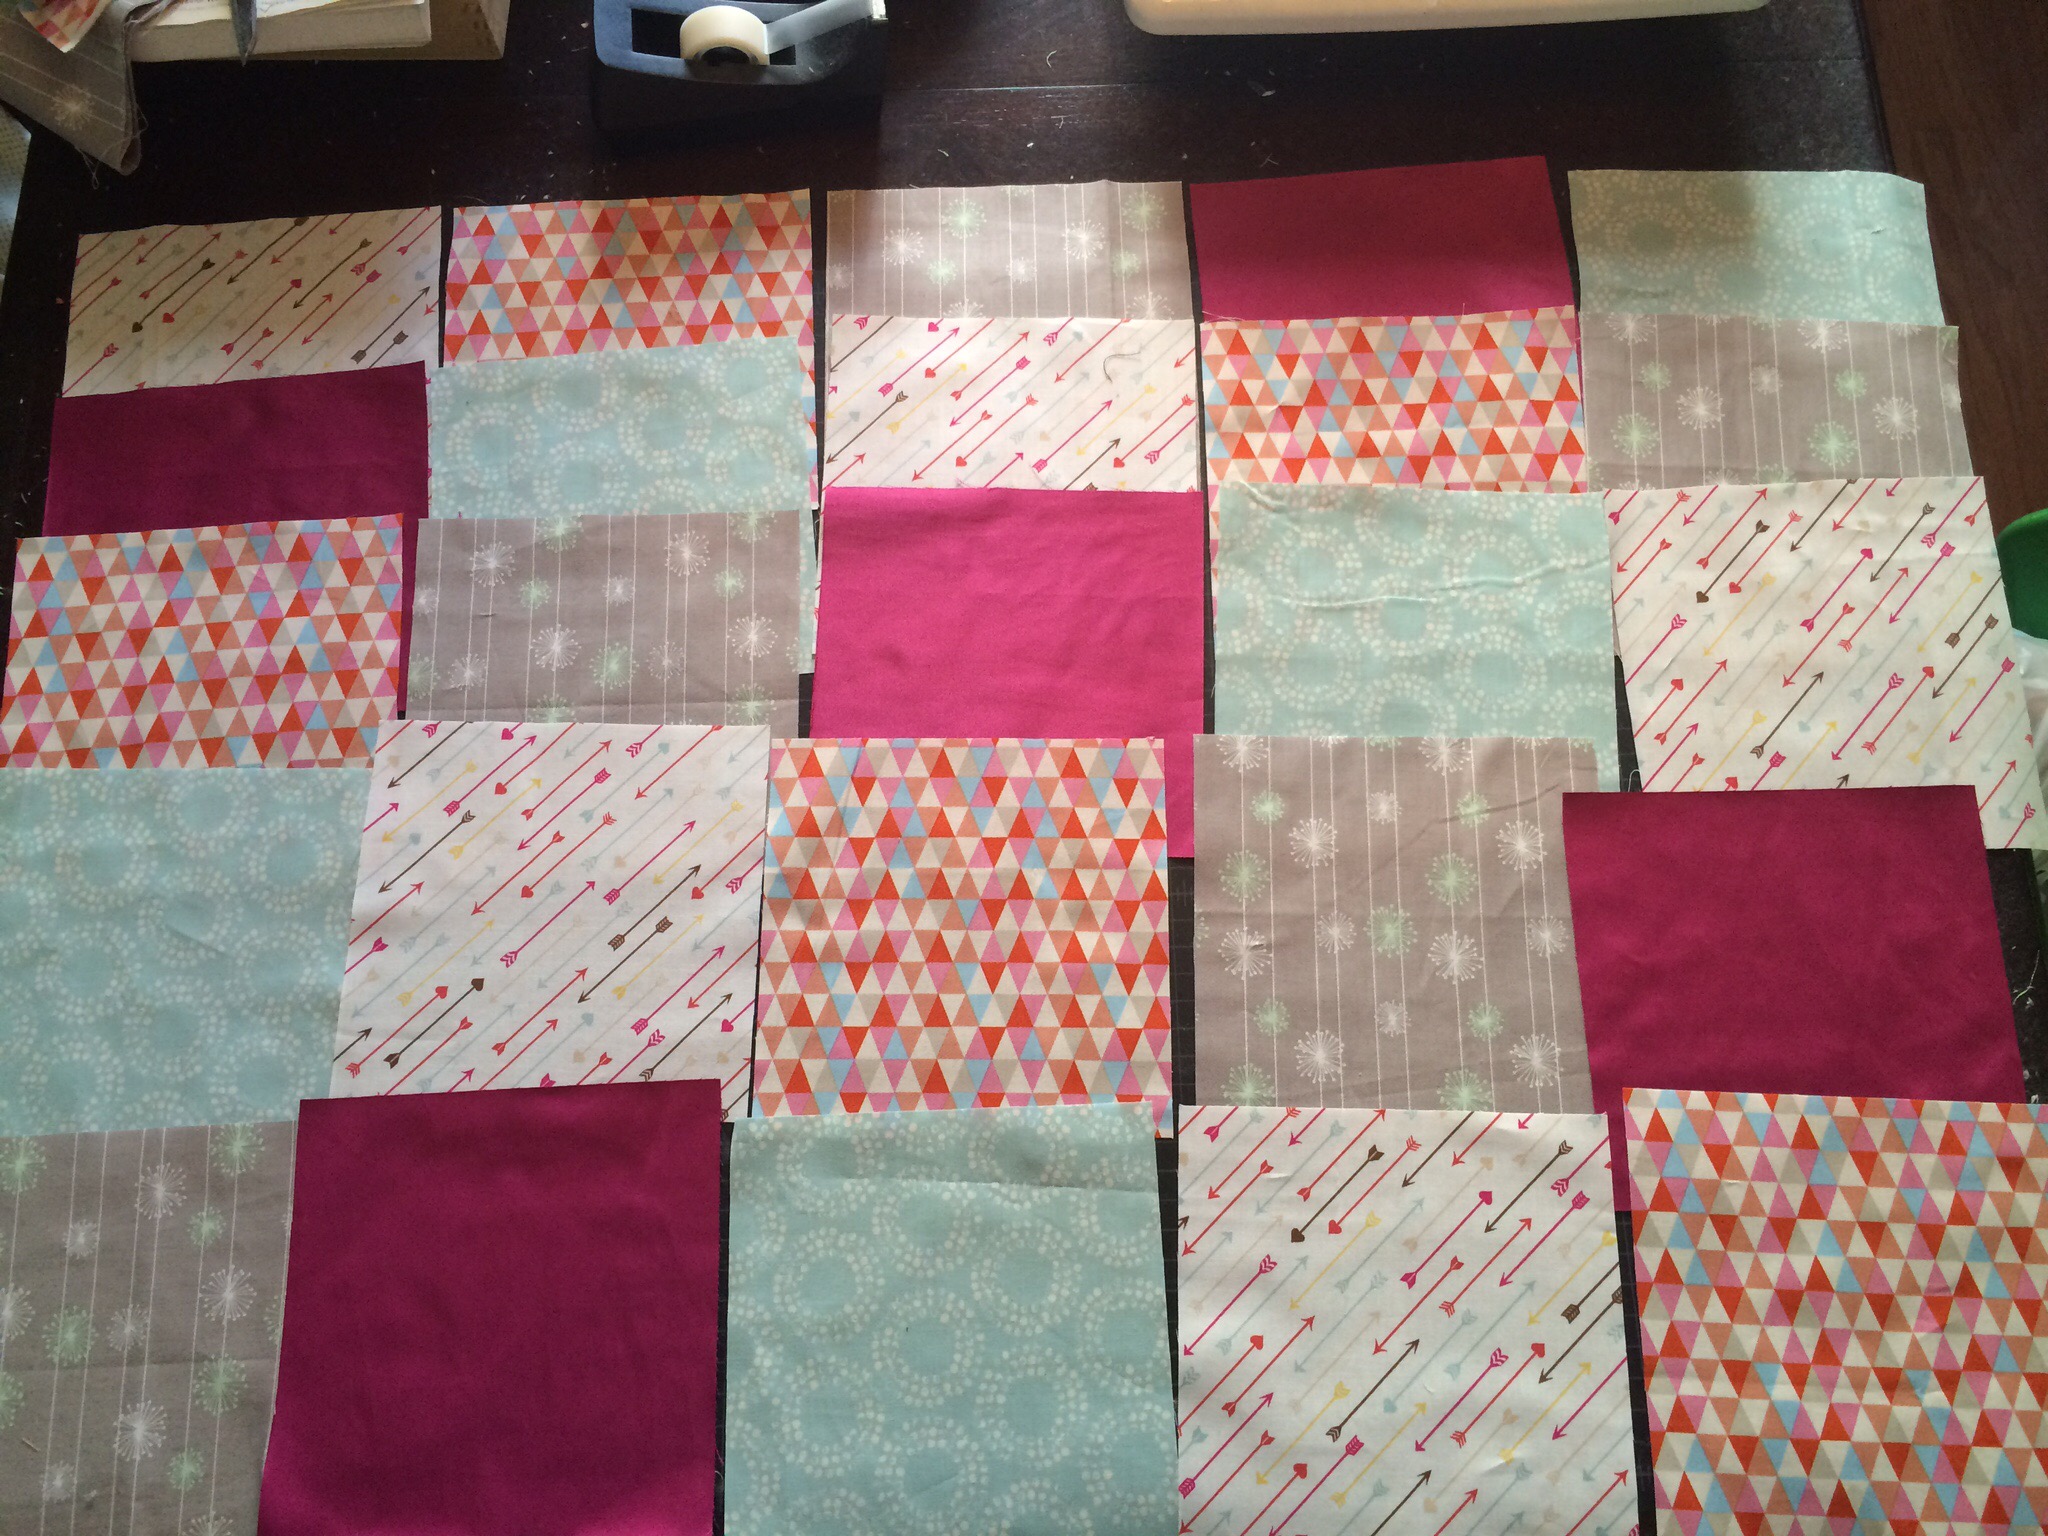
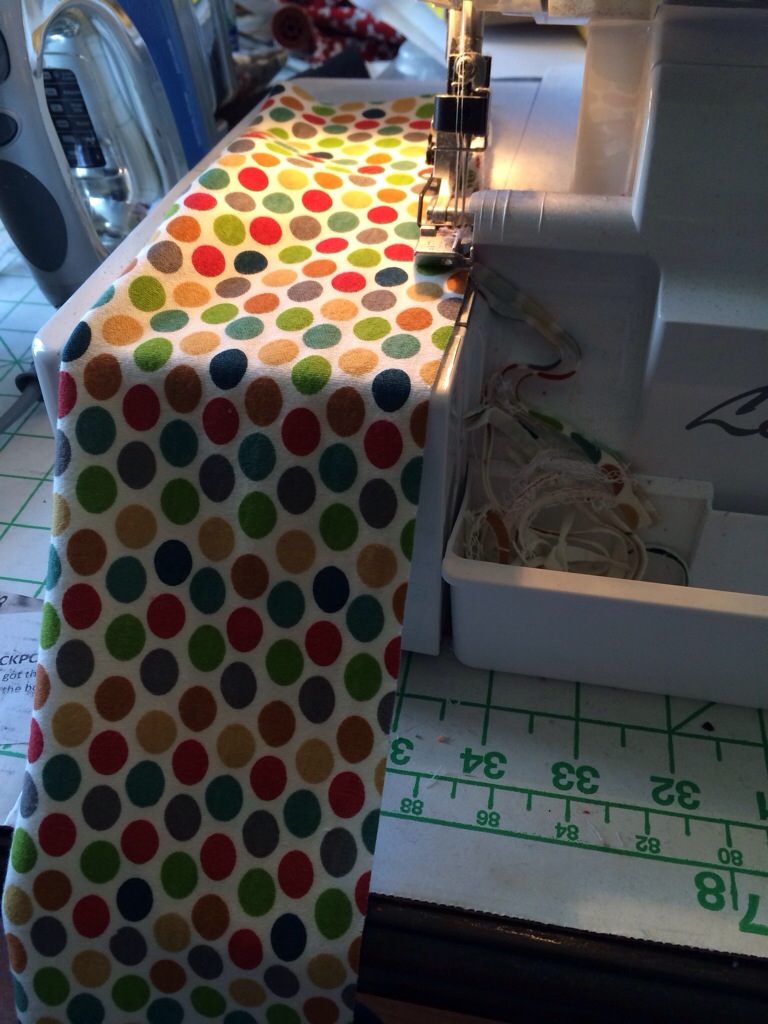
Now it’s time to sew! If you look behind my sewing machine in the picture, you can see how I have each of the rows laid out so they’re in order and ready.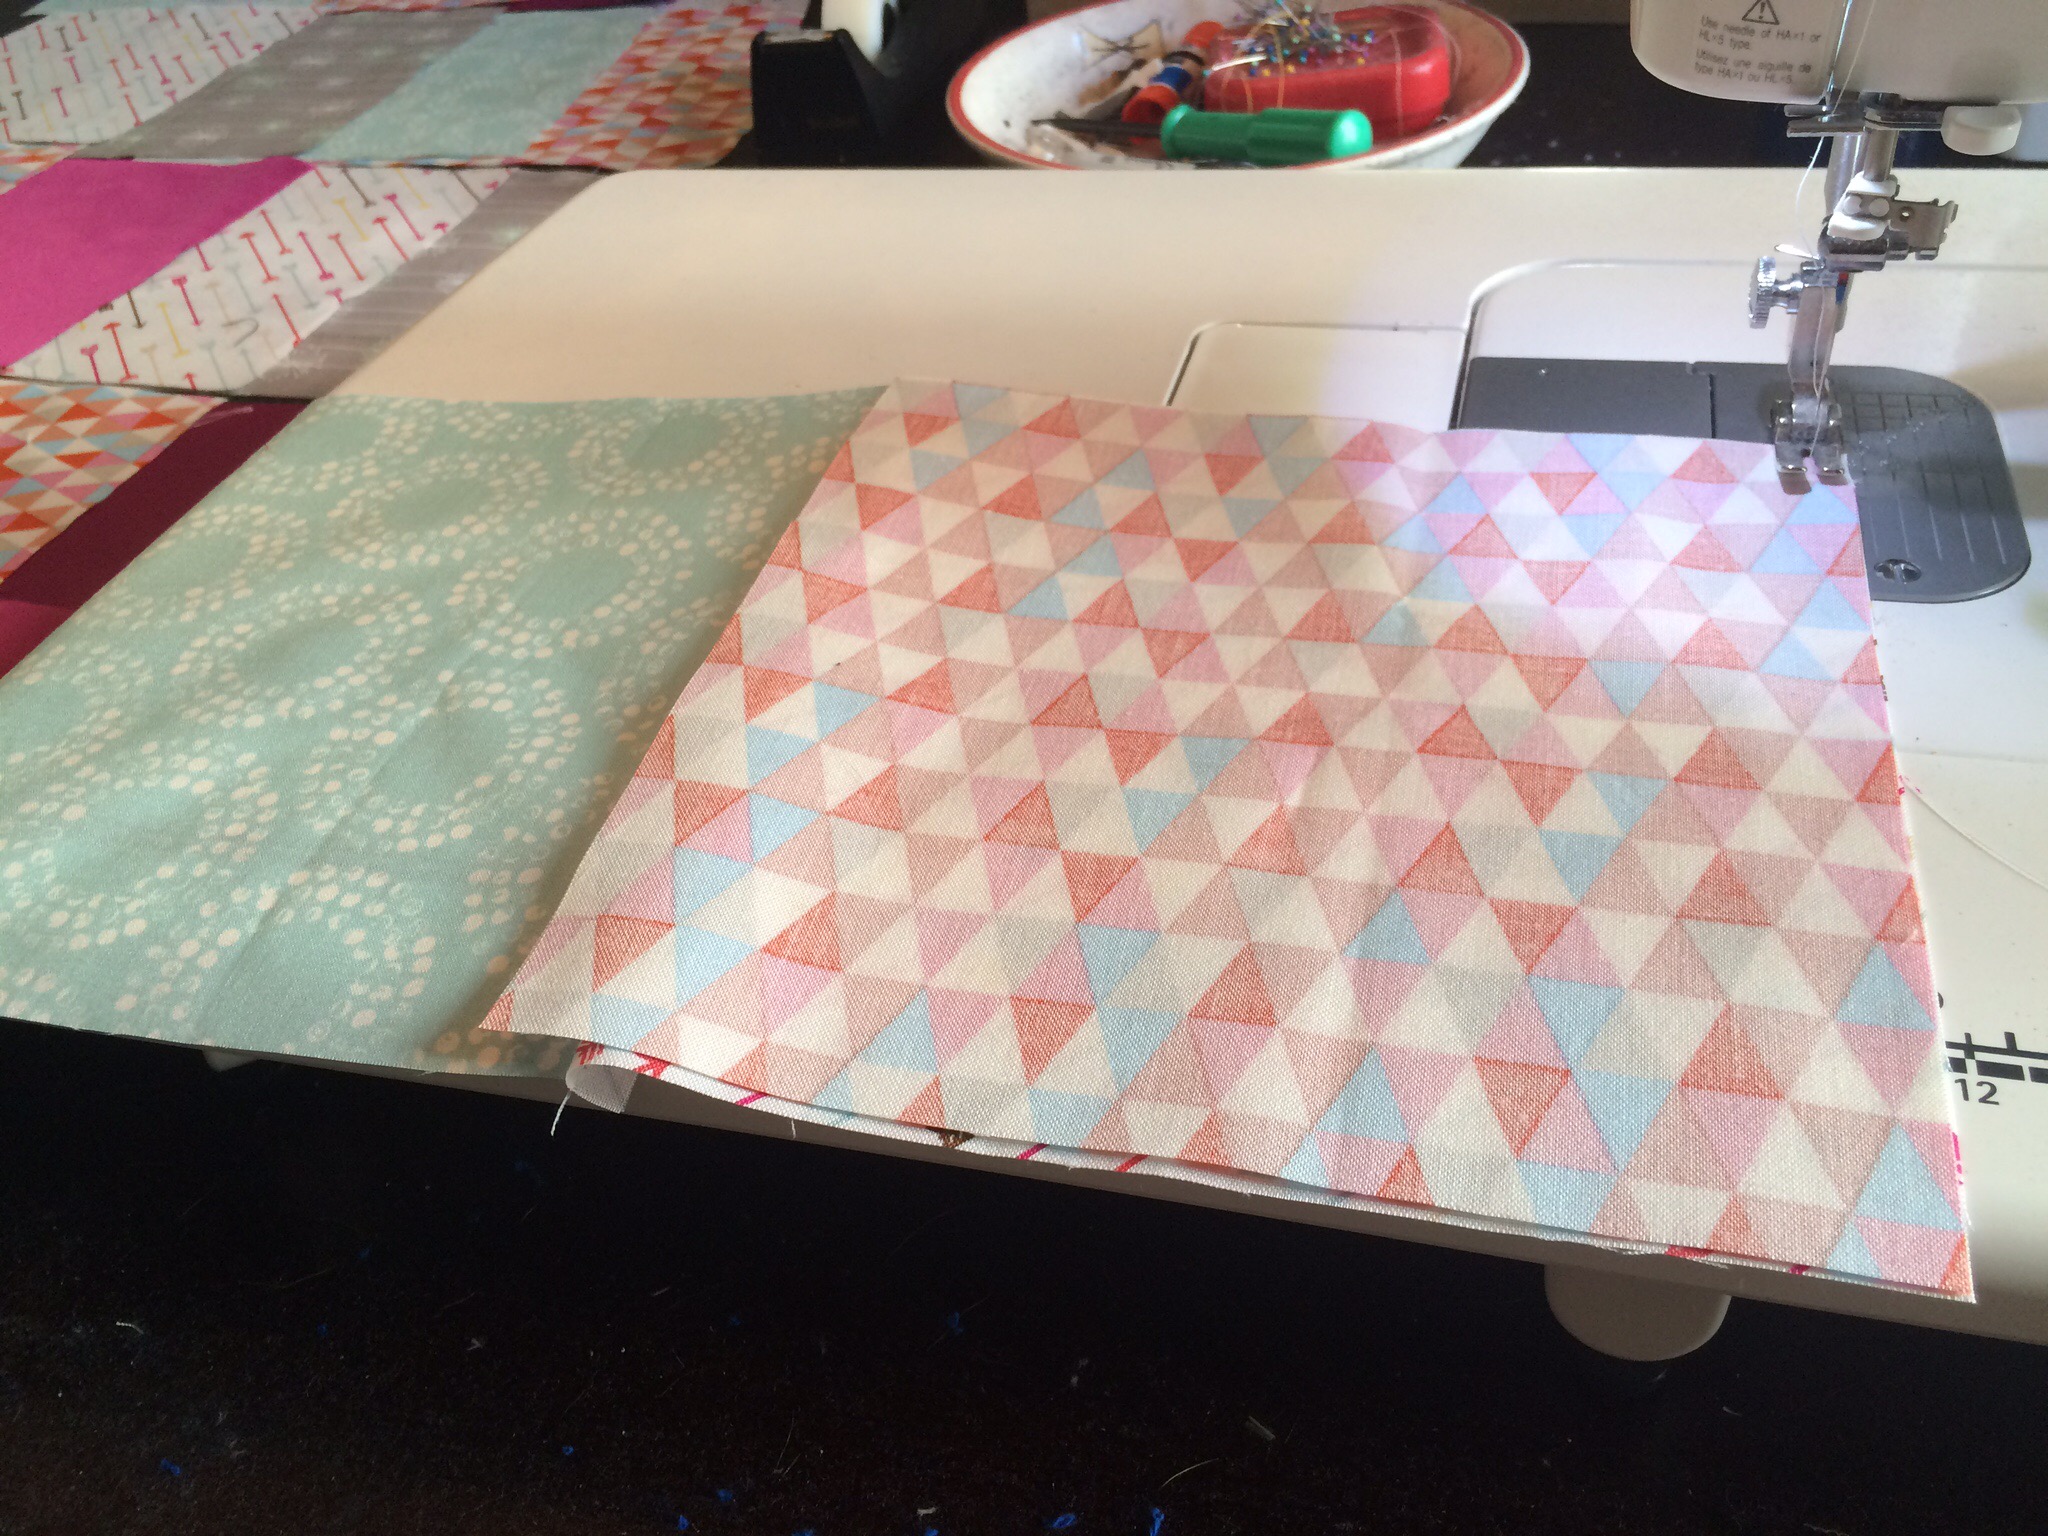
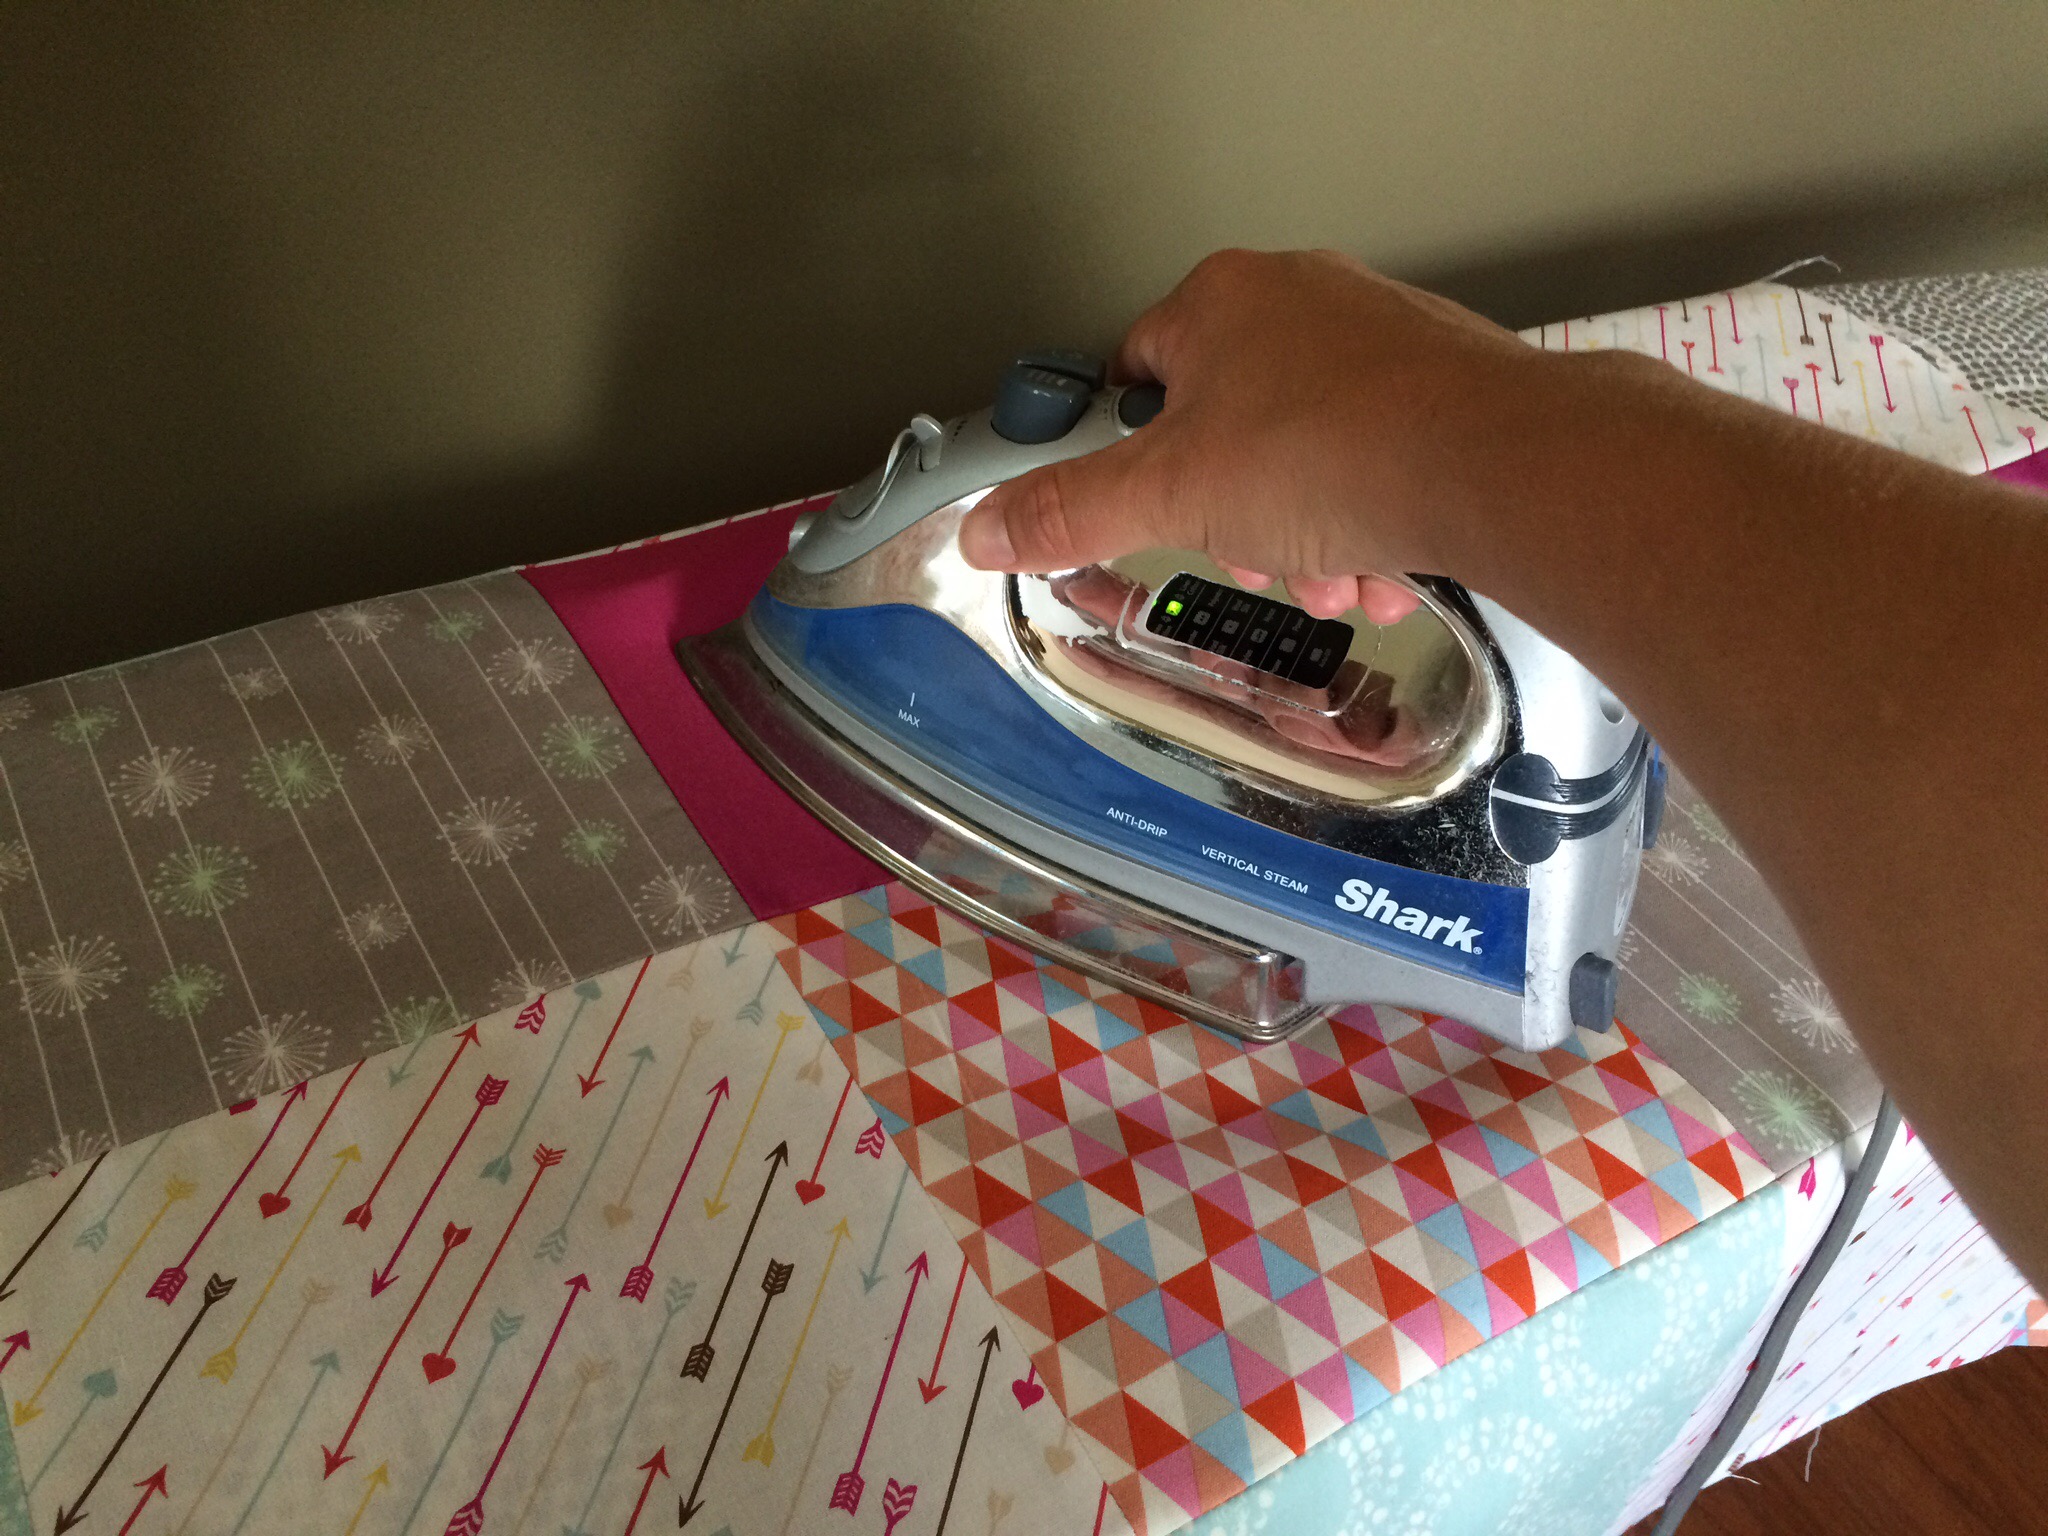
Ta da!!! Once you have your five rows sewn together, iron the seams flat.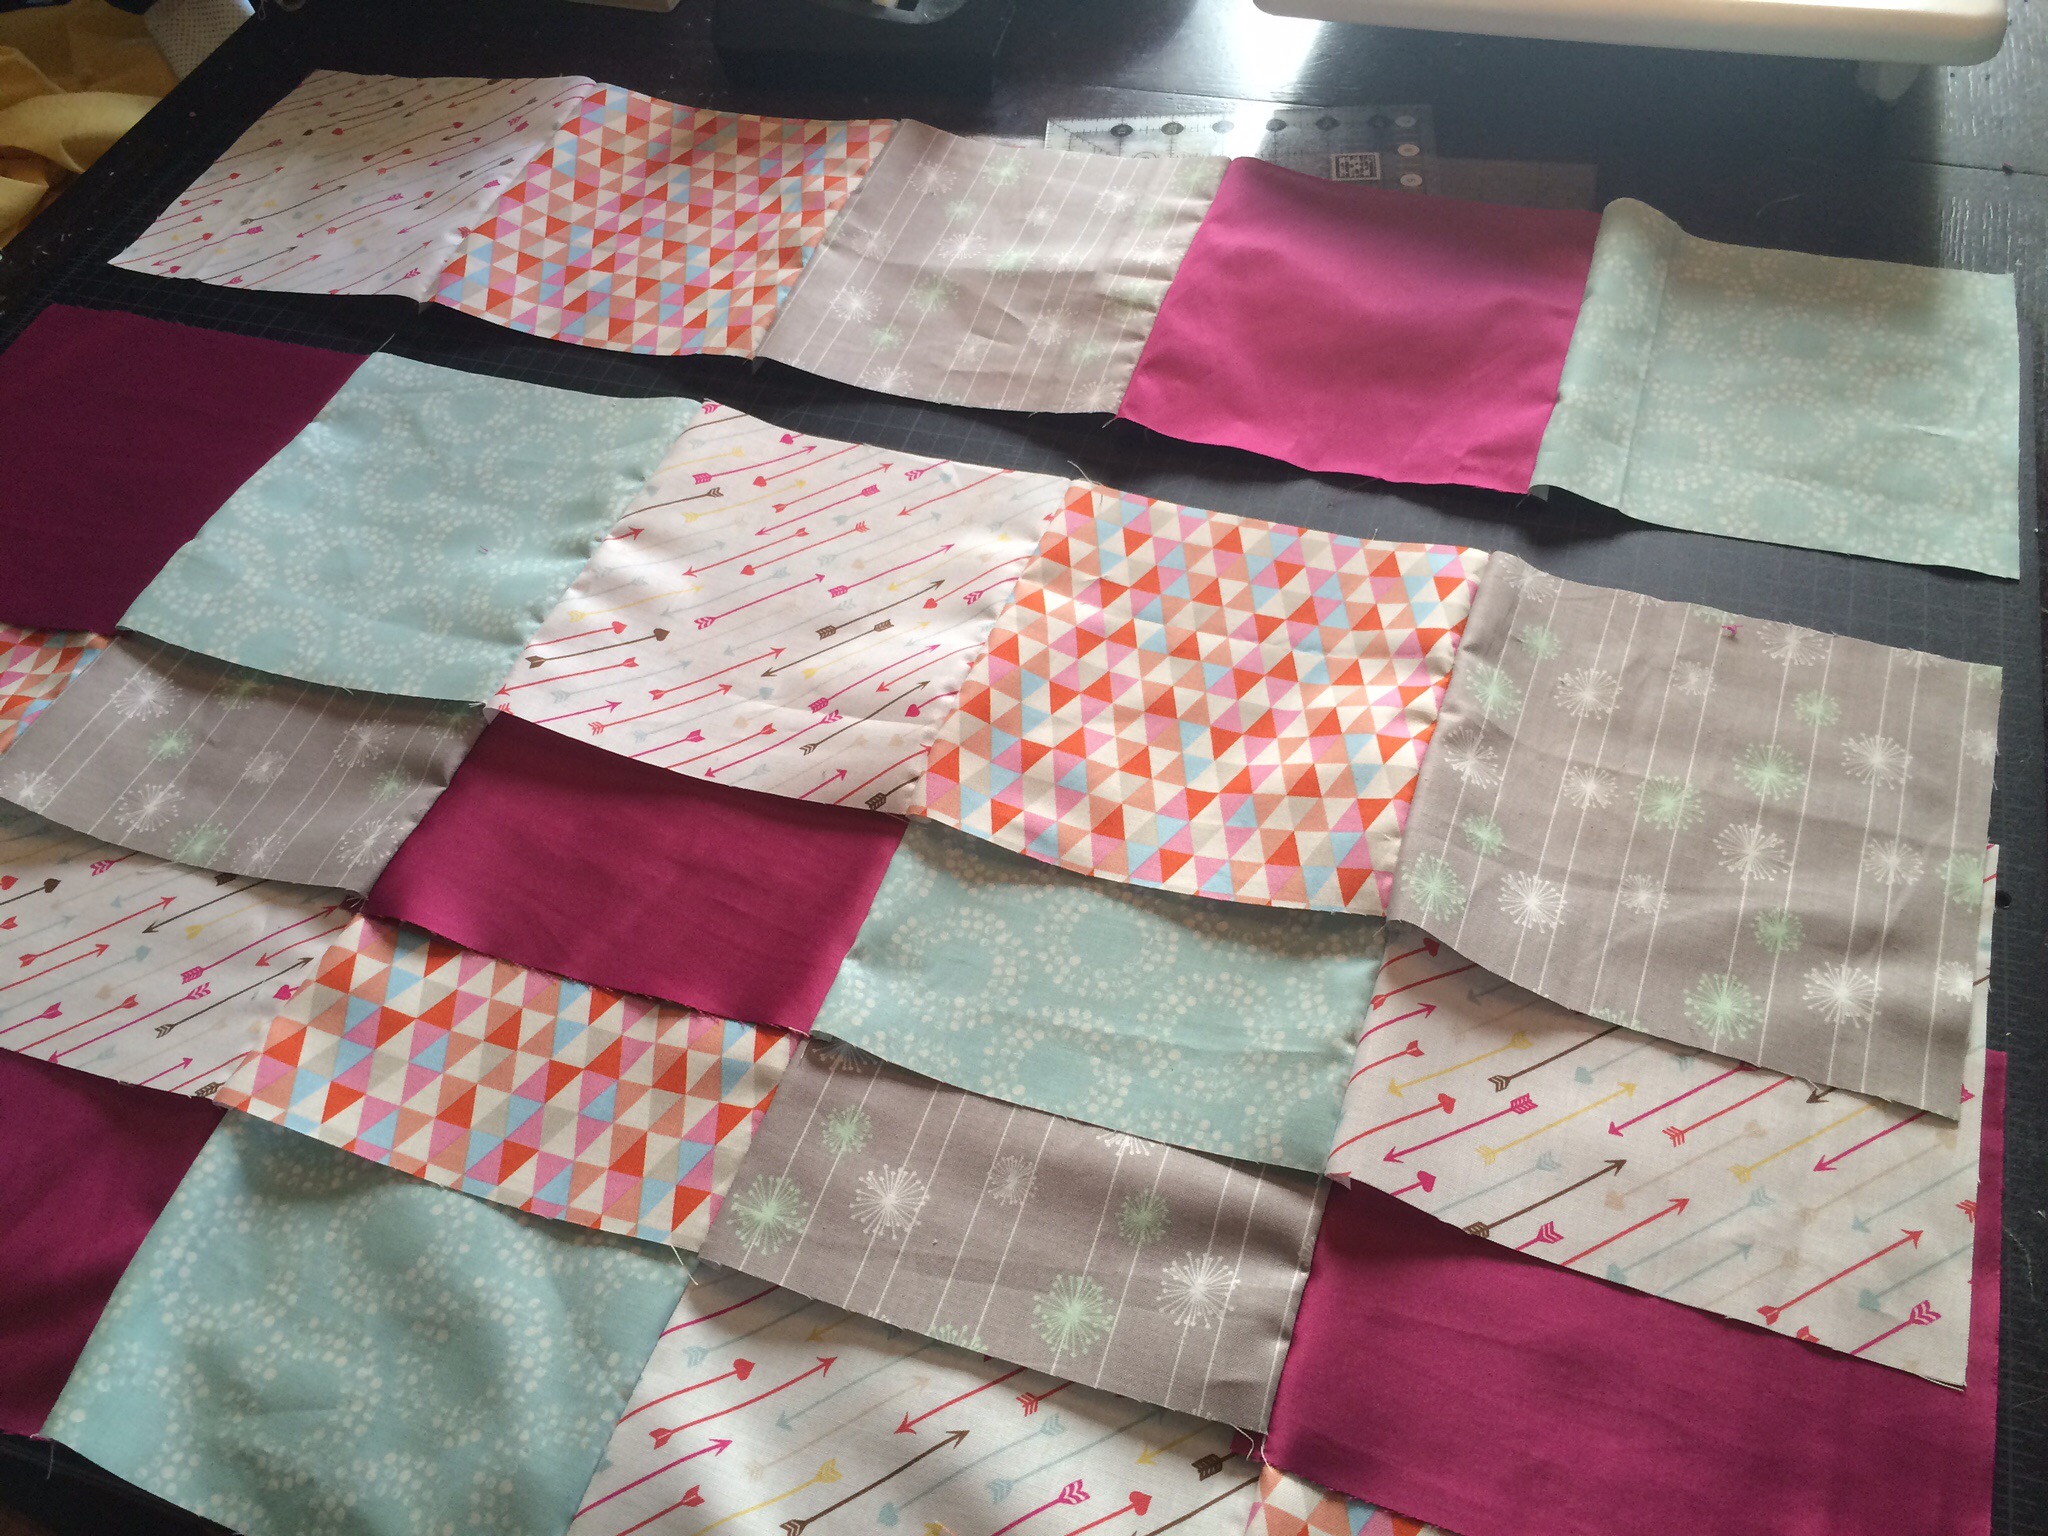
Now it’s time to sew your rows together to make into a blanket. I think this is the part that worries most first time quilters because with this type of blanket you want to make sure everything lines up. When I lay out two of the rows, I make sure that the seams line up exactly, then pin them in place. 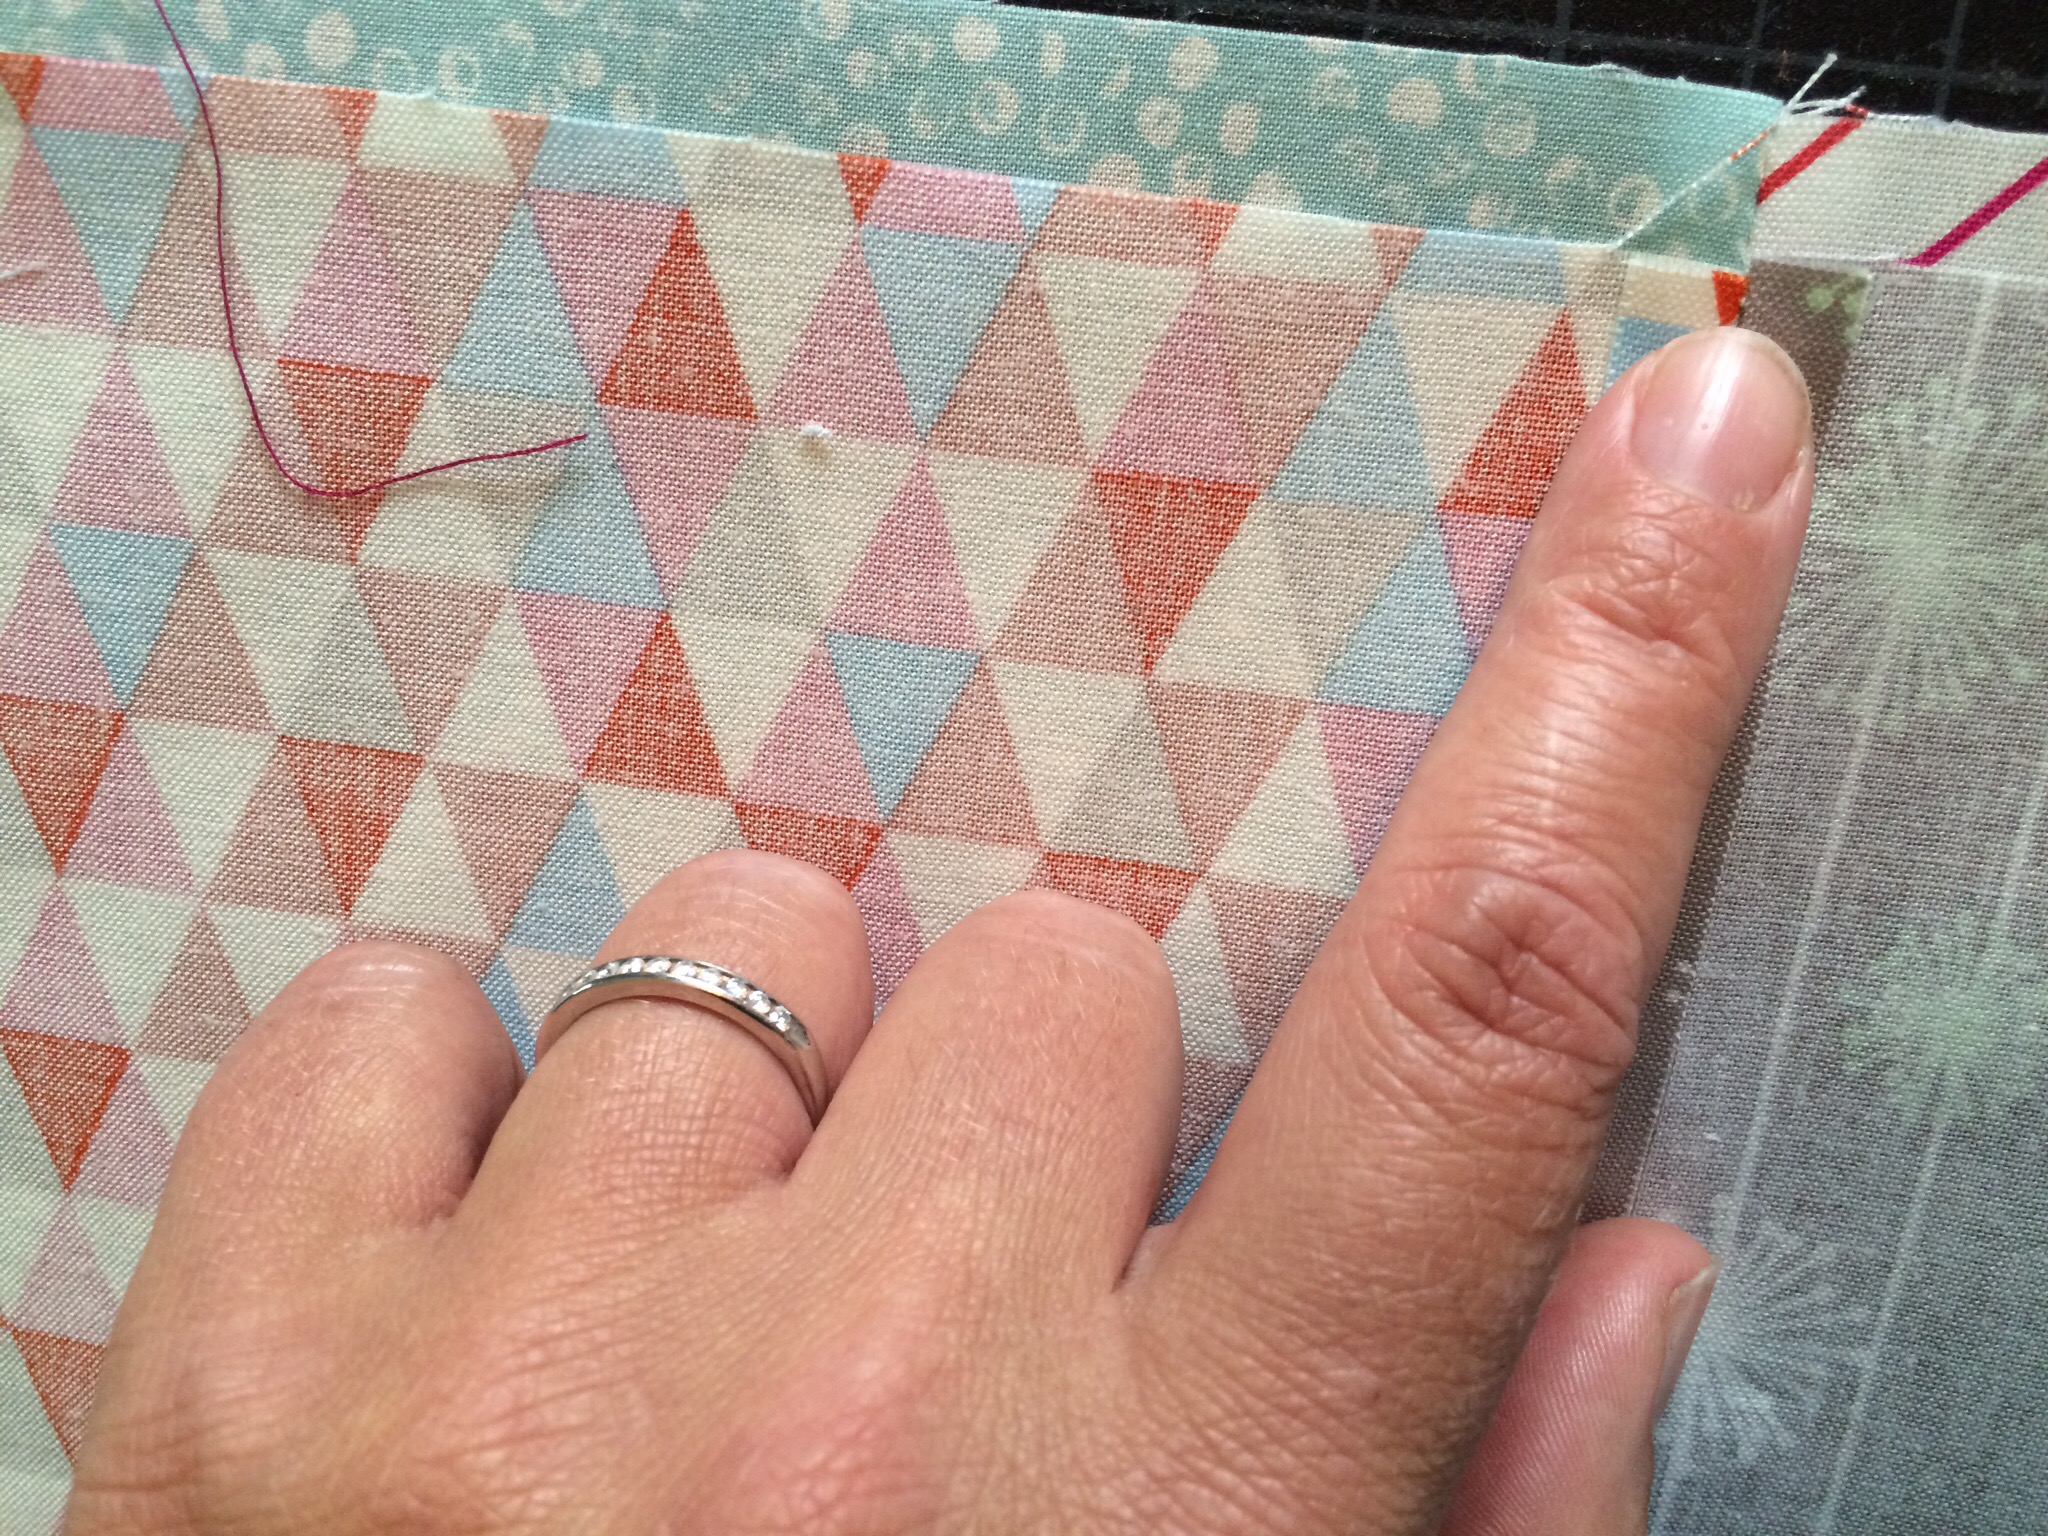

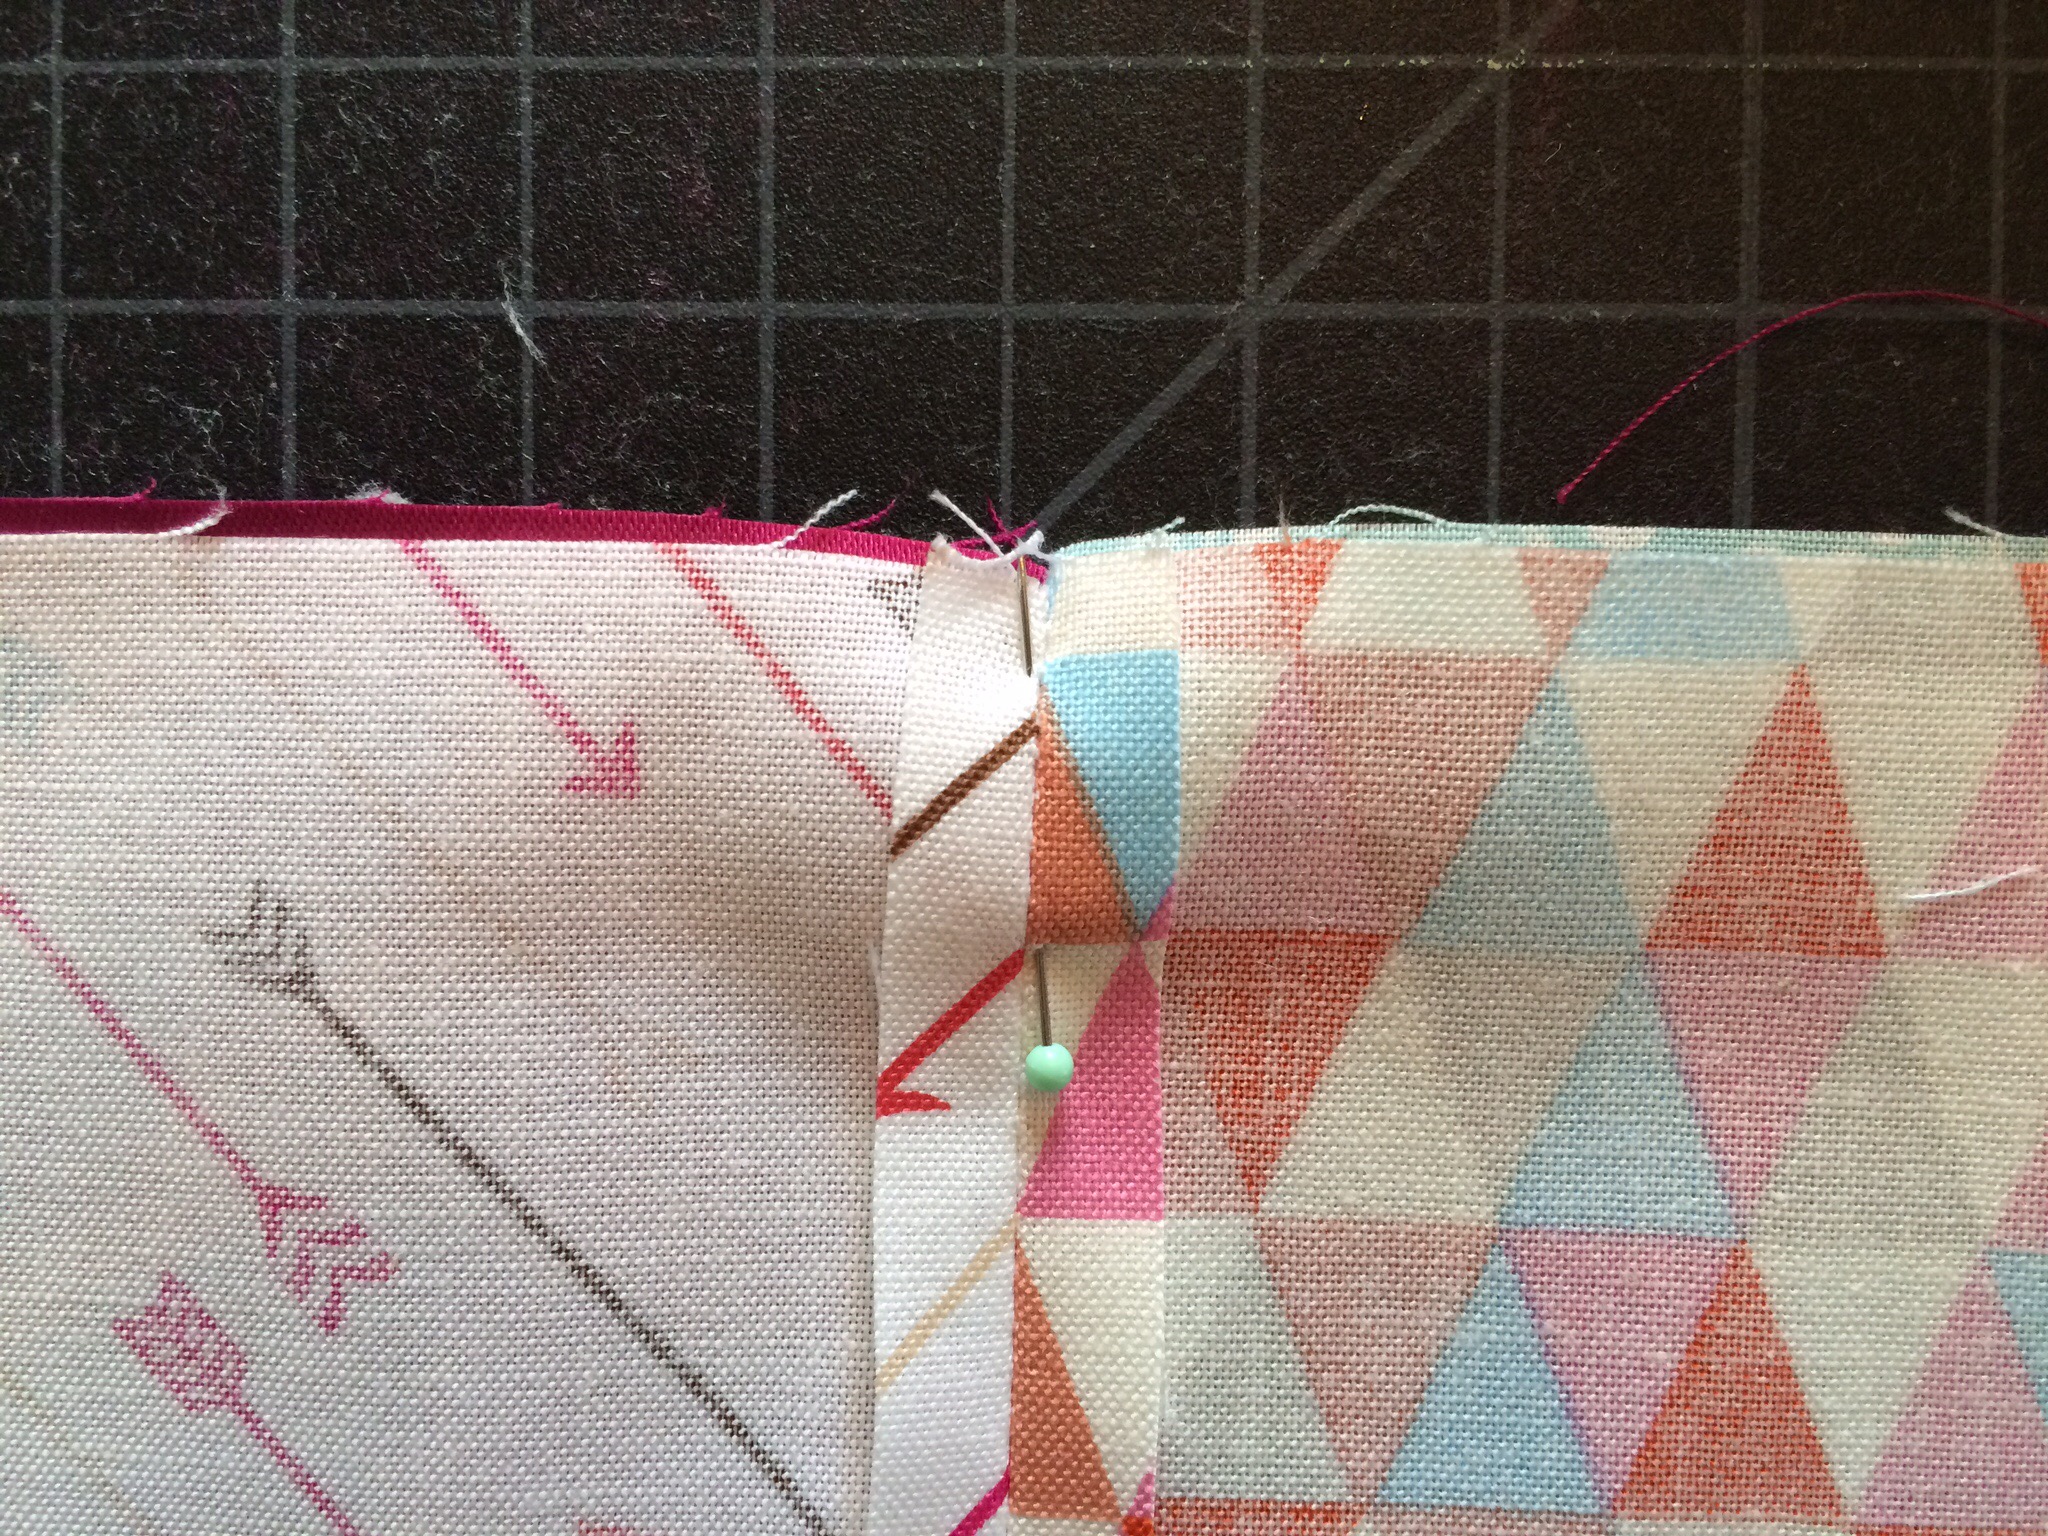
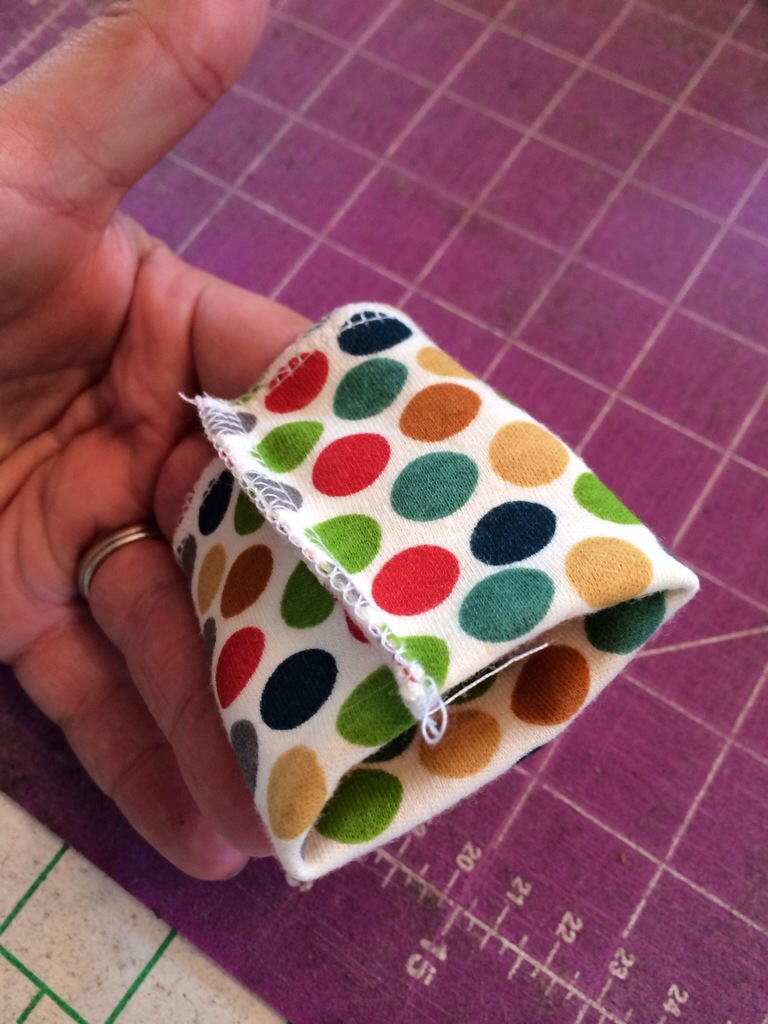
Once you’re pinned, it’s time to sew. Repeat this process with each remaining row. Then, just like before- iron your seams flat.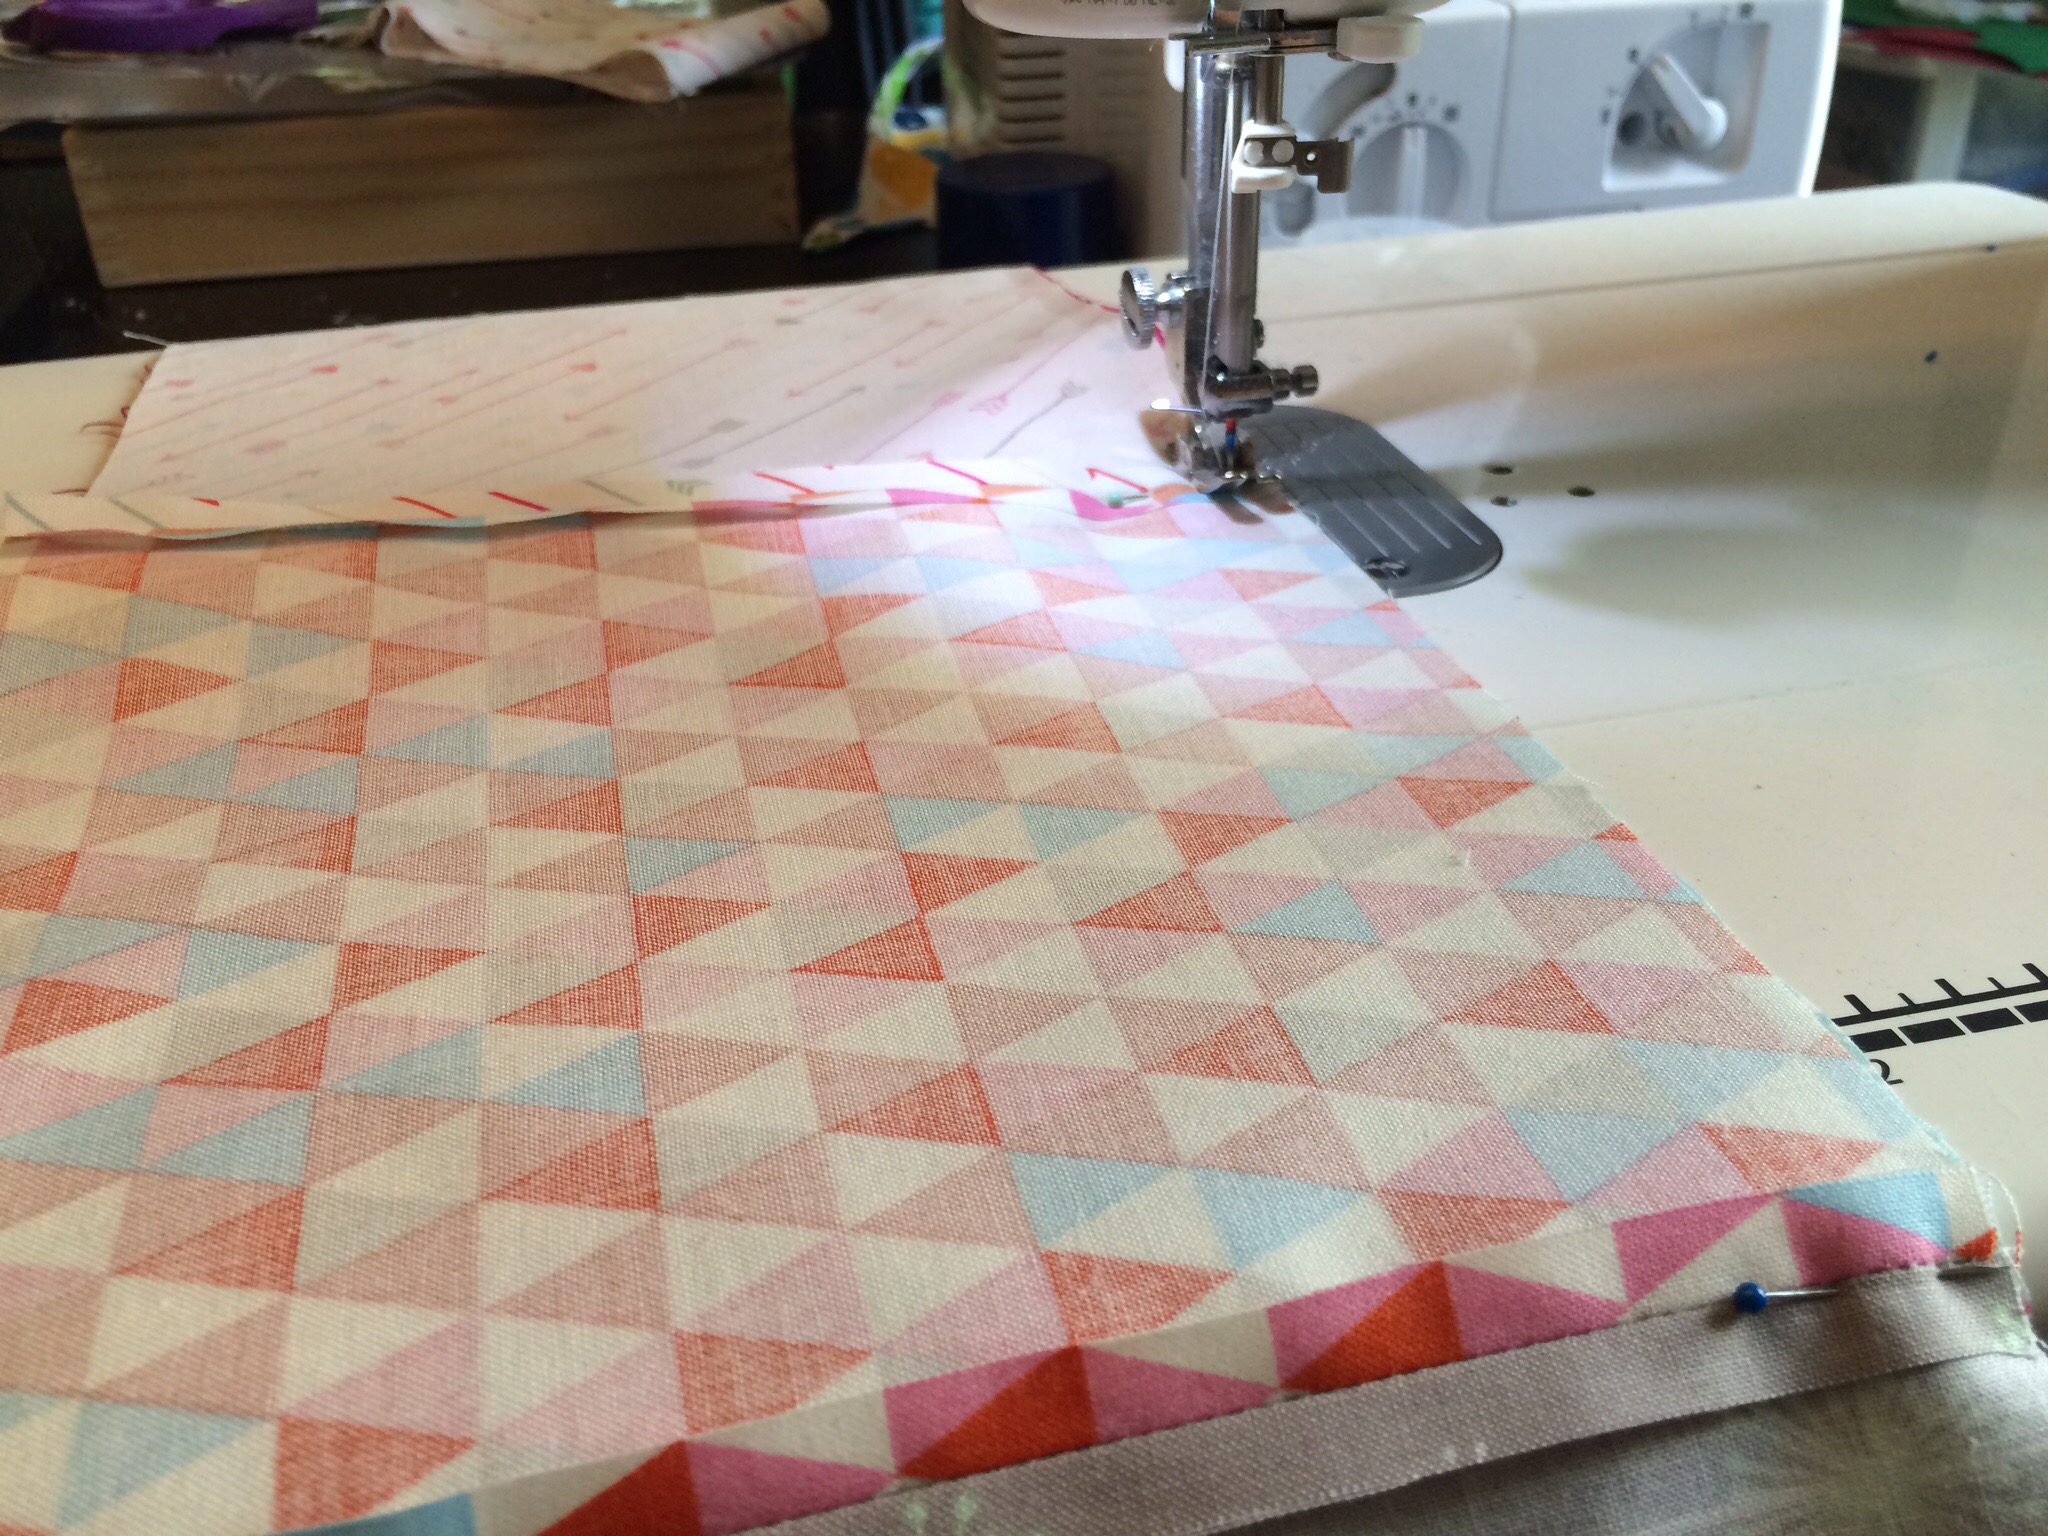

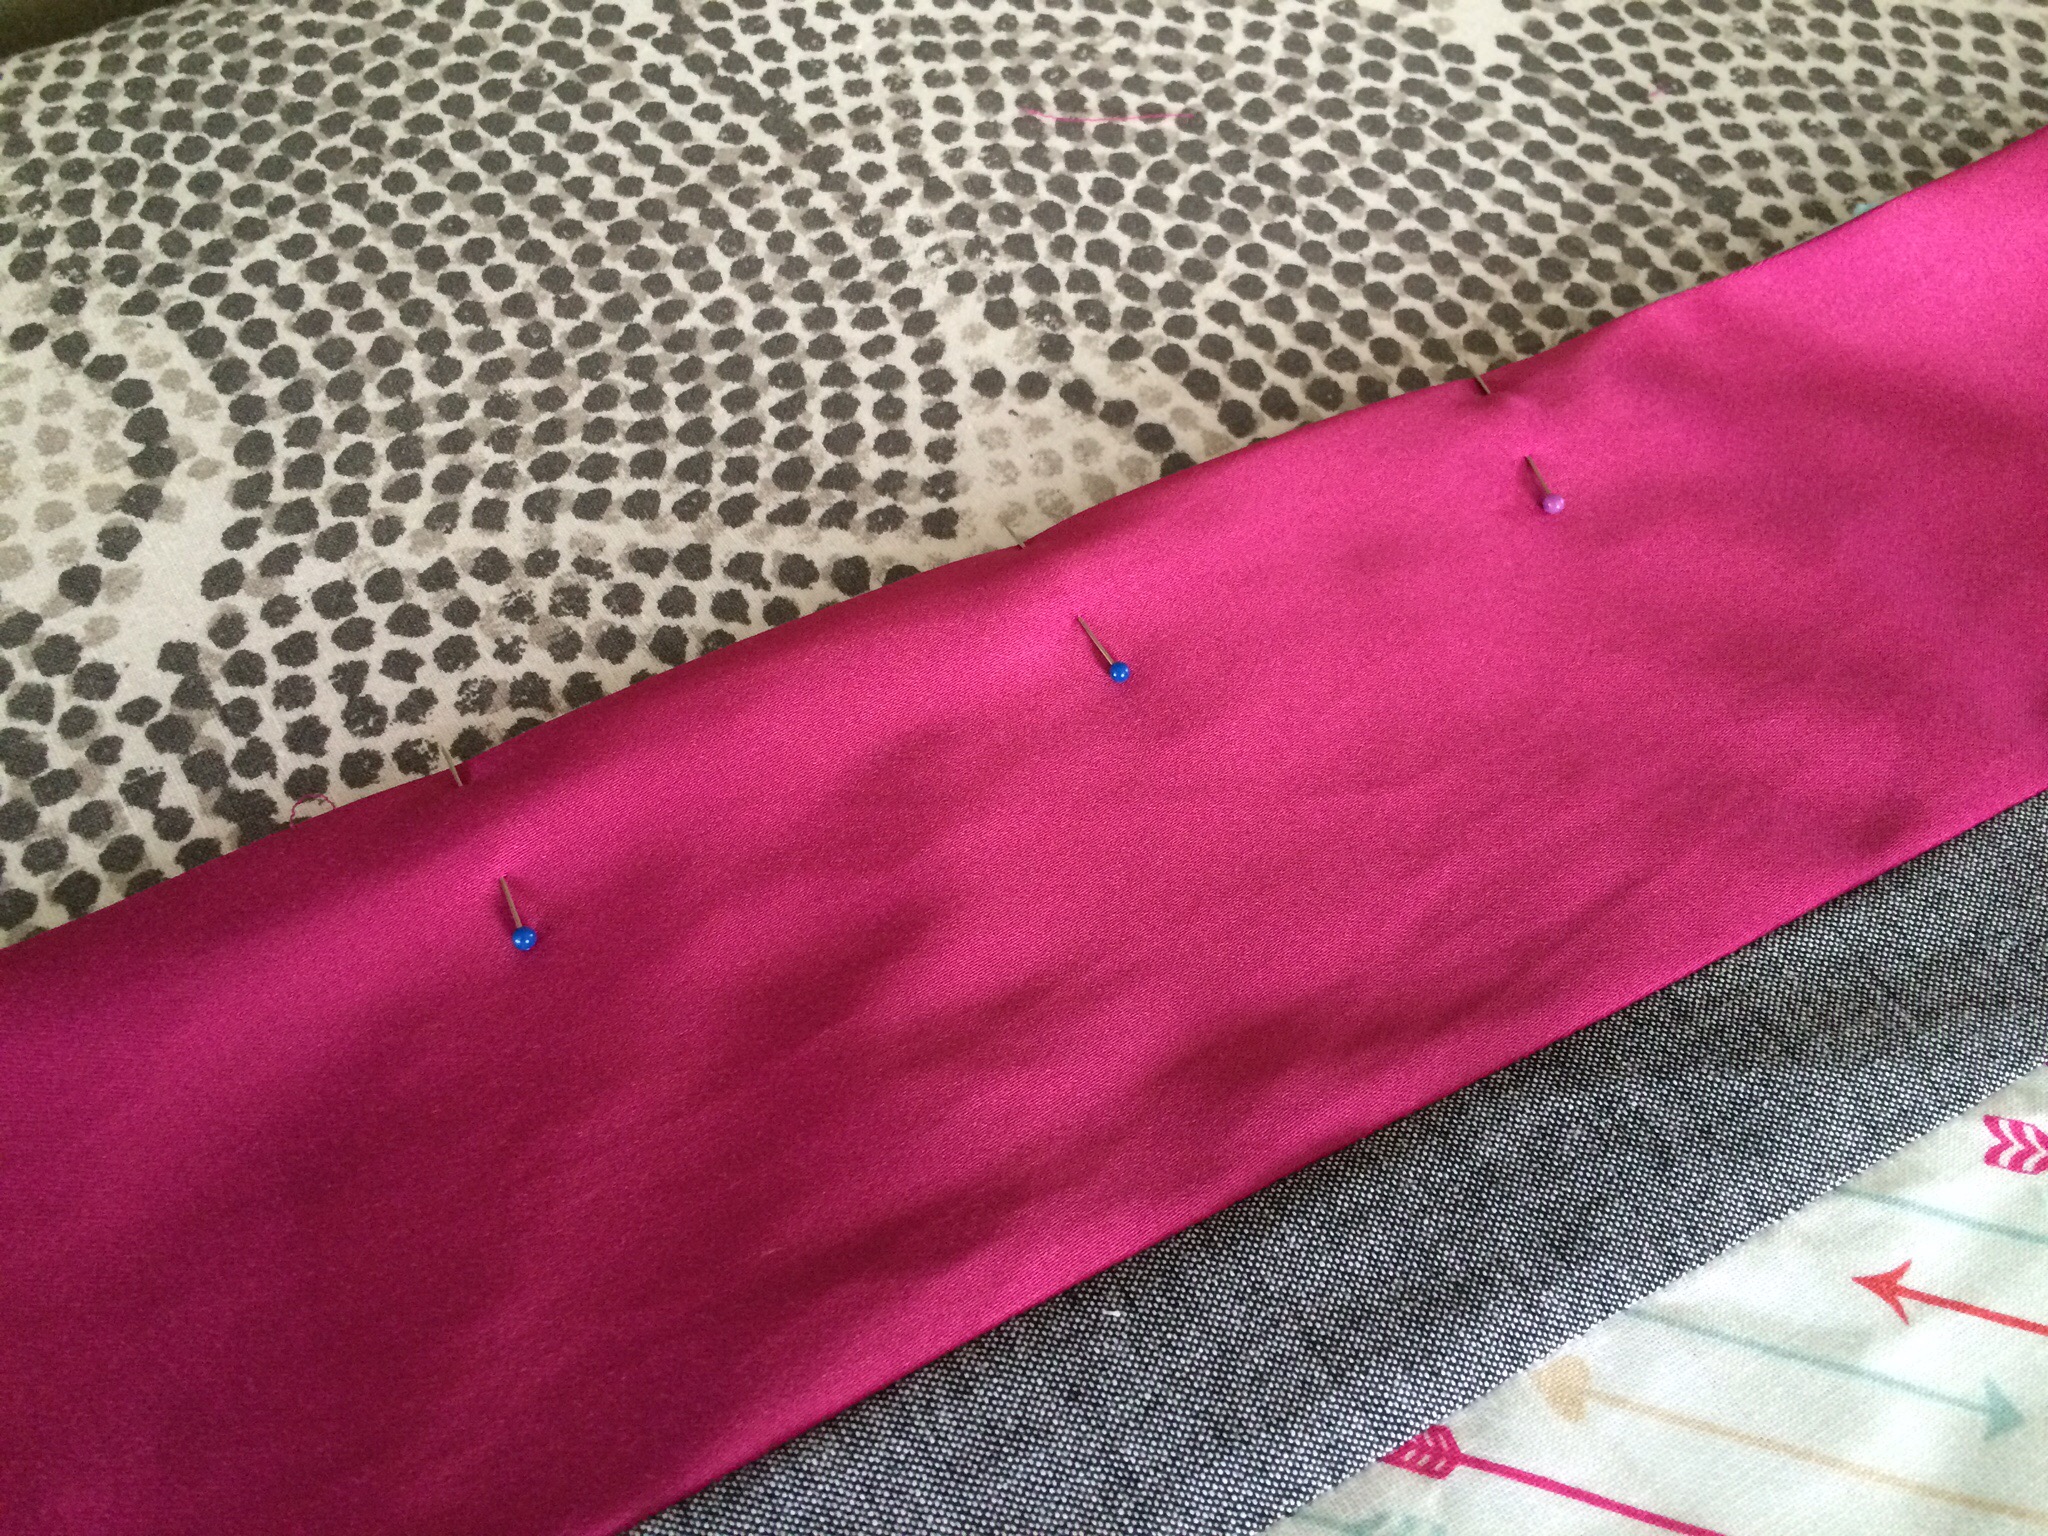
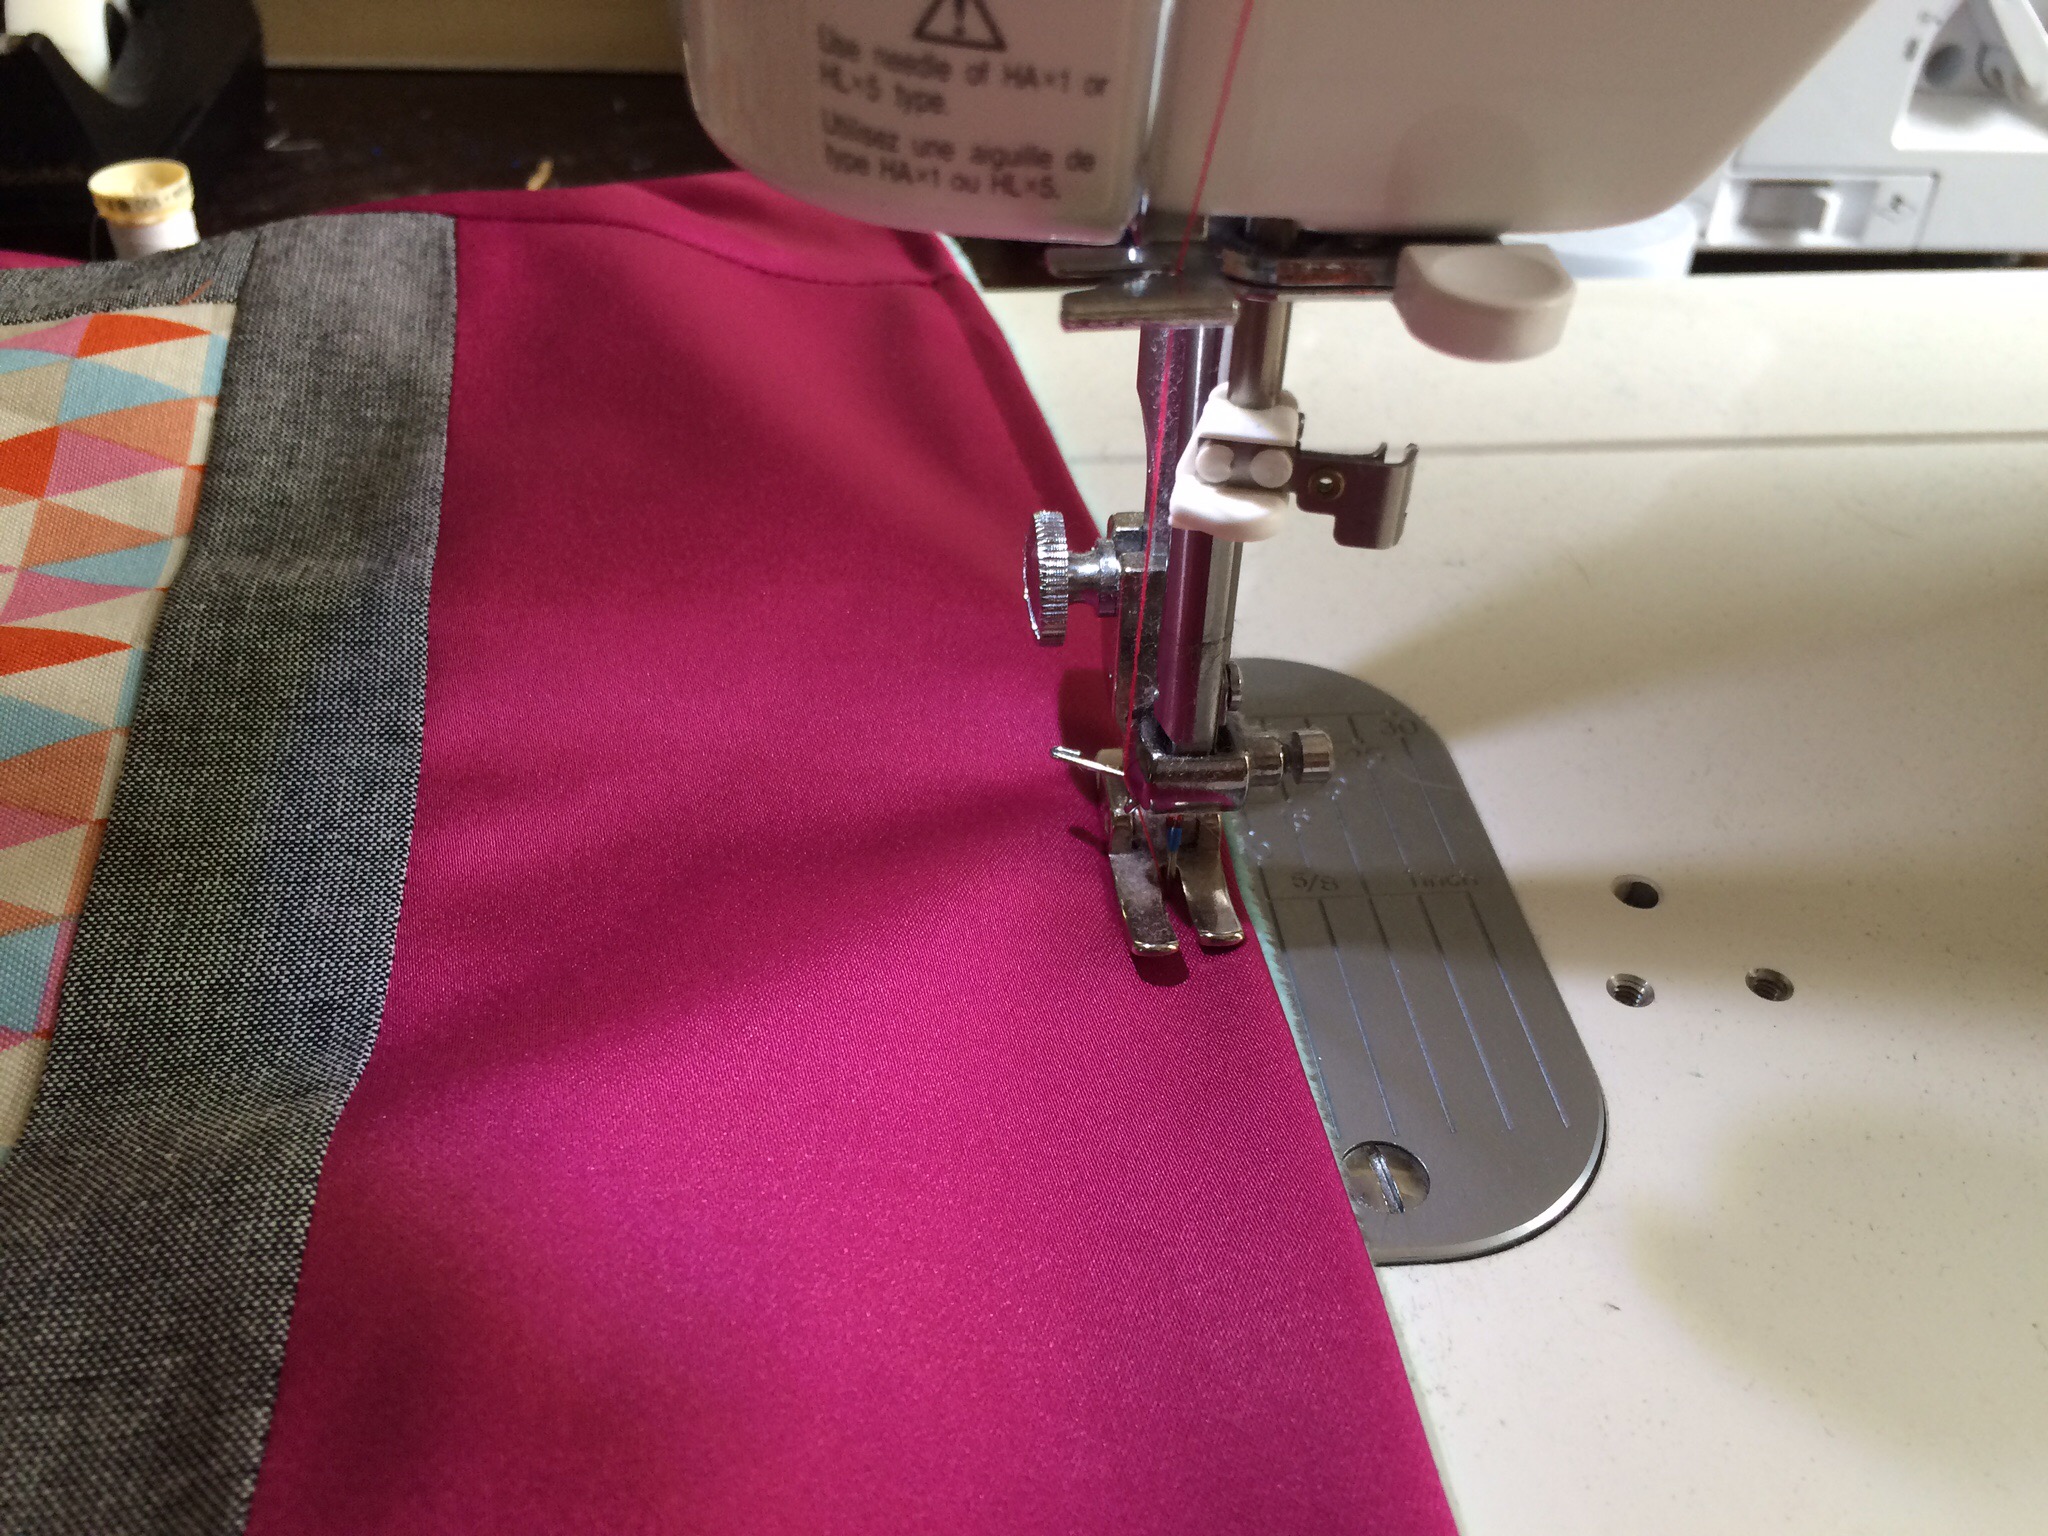
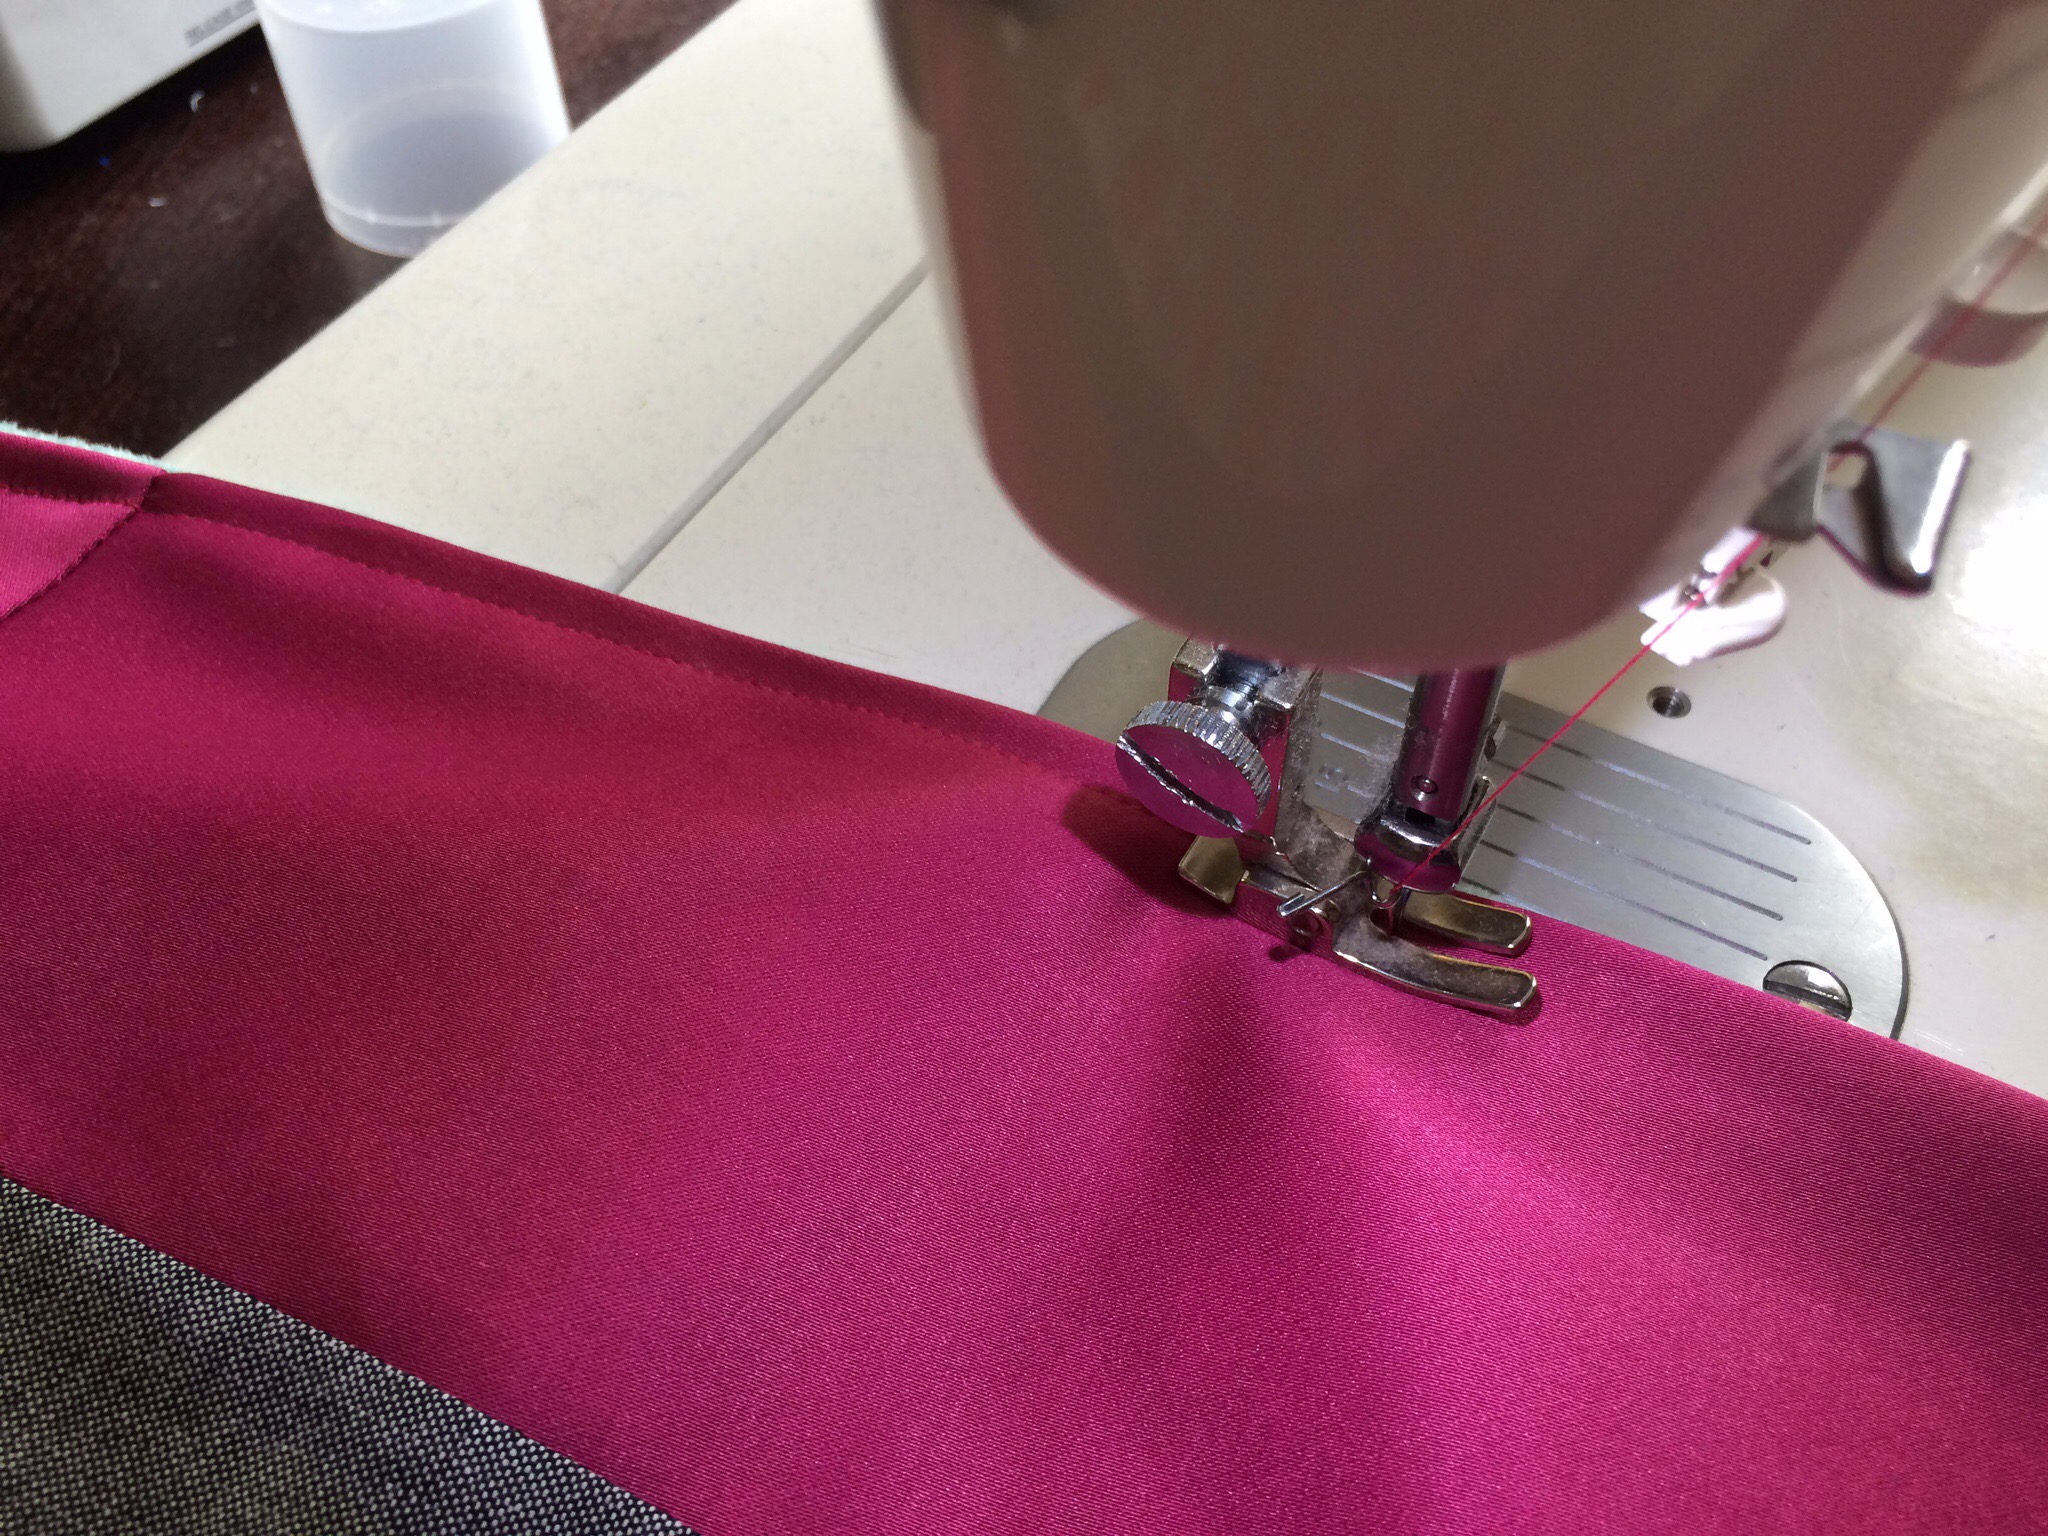
It’s up to you how fancy you want to get. I really like a border (or two) around the outside of my quilts. For this quilt, I used a double border and because the bridesmaid dress was long, I was able to use that too. For shorter dresses it’s not always possible to get strips of fabric long enough. For the first border on this dress, I used a grey fabric and cut it in 1.5″ strips. I sewed the strips along the sides, then across the top and bottom. Iron flat when you’re done.


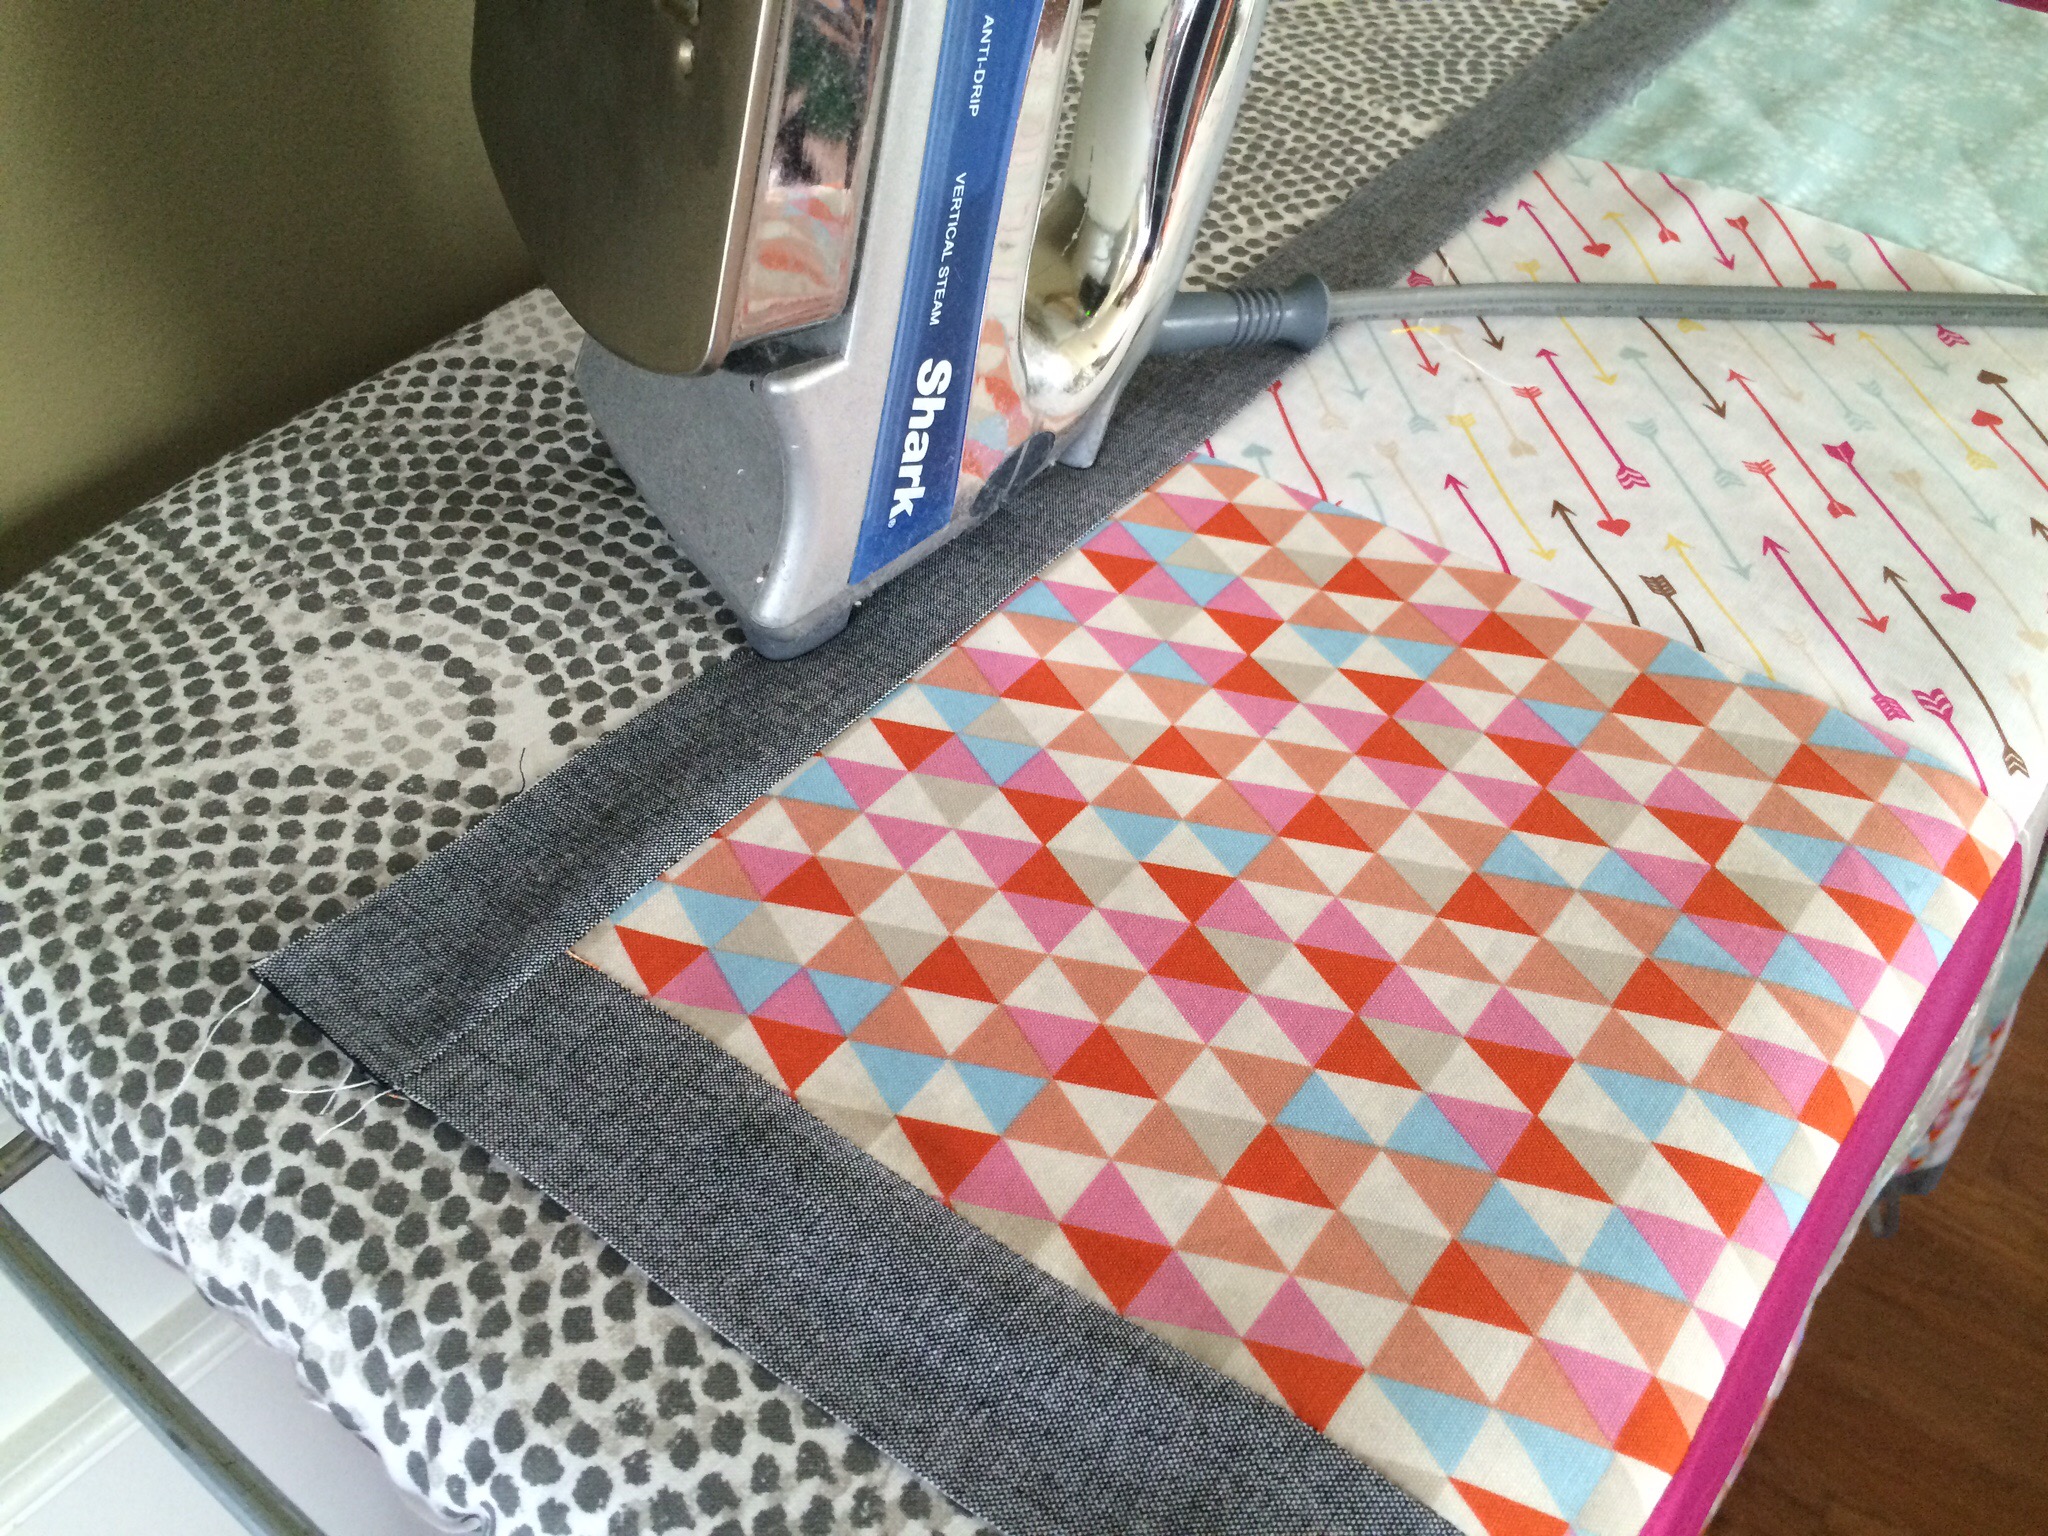
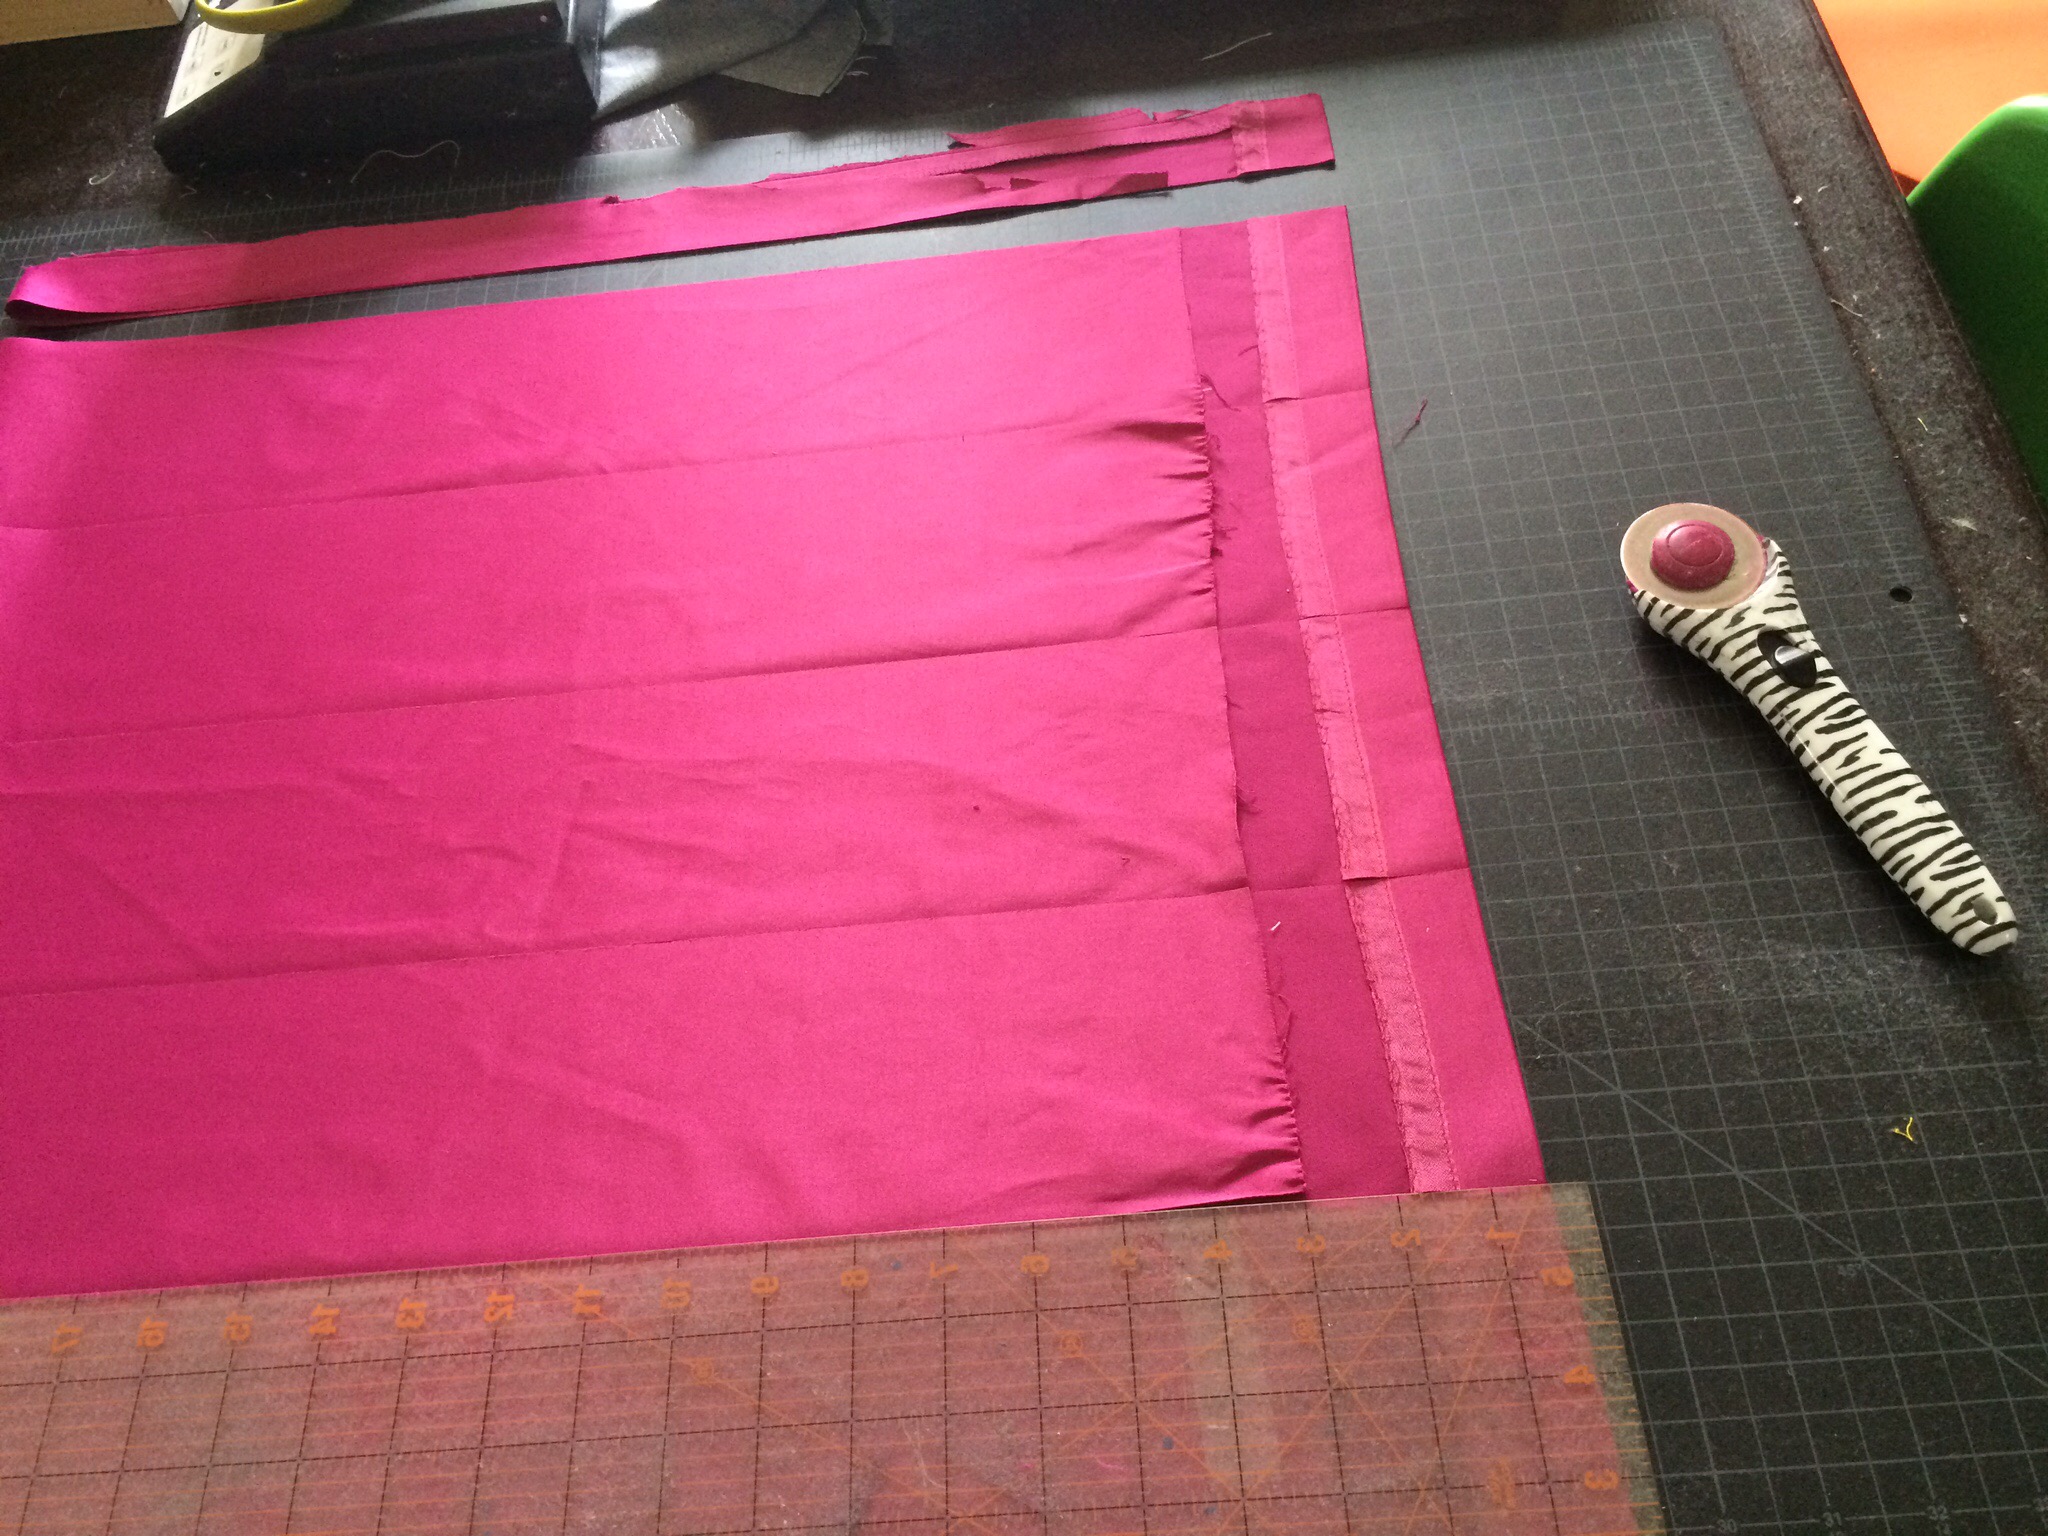
Next up, I cut dress. I used 3″ strips for the outside.

Once your front is done, it’s time to attach the back. I used minky dot fleece for this quilt. This fabric sheds. A lot. It’s also sometimes almost slippery to work with. Use lots of pins and sew slowly. To attach the front to the back, lay your fleece down on floor, good side up.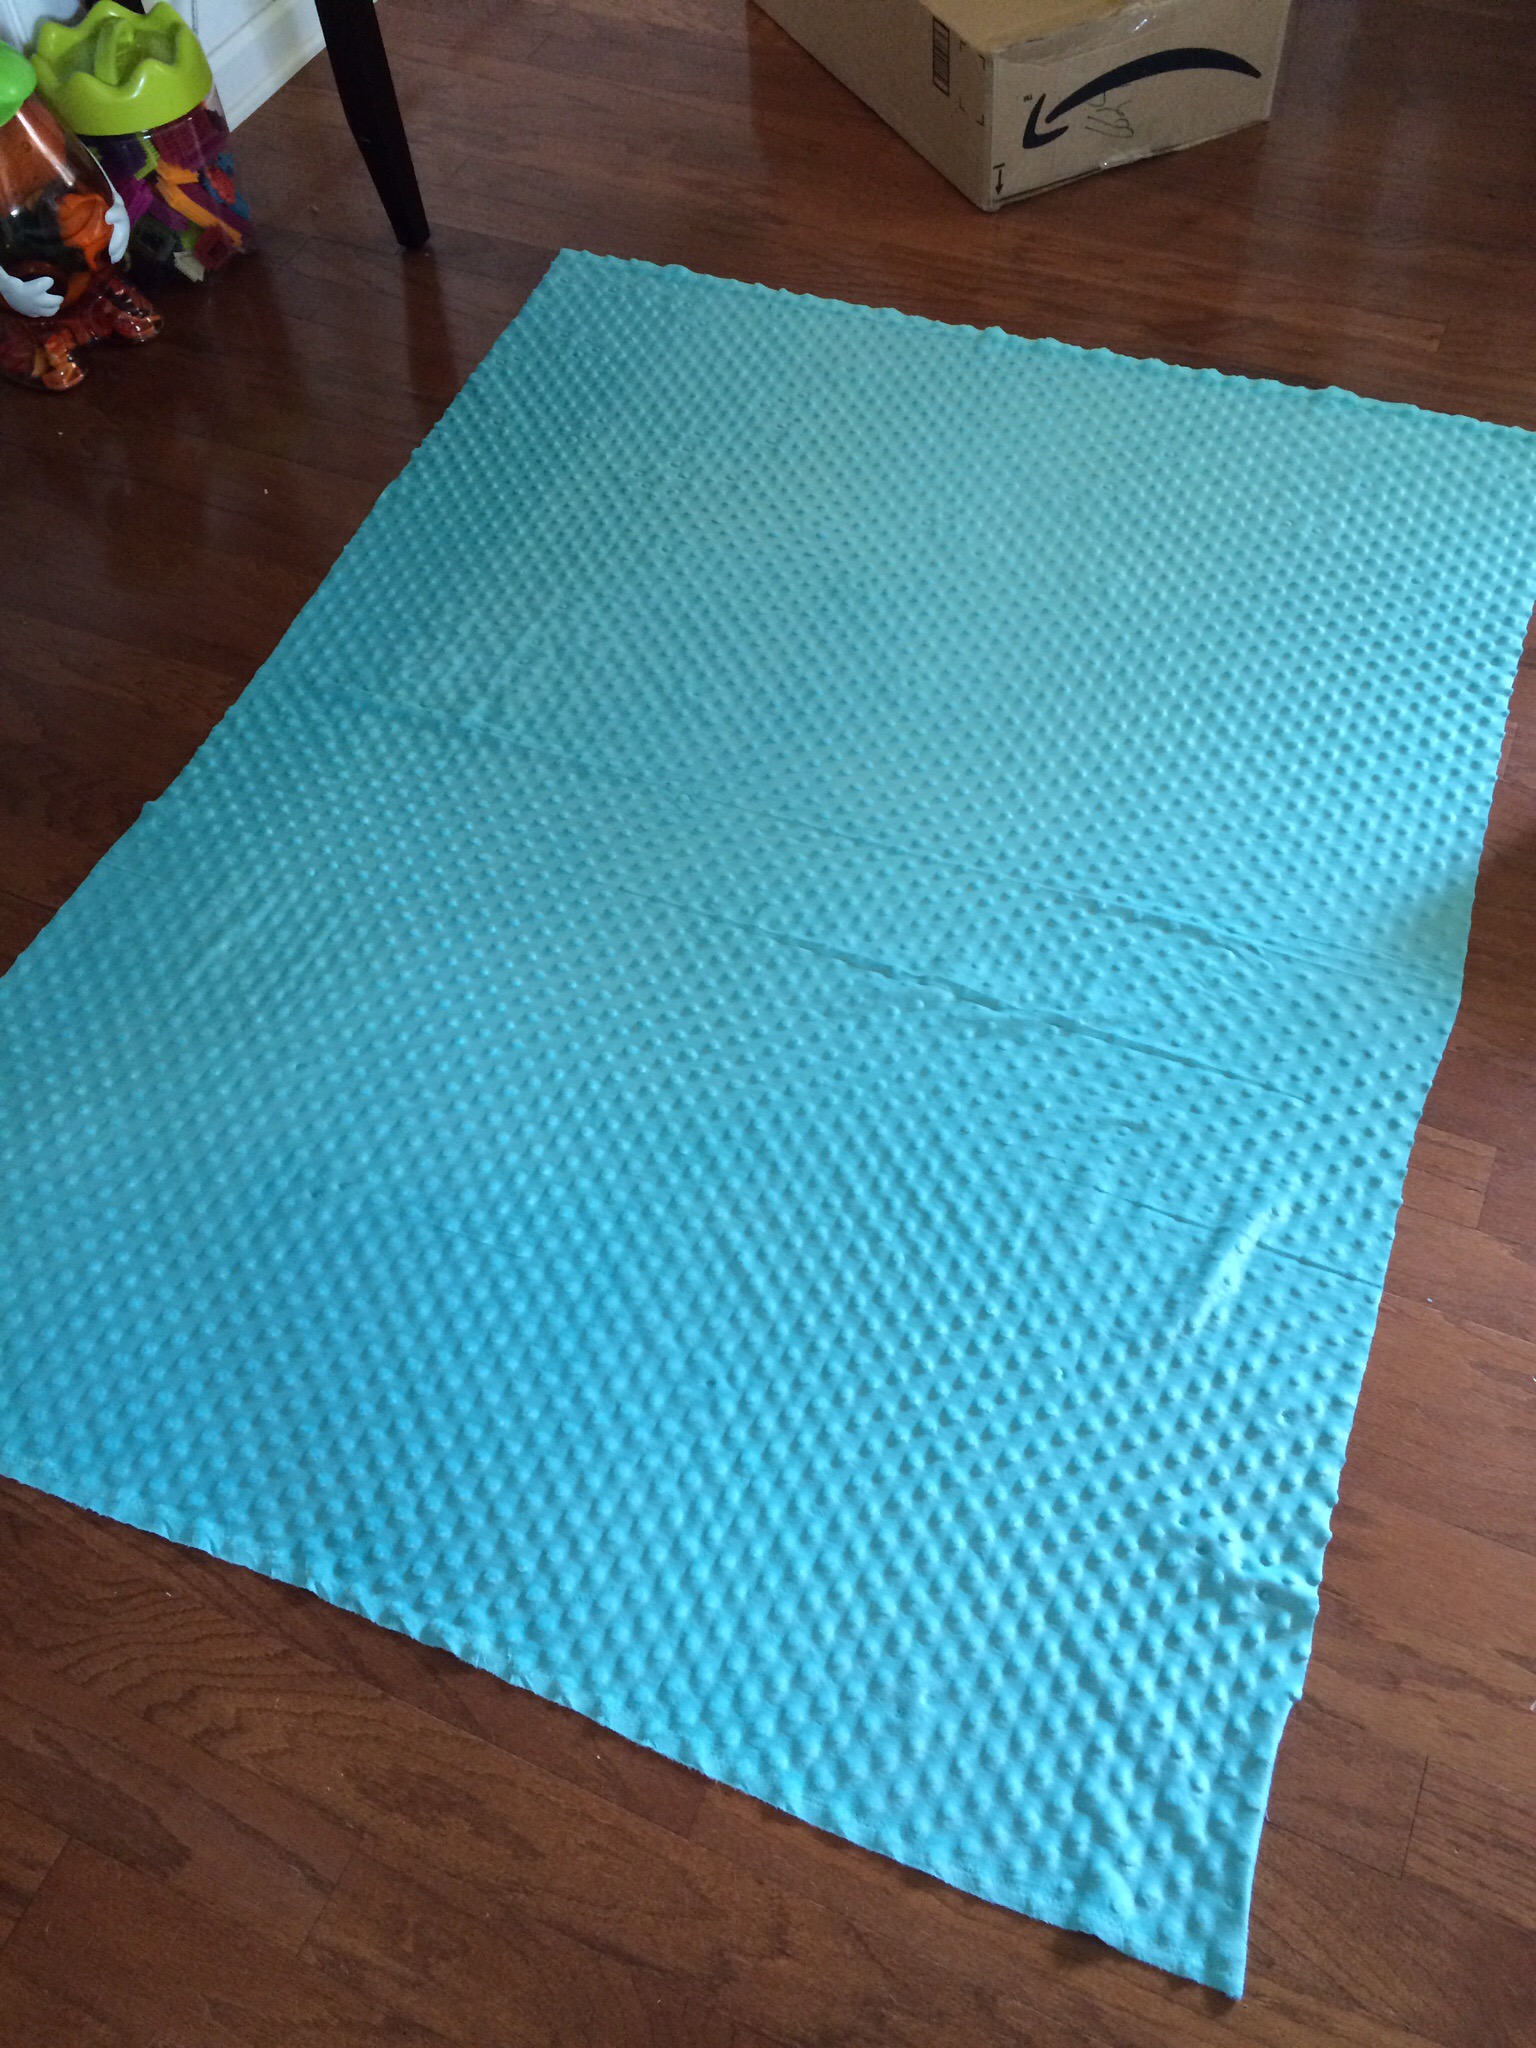
Next, lay your quilt down so the “good” sides face one another. Cut off the salvage fleece at the top. Now, it’s time to pin. Make sure you leave yourself an opening, so that you can flip the quilt right side out.


When you’re done sewing, flip your quilt right side out. Iron your edge flat, and pin your hole closed. To give a finished look, I like to top stitch all the way around the quilt. Because you can see the thread, try your best to match the top thread to your top fabric, and your bobbin thread to your fleece.
Congratulations, you’re done!!!