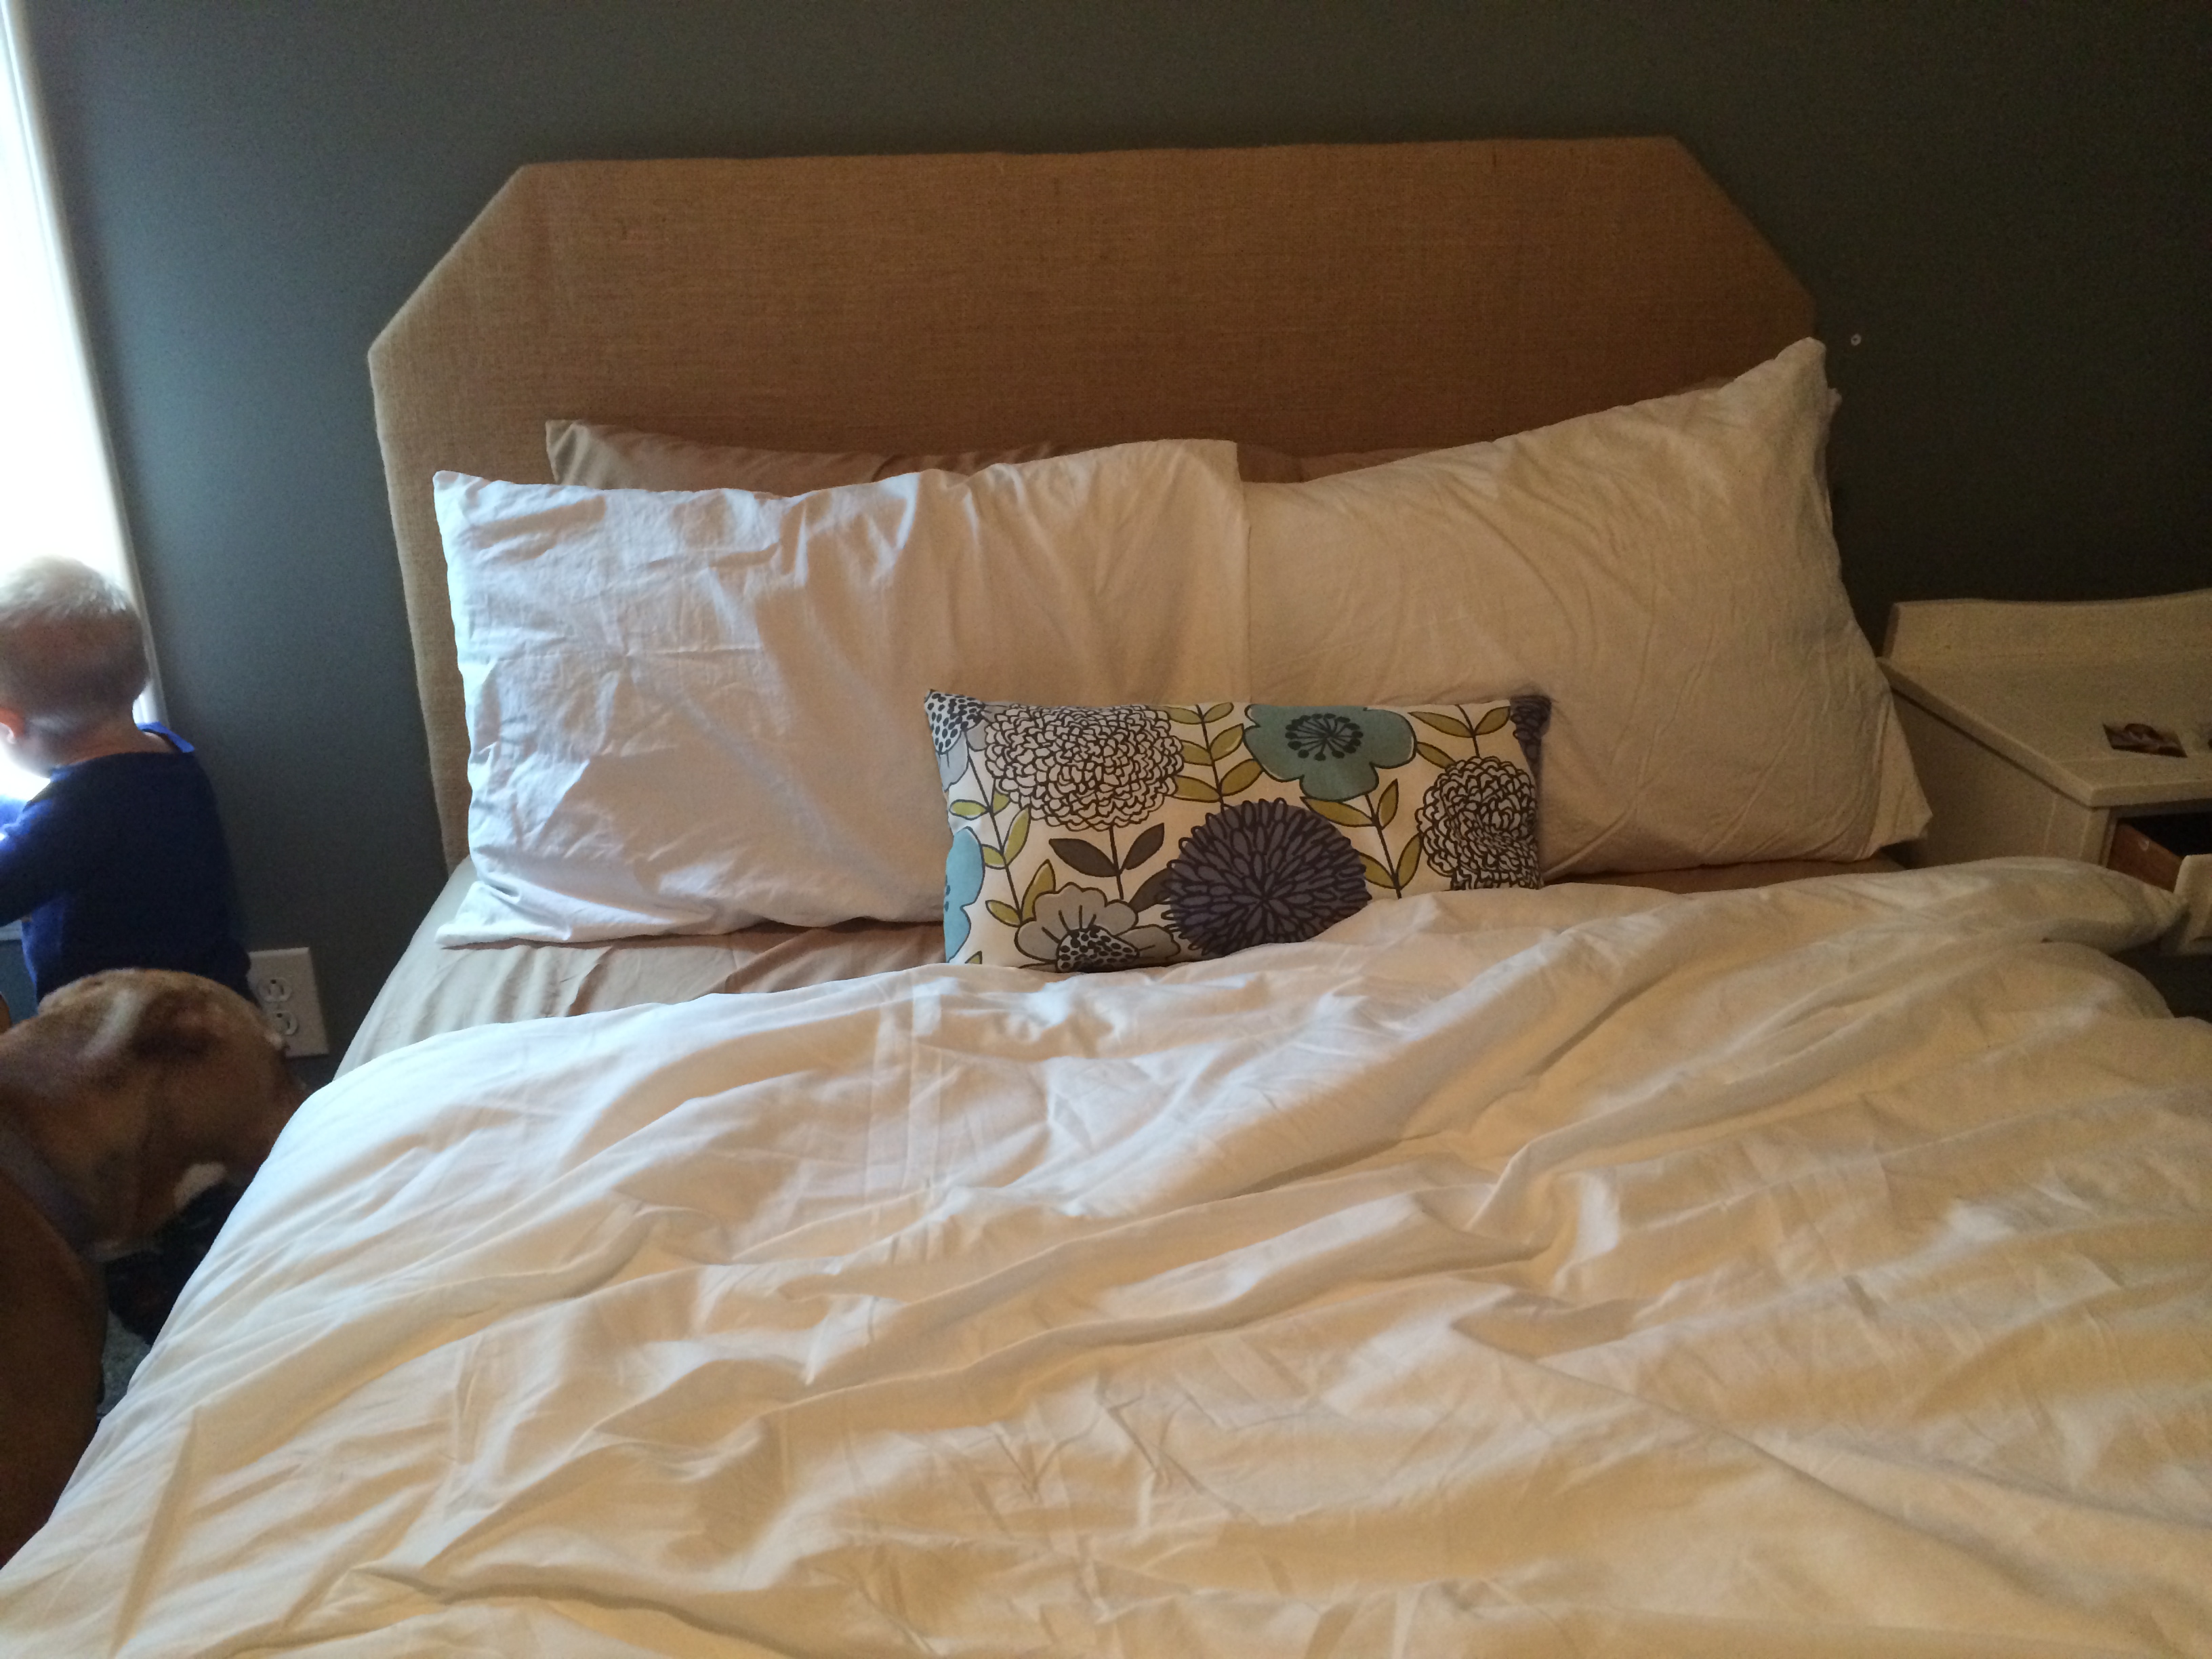
Like so many others, our guest bed was just a mattress and box spring. It served it’s purpose, but wasn’t anything fancy. I’ve mentioned before, I’m a huge fan of HGTV. I love design shows, especially those that show you how to complete projects yourself. That paired with pinterest is a dangerous combination. Thankfully this project was simple and cheap to complete. First, I positioned the pillows on the bead and measured how far I wanted the headboard visible. Looking at other headboards, I measured up from the top of the box spring/bottom of the mattress, and decided on 32″ high. I then measured the width of the box spring and added 2 inches (one for each side), and decided on 54″ wide. I gave these numbers to my super handy husband, who had picked up a piece of 1/2″ plywood earlier in the week. He quickly cut the rectangle, and then using a handy-dandy triangle thingie, we angled the corners at 6″. 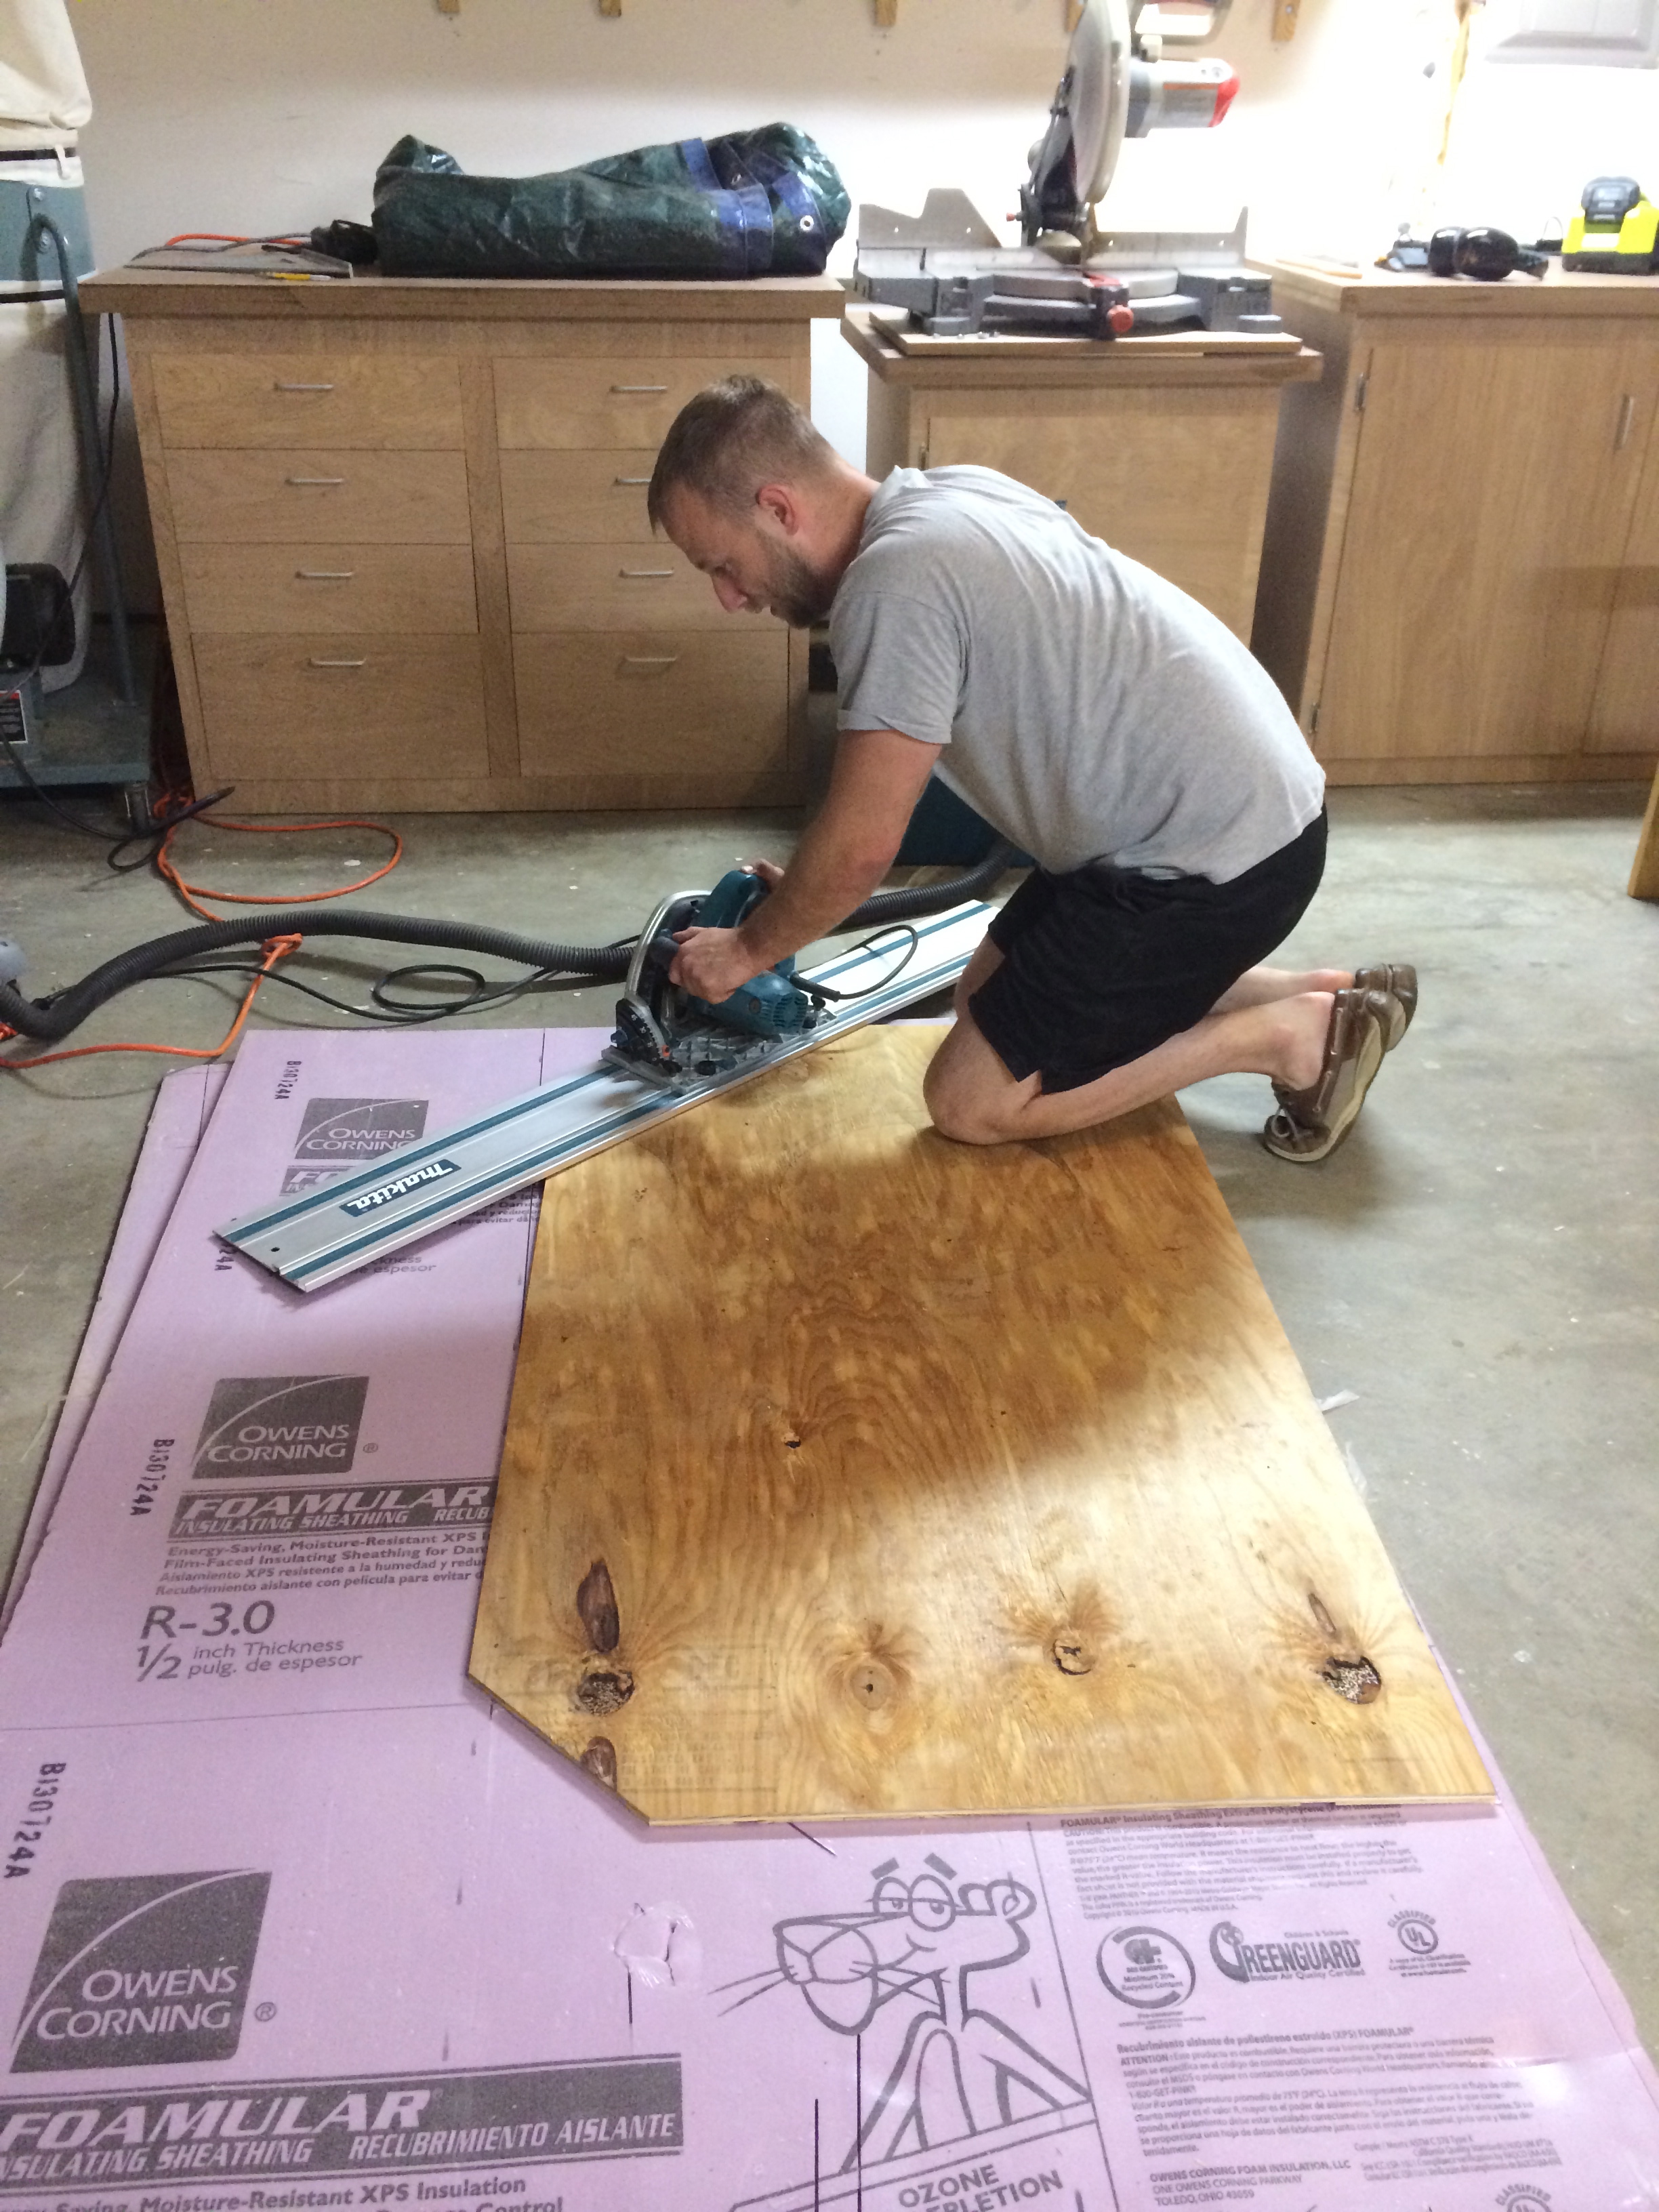
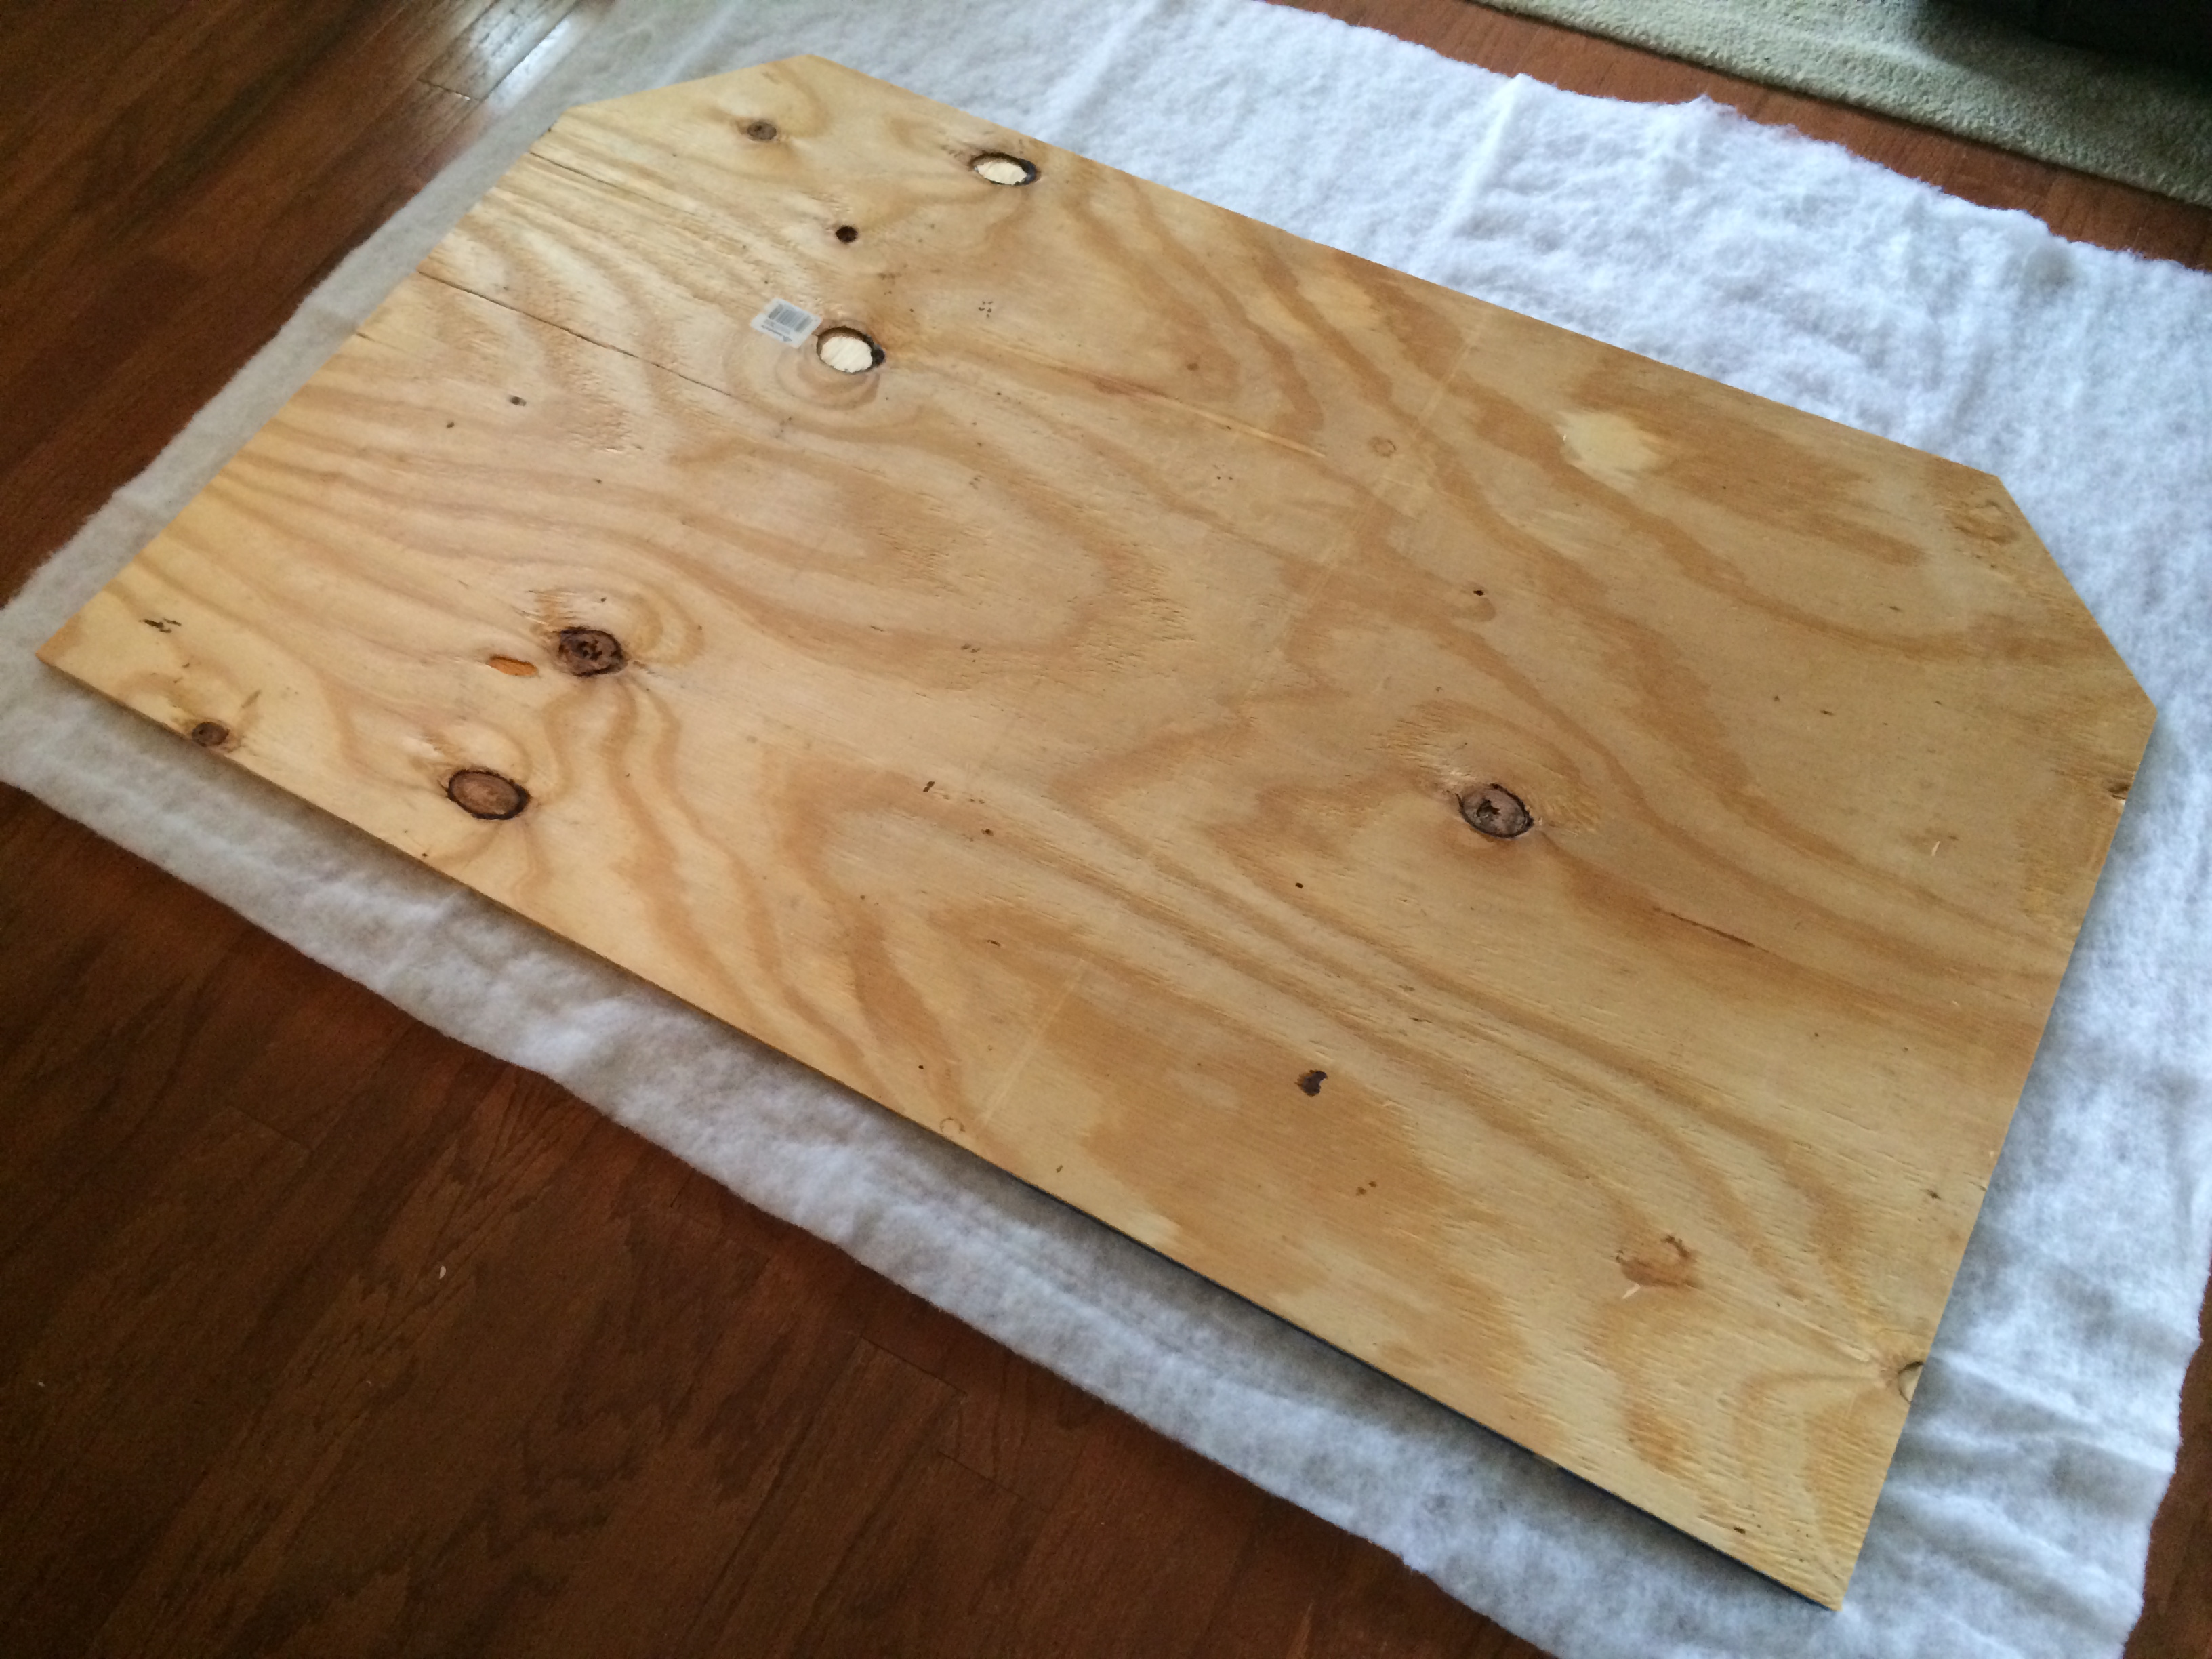
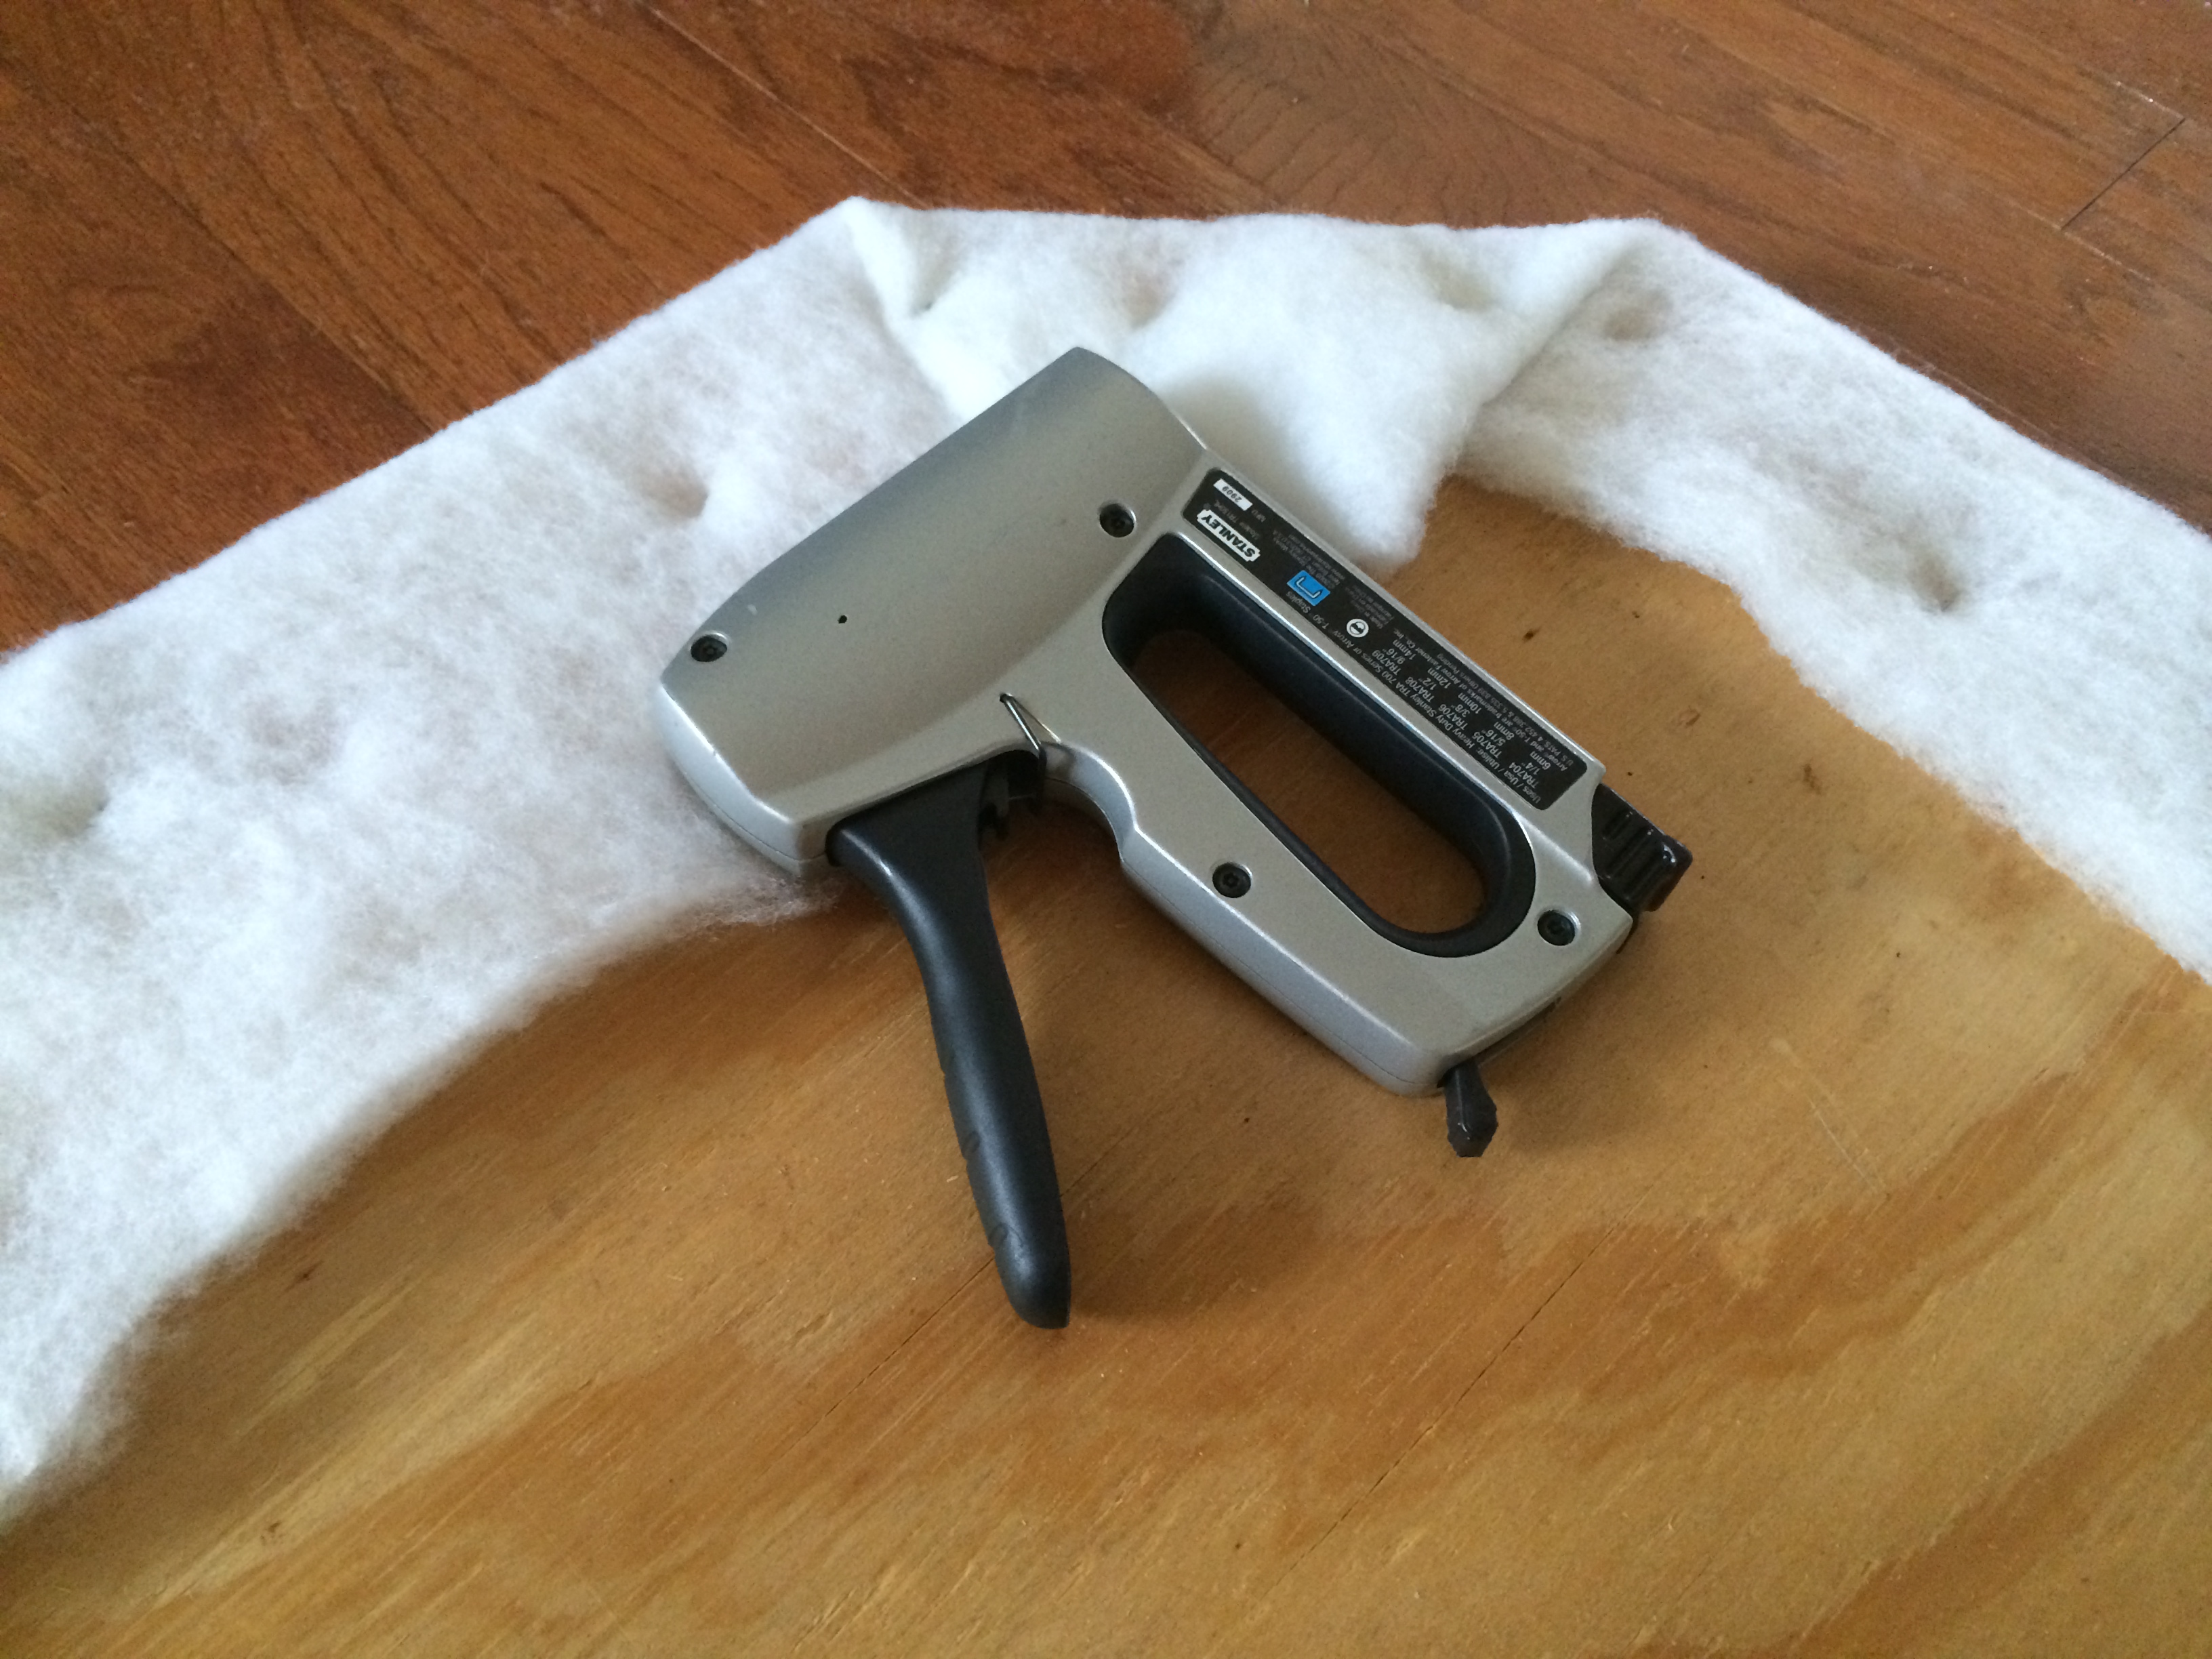
Once the wood was cut to size, we brought it inside. I laid my batting on the floor and smoothed out all wrinkles, put the headboard on top, and used a staple gun to secure it to the back. I purchased a polyester batting with extra loft that was crib size, and it worked perfect for the full size headboard. On all of my quilts, I use 100% cotton batting, but that is more expensive, and I figured for this project, the polyester was fine. That was $9.99 from Hobby Lobby, but 30% off, so I got it for $7. 
I went back and forth on what fabric to use on the headboard. I thought about a printed home decor fabric, but that kinda limited me on my bedding. I thought about something solid, but couldn’t decide on a color, and I wanted something with dimension. I then decided on burlap. I wasn’t sure how it would do since it’s textured and you can see through it, but I had some from other projects, and pairing it with the batting looked great. Plus, burlap is super cheap. I purchased 2 yards from Hobby Lobby and used a 40% off coupon, bringing my fabric total to $6. Whoot whoot!! The burlap had some noticeable wrinkles, so I ironed it the best I could, spread it flat on the floor, put the headboard on top of it, and stapled the burlap to the back just like I did with the batting. 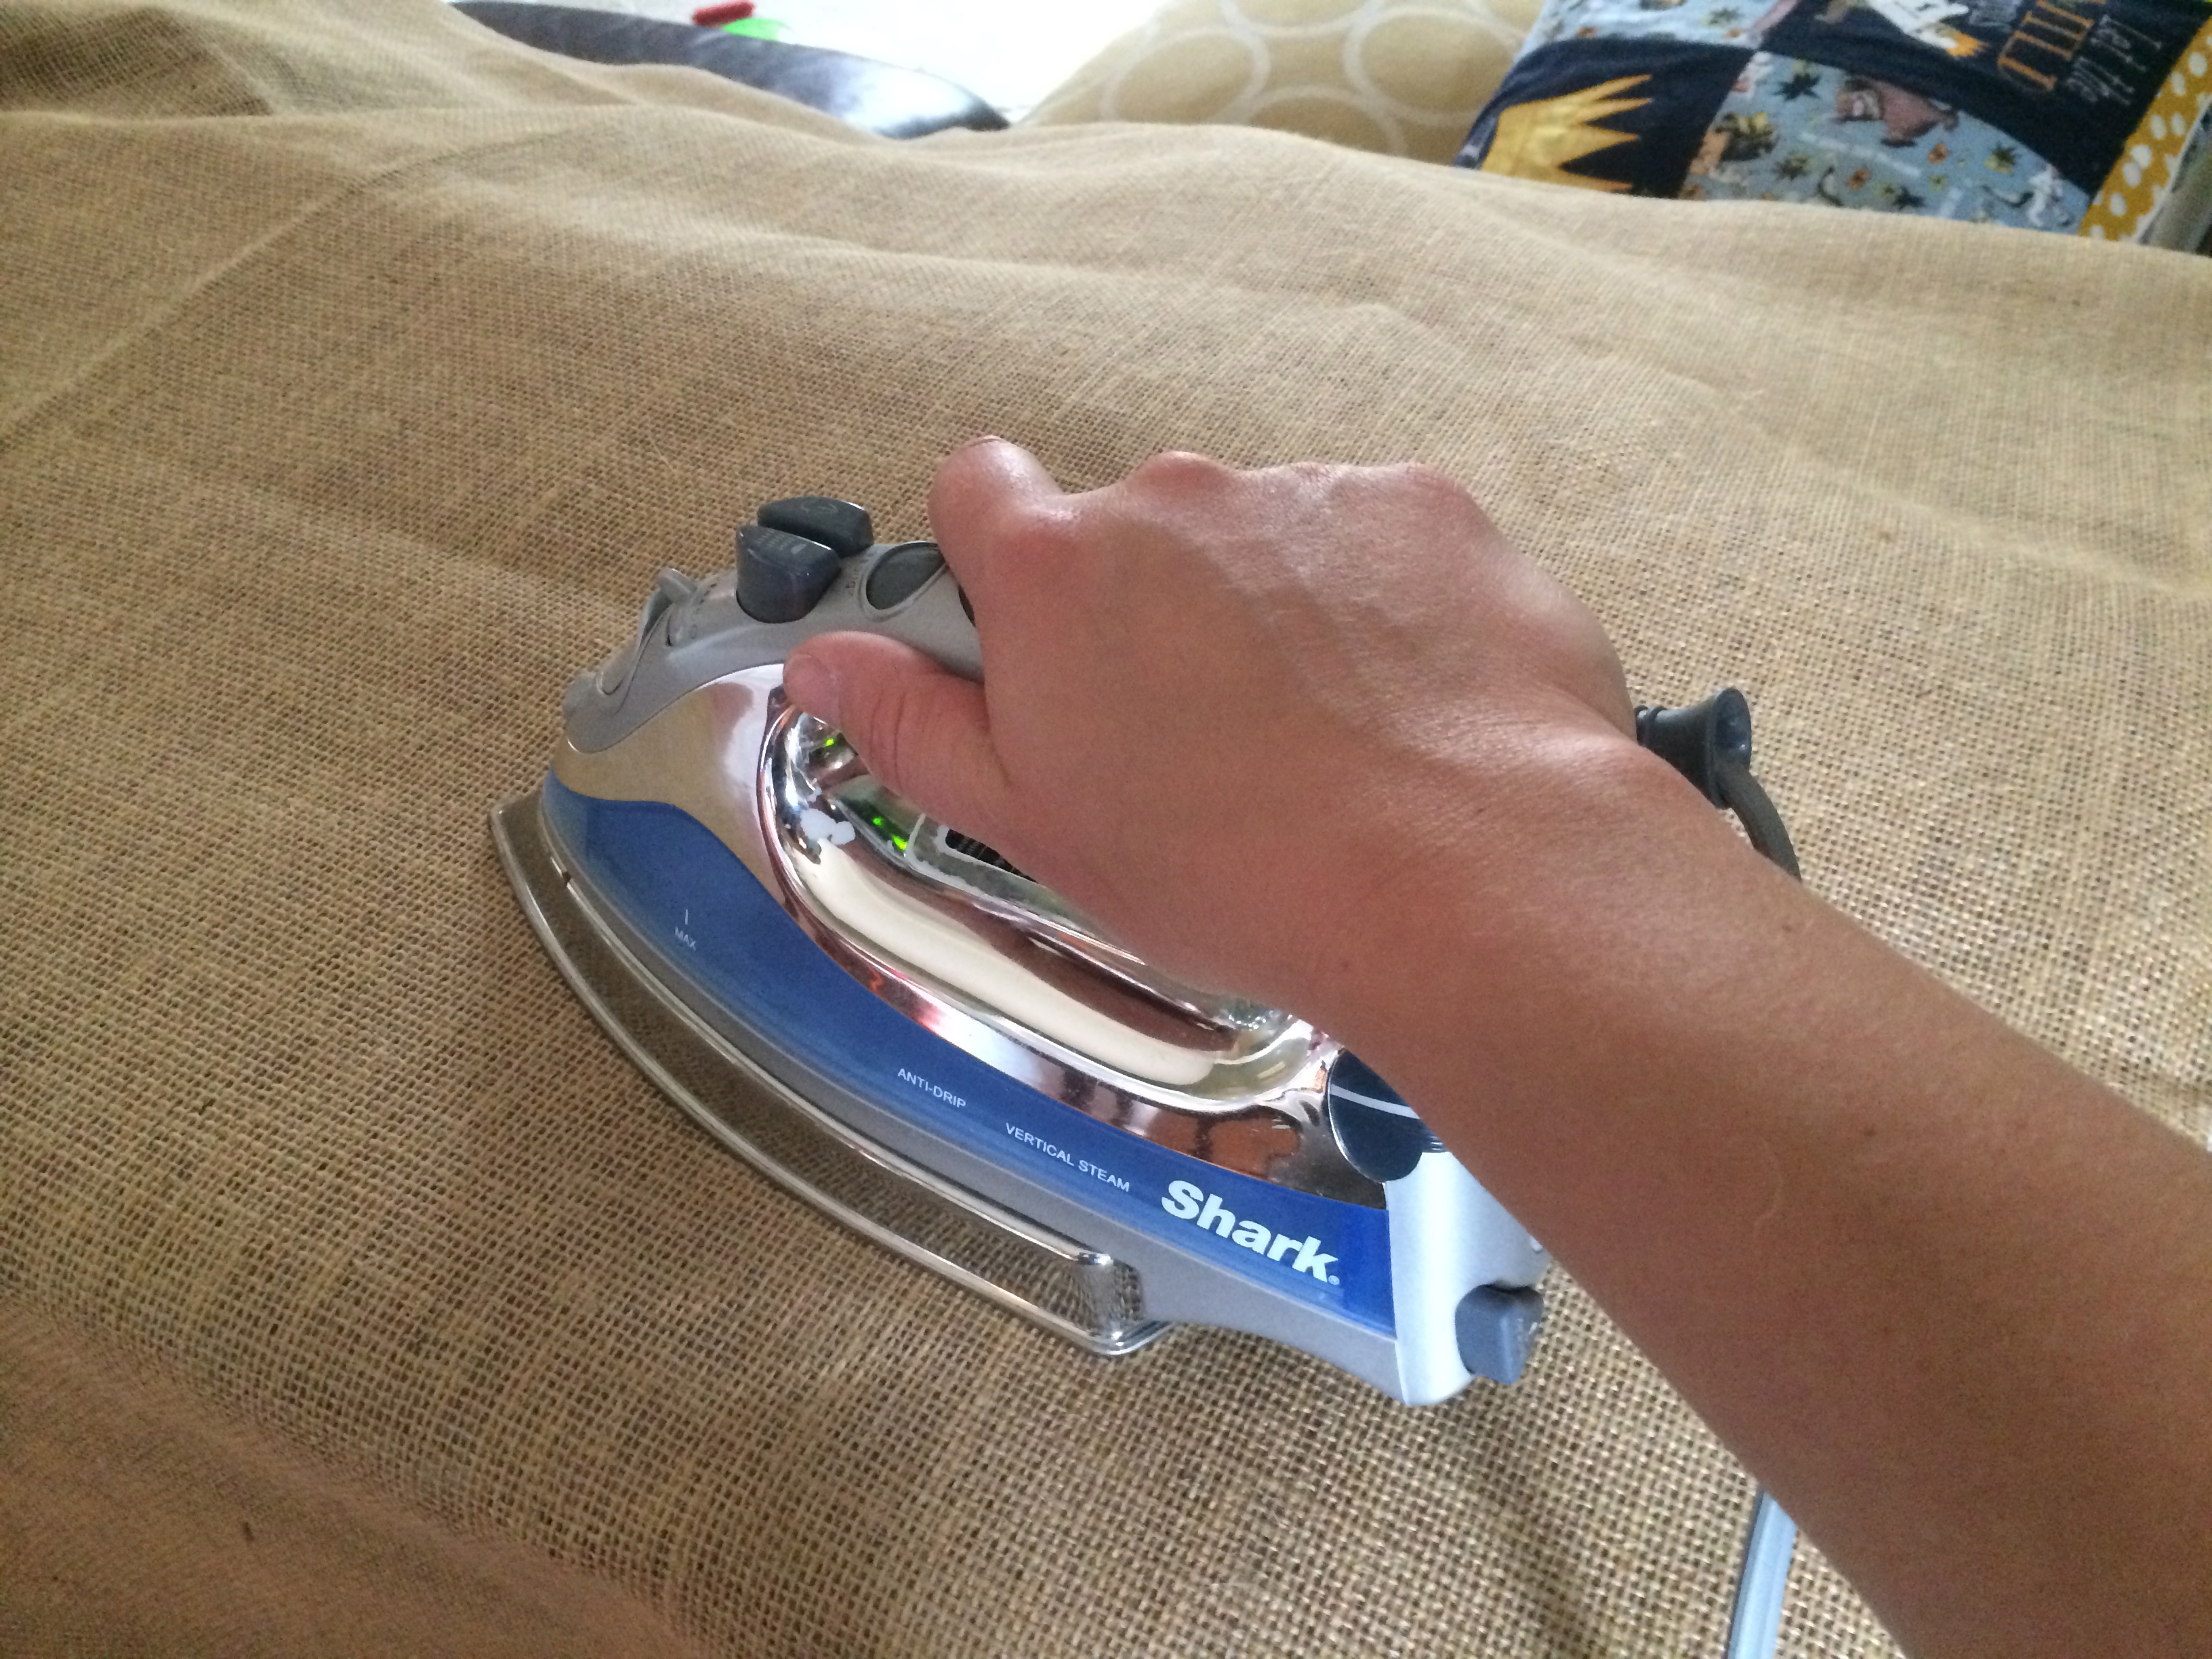
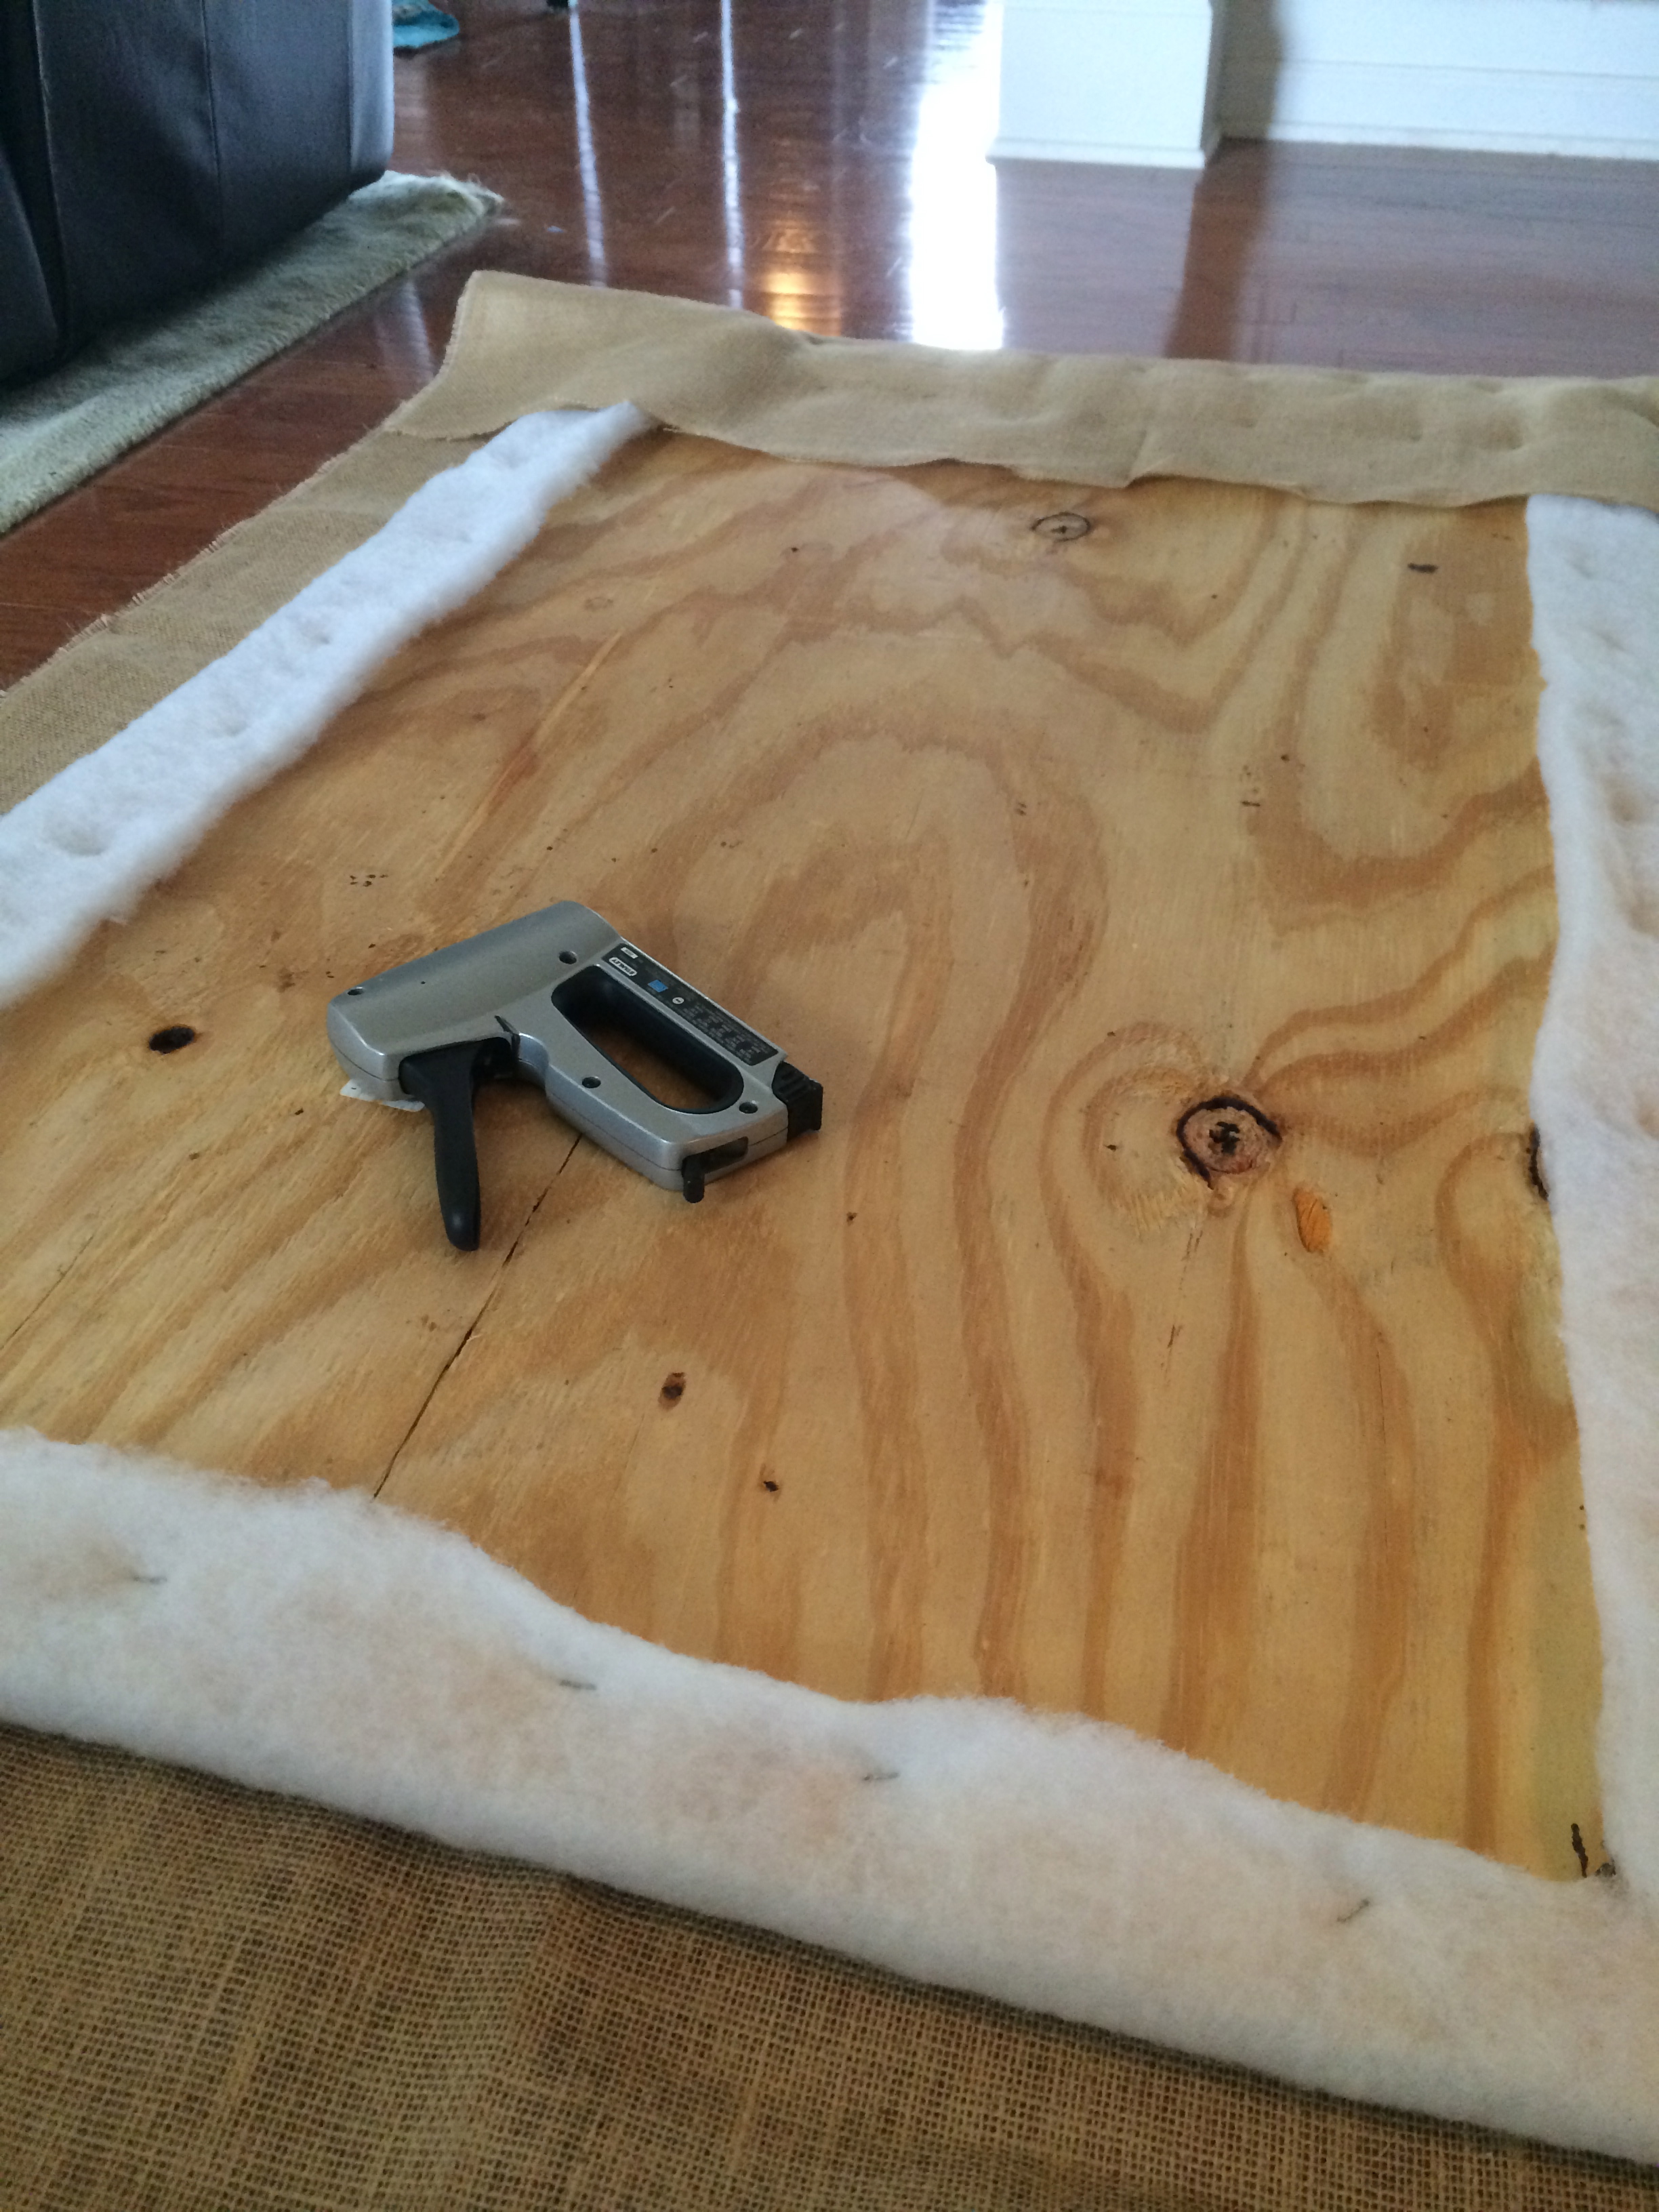
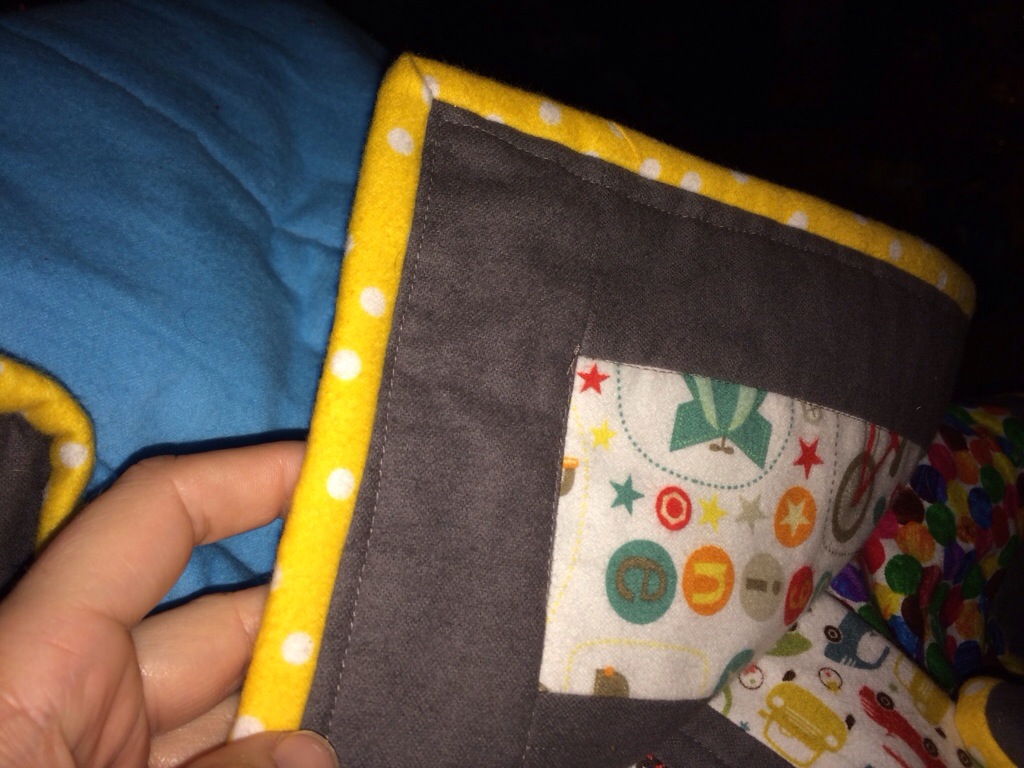
Ta-da! Here it is, front and back. I maaaaay have gone a little overboard with the staples… 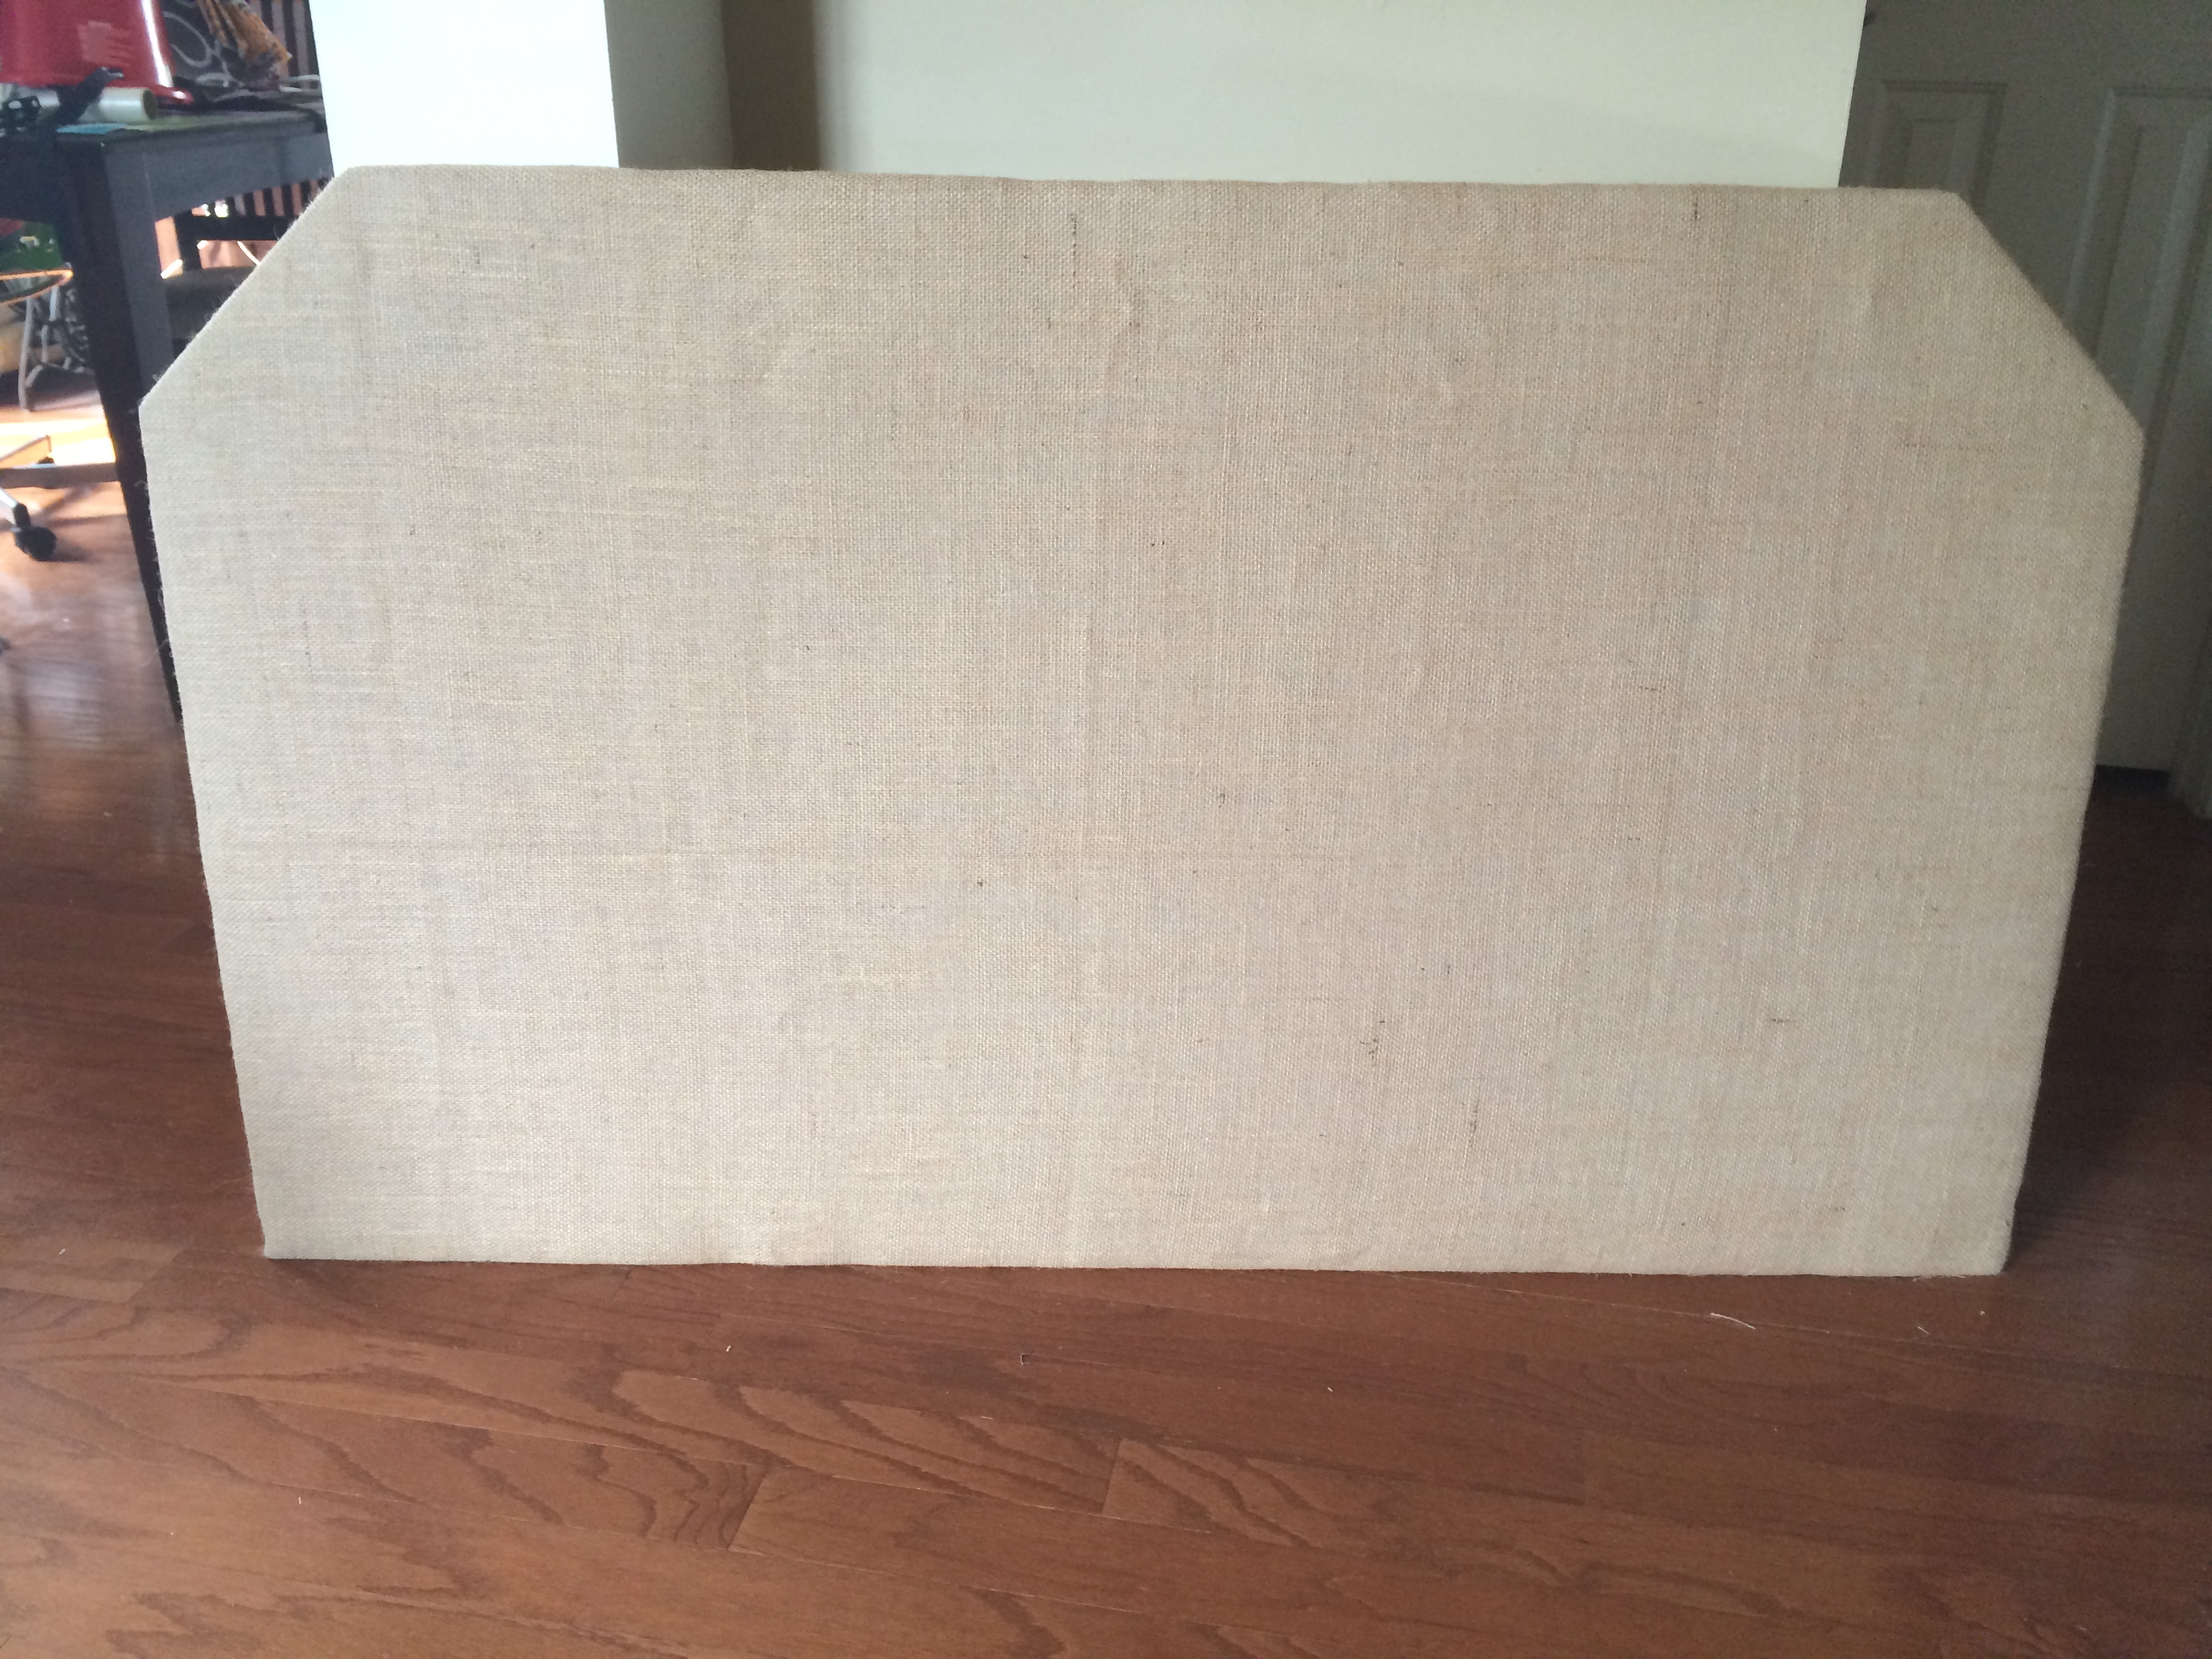

We attached legs to lift the headboard up behind the box spring. The headboard now rests against the wall, but is supported by the box spring and mattress. I’m thinking about adding decorative copper finishing nails around the border of the headboard, but that won’t come till later. Pillows were my project for today, so I’ll post an updated picture of the bed soon. I hope I inspired someone else to take on this project. I am grateful to my husband for his help!!!